I am now in the process of redoing my Classics version of Breakdown this time im going paint him closer to the G1 colour scheme i.e. the creamy colour and use more of flat colour to match in with the rest of the team and just do a couple of other little modifications.
This time though i will be using alot of the Red Alert generations figure as he is already white making it easier for me and along the way im going to try and post up a how to guide on what to do for preperation of paint and so forth.
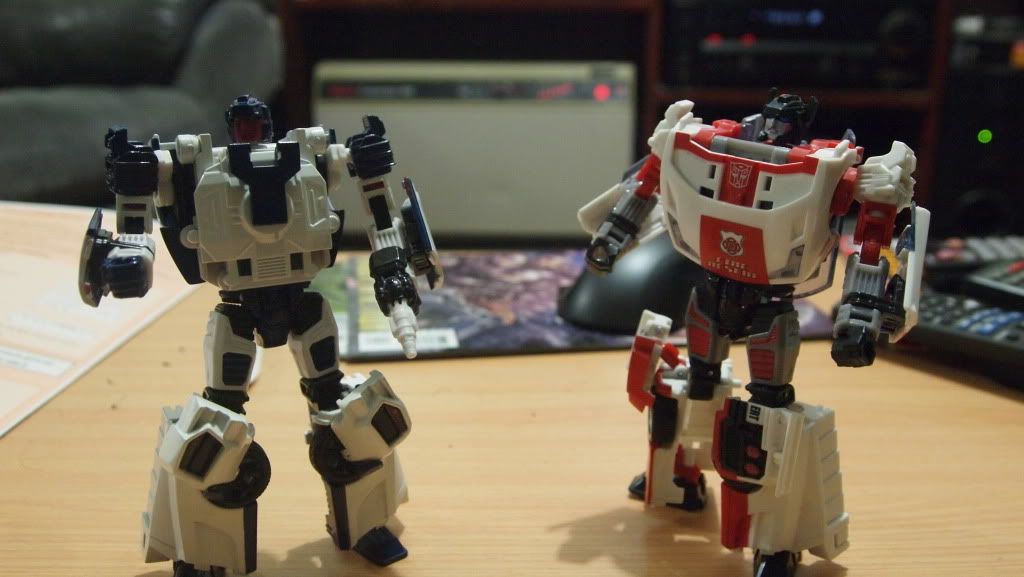
Here is Breakdown and Red Alert next to each other as a comparison.
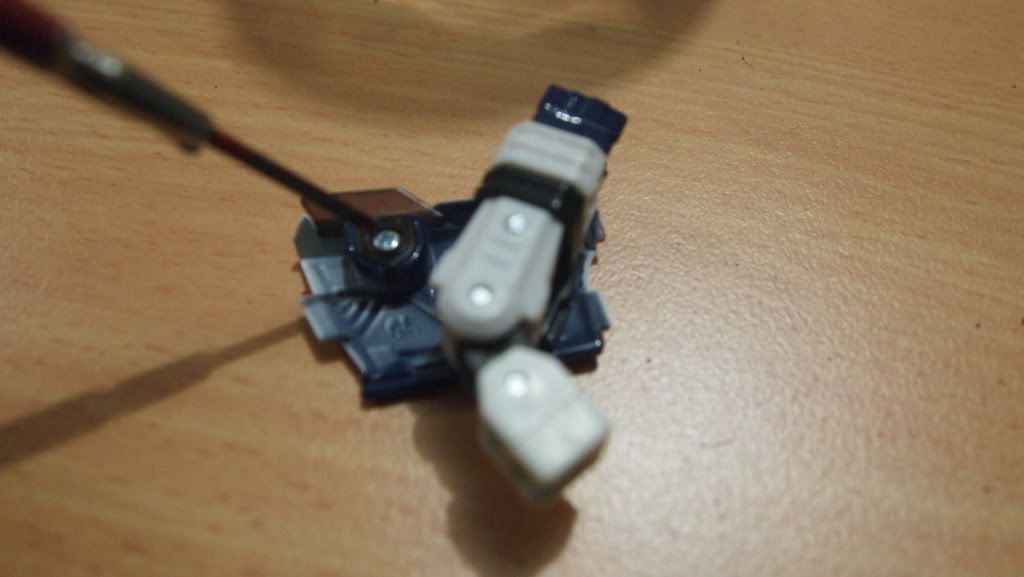
Now here i have popped Breakdowns arm off the ball joint and about to undo the screw that holds the window onto the arm i will also be taking out every other screw on this figure
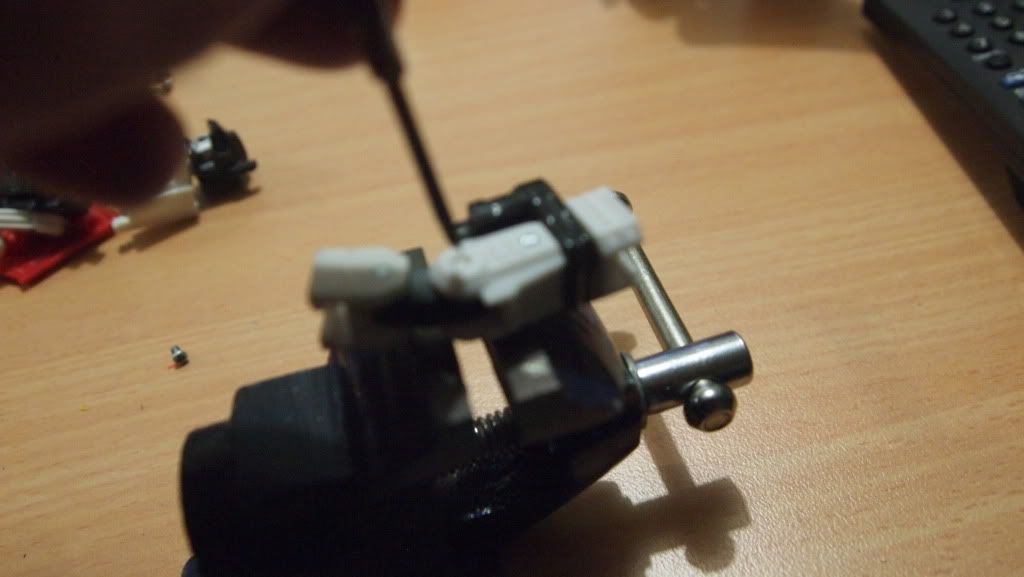
Here im about to tap out the pin that connects his lowerarm to the shoulder joint for this you are going to need a small screwdriver with the head of it the same size as the pin if not a tiny bit smaller and a small hammer so that you can tap the pin out.
Now you are going to need to put the joint on a vice or two blocks of wood so that the pin has somewhere to go once you start to hammer it out.
When knocking out the pins you want to start tapping them out the side where they are sitting more flush with the panel this has proven to be the easiest way for me so far
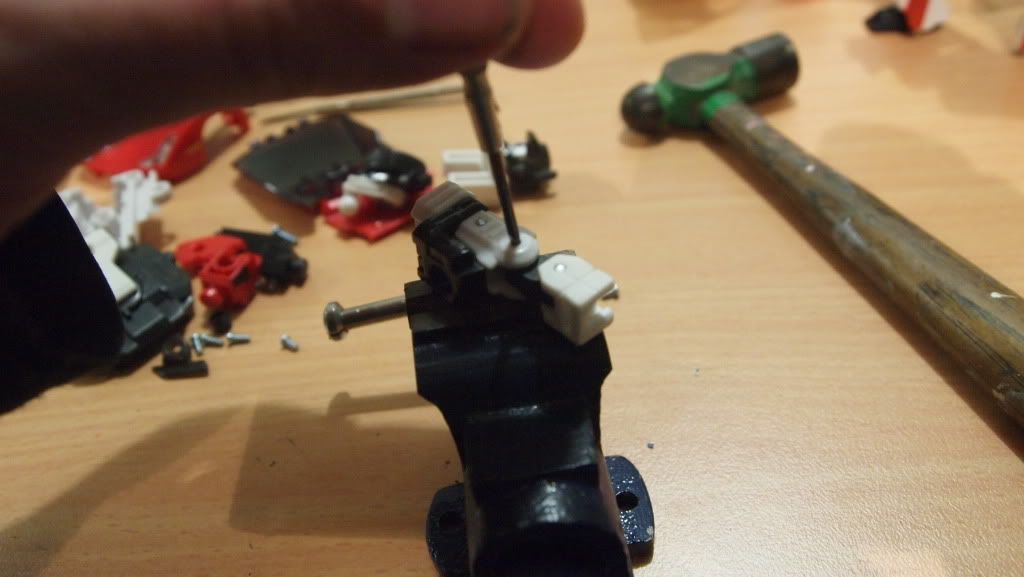
Me about to tap the pin out
I also find it easier to put the joint on a flat surface (like the table im working on) first give it a couple of taps so the pin is starting to move and then put it in the vice that way its harder for the screwdriver to move off the pin.
After giving it a couple of taps the pin has started to move and now i can keep going to take the whole pin out.
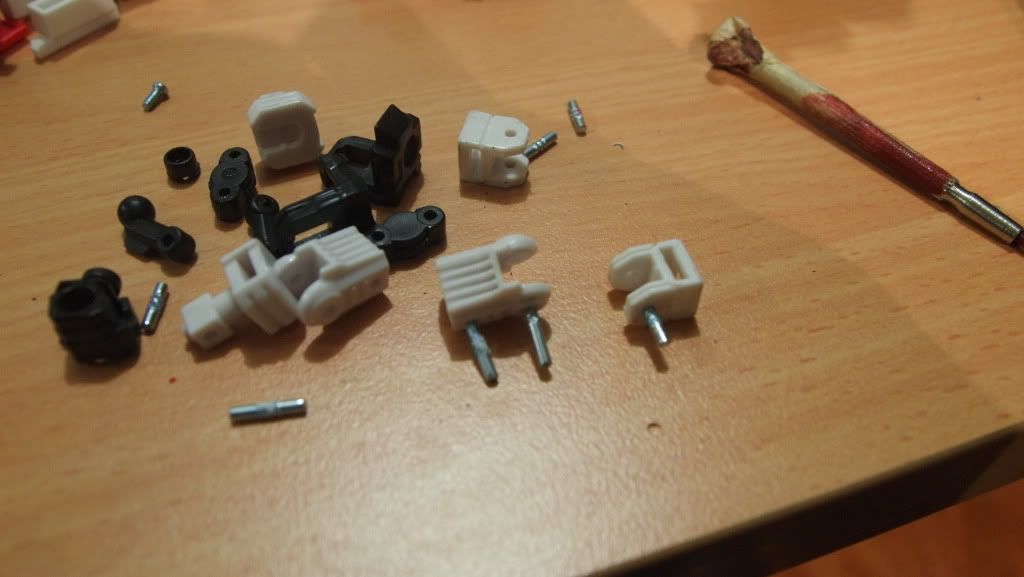
As you can see here i have all but knocked the pins out in one arm and completely out of the other one
* when i say tap or knock i mean hit with the hammer with as much force as necessary sometimes it doesnt take too much force and sometimes it does




 Reply With Quote