Hope it all works outOriginally Posted by M-bot

Just very curious, do you have any before and after shots of OP's arm?


 Rank 8 - Deluxe Member
Hope it all works out
Just very curious, do you have any before and after shots of OP's arm?
 Rank 8 - Deluxe Member
I thought to take some pics before I glued and then completely forgot to. If attempt #1 fails, I'll be sure to post some pics before attempt #2.
Rank 8 - Deluxe Member
Picked up OP - the slightest movement of the arm and it came straight of at the same point. The point of glueing felt slightly tacky, so I'm wondering if 24 hours was not enough curing time. Impatience got the better of me.
I did try and take the arm apart to isolate the break but couldn't separate the front and back of the arm - even snapped the tip of a blade in the groove between pieces. It's still there.
I may try and take the body apart instead. Griffin has shown how here.
Pics to come, when I make attempt number 2. Not ready to give up on the Loctite just yet.
Rank 8 - Deluxe Member
OK, attempt #2 with WIP pics!
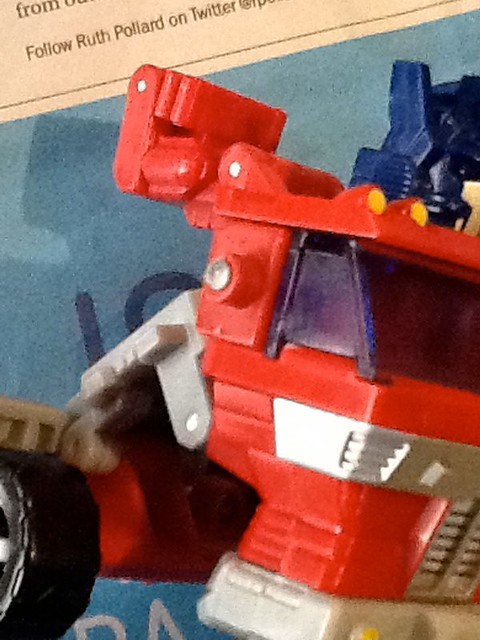
The damage:
IMG_0080 by M-bot2011
IMG_0081 by M-bot2011
Inside the arm is a silver disc that allows movement while anchoring the arm to the body.
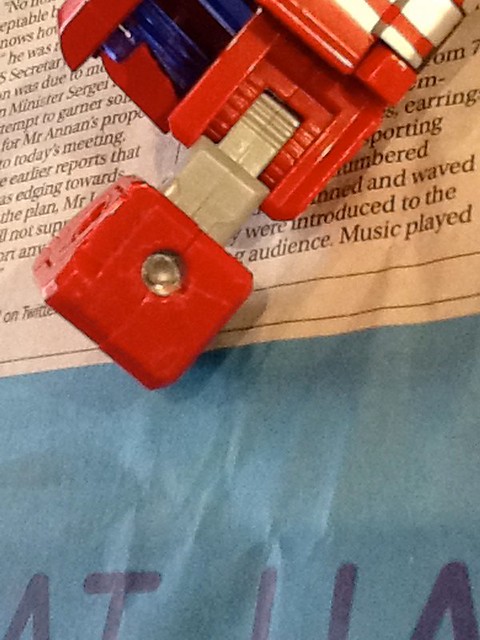
IMG_0082 by M-bot2011
Here you can see the tip of the blade that is lodged in between the front and back of the arm. These pieces WILL JUST NOT COME APART.
IMG_0083 by M-bot2011
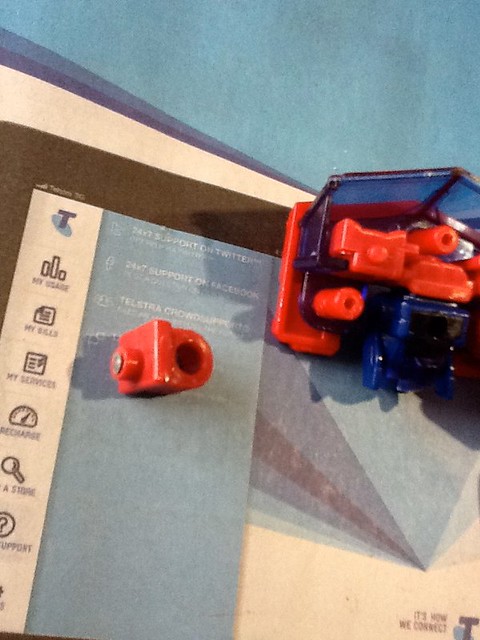
IMG_0084 by M-bot2011
Heres the body, taken apart, and the arm attachment removed. It was incredibly tight on the rotation point - I'm now wondering if this contributed to the poor arm movement and hence the breakage. It may be a similar issue with the pieces of the arm that wont come apart. I may need to shave down the peg inside the body that the arm rotates on in order to free it up a little and prevent the stress on the glued piece.
IMG_0085 by M-bot2011
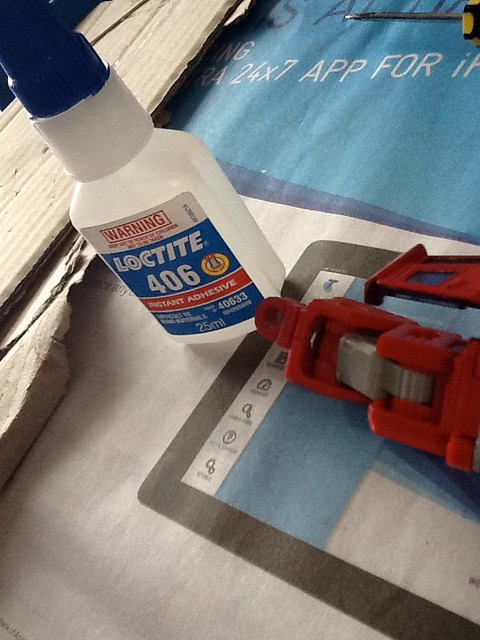
All glued. You can see here the disc that anchors the arm. Once the glue has cured - a good 2-3 days this time - this disc will need to rotate freely with the red connector piece that goes inside the body.
Here's hoping! Update in a few days.
Rank 8 - Deluxe Member
Some good news - the Loctite 406 has held a treat! The red piece that fits inside the body is turning sweetly and won't pull out from the arm.
I've yet to reassemble the body and try and move the arm once it's attached - that will be the ultimate test and will have to wait until the weekend.
Anyone else got any glue stories? What works? What doesn't?
Rank 8 - Deluxe Member
That's some really good newsCongrats dude!
I just got my Loctite in the mail this week, but I don't have my Bruticus head nor any Lego in Melbourne to try it on. Might run a few tests on various types of plastics (pen cap-clips and stuff) this weekend and see how well they do by next week.
Rank 8 - Deluxe Member
Not sure if I mentioned it before, but it's a lot thinner than I thought it would be, and hence difficult to control out of the bottle. My suggestion is to put the glue on another surface (ice cream or yogurt container plastic lids work well) and apply the glue to the pieces you're gluing with a toothpick. Latex gloves would not go astray either.
I think your idea of practice is probably wise too.
Best of luck, let us know how you go!
Rank 8 - Deluxe Member
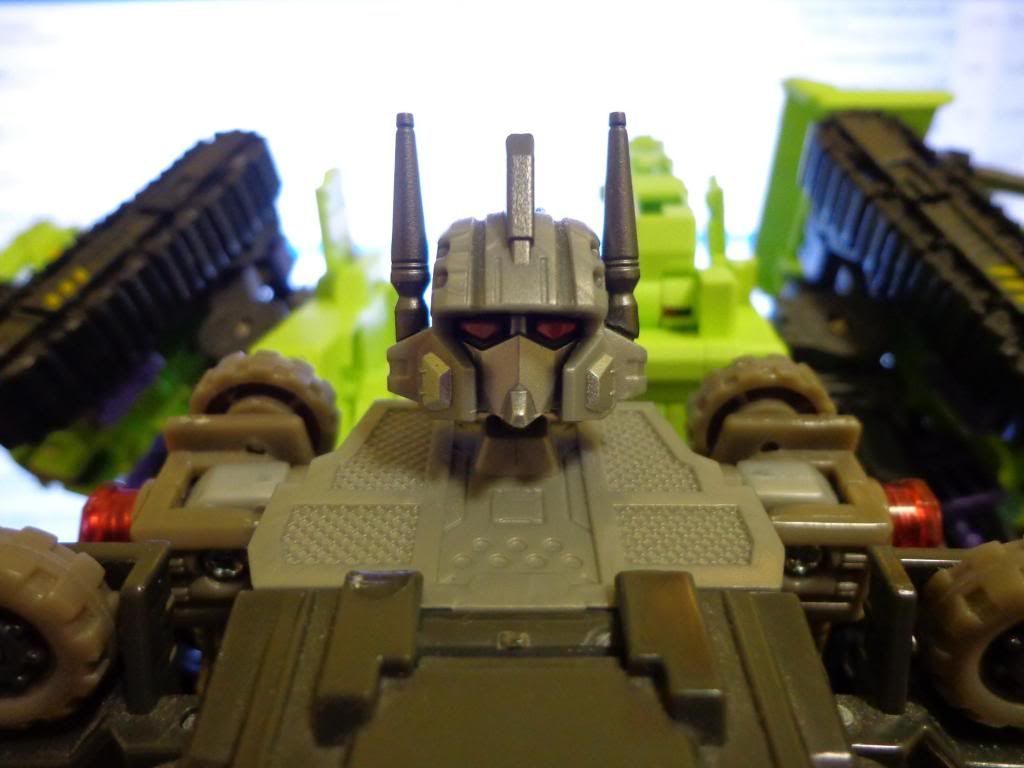
After a disgustingly long amount of time, I tried my first attempt at repairing FP Bruticus' left antenna.
Before going ahead I did query this advice:
Definitely went with the toothpicks, but a retired engineer said snapping the part completely off may prove more difficult because of the way 406 bonds -- it's easier to just get a smidgen, apply, and then hold the piece back into place. Same person also suggested to squeeze the bottle whilst recapping to prevent excess air from entering and affecting the product for future use. I went with that and am quite happy with the results:
The broken left antenna was hanging by a millimetre's amount of plastic, and hold on very well without stress marks despite being bent 30 degrees from its proper upright position - kudos on Fansproject for not cheapening on the plastic
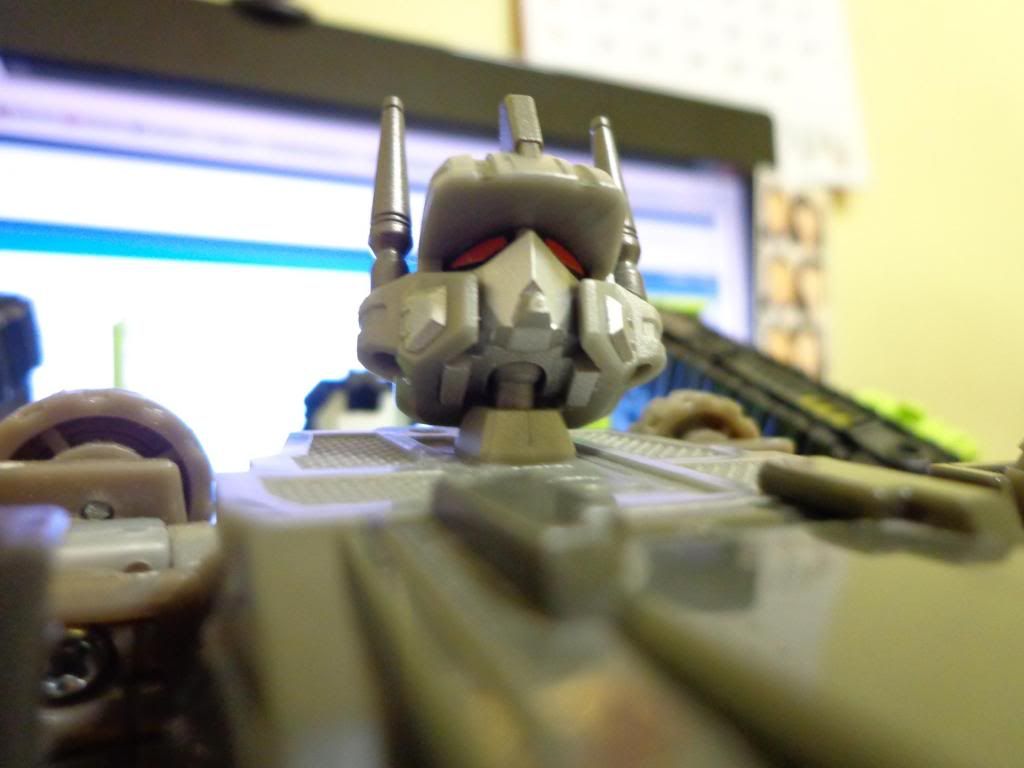
Damage is unnoticeable by the naked, but the my novice skill level in applying is seen at the base of the antenna cylinder when under a bright light.
Due to the way the head is constructed, the antennae are moulded separately and then pegged into the sides of the helmet. The repaired left antenna feels stronger than the undamaged right antenna, i.e. if I push on the right antenna it will move the whole head, but the undamaged antenna will give a bit of leeway if you nudge it.
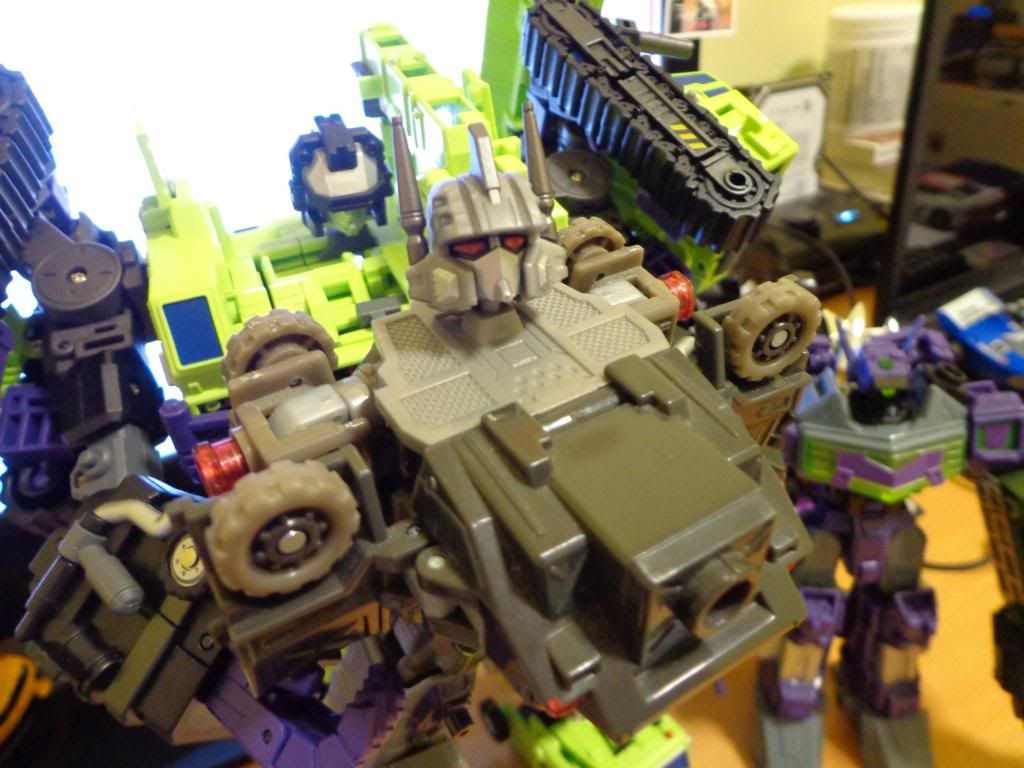
Very happy with the finished effect, but will NOT be transforming Onslaught with the FP Bruticus head attached again -- trying to get the antenna into Onslaught's fist holes is not fun. Will probably end up picking the Crazy Devy replacement LED head up as insurance now that its finally in stock after waiting half a year.
Final shot with Devastator holding up Bruticus' severed torso whilst Shockwave operates
変われ! ヘッドマスター! Kaware! Headmaster!
戦え! ヘッドマスター! Tatakae! Headmaster!
 Posting Permissions


 Reply With Quote