-
30th June 2013, 10:20 AM
#81

Nice. There's some really detailed work there.
-
2nd July 2013, 09:10 AM
#82
Looking great Mbot... Can't wait to see it finished 
-
6th July 2013, 09:00 AM
#83
Up next in my WIP - the head. The FR kit came with a custom head - or at least the front half of a custom head, which, while a much better looking head than the one the figure comes with, had a few issues:
1. On mine, the custom head was slightly thicker on one side, as if the mould it was cast in was tilted to one side. An easy fix with some sanding.
2. The custom head had no capacity for the light piping on the original head. I cut the light piping eyes away, as I still needed the part of the light piping on the back of the head. (see pics)
3. The front and the back half of the head do not match! They are more or less the same size but don't line up. a job for the epoxy putty!
4. I had no way of telling for sure if the neck ball joint will still work once the halves of the head are together - I used some blu-tak to stick the two halves together prior to working on the head and the ball joint seemed a bit loose. Might have to solve this one later...
Some pics:
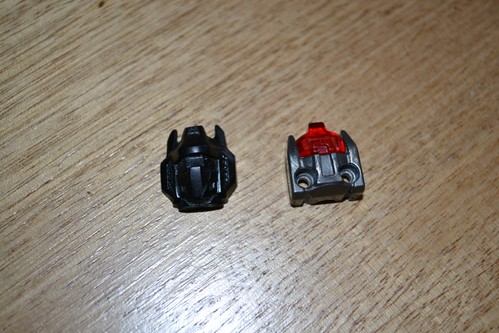
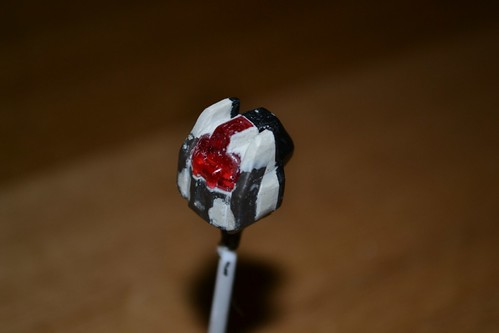
DSC_0895 by M-bot2011
The front and back halves of the head. I'll be painting the whole thing black later on, and seeing if I can get the glow effect thing happen on the eyes. You'll notice a scratch on the face plate of the custom head, must have come from the casting process. I deepened it slightly, and added an adjacent scratch on the visor section. Voila, battle damage!
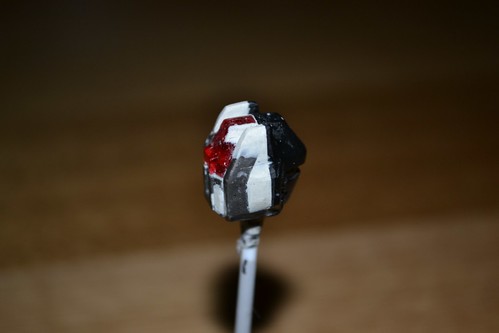
DSC_0897 by M-bot2011
This is the 2 sections together - you'll notice the difference between the horns, crest, and side pieces.
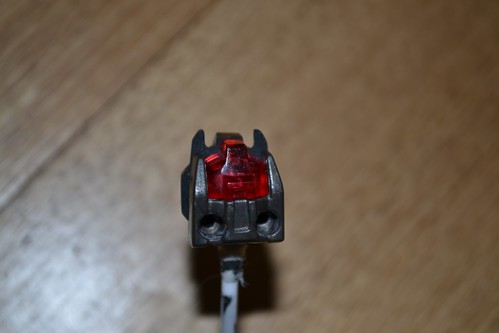
DSC_0898 by M-bot2011
From the front, the back half has corners at the bottom that stick out. Where's that exacto knife?
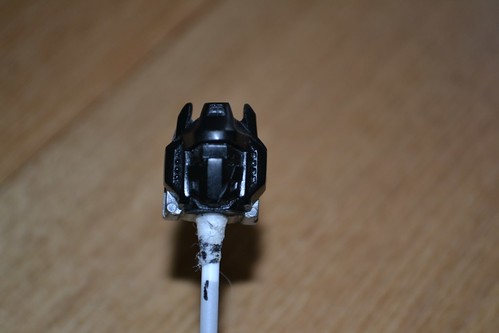
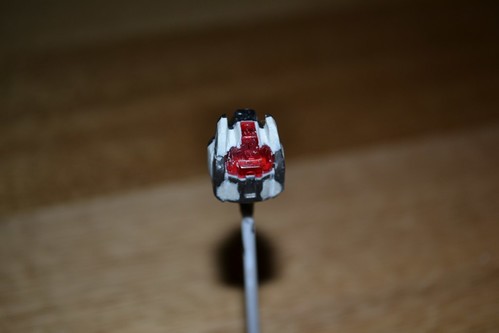
DSC_0905 by M-bot2011
After some filling in with the epoxy putty and trimming of those bottom corners.

DSC_0906 by M-bot2011
From the back, with half the filling in of the horns and crest done, as well as the screw holes from the back.
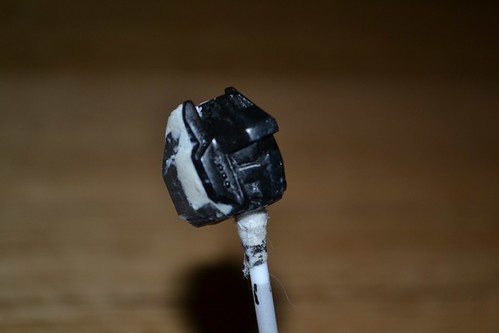
Here's all the trimming, cutting, shaving and filing done. I'll probably sand it down a bit finer before applying paint. I'm pretty happy with the results so far!
DSC_0920 by M-bot2011
DSC_0921 by M-bot2011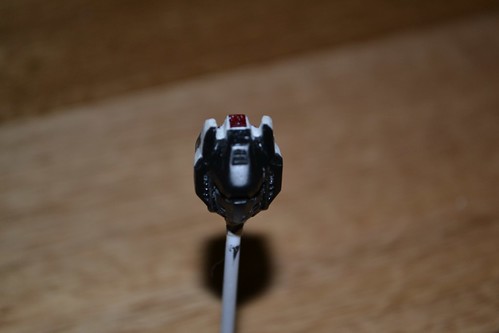
DSC_0927 by M-bot2011
DSC_0930 by M-bot2011
-
7th July 2013, 01:29 AM
#84
cool stuff bro .... heaps better then what FR told us to do `! was kinda disappointed when i saw that video...
-
25th December 2013, 10:15 PM
#85
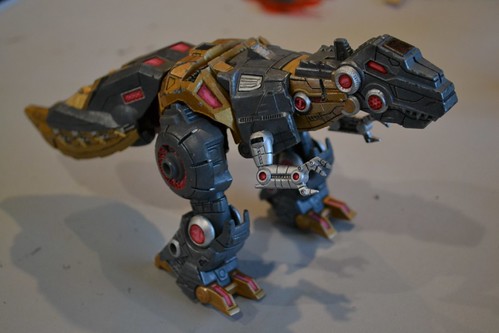
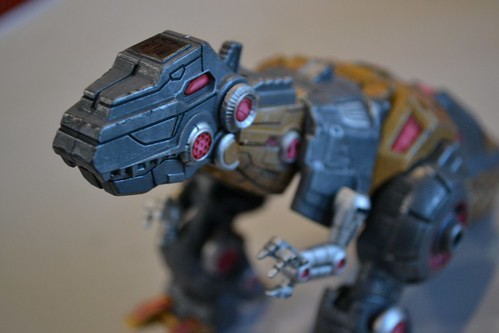
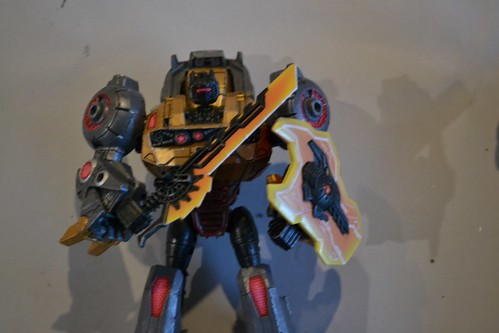
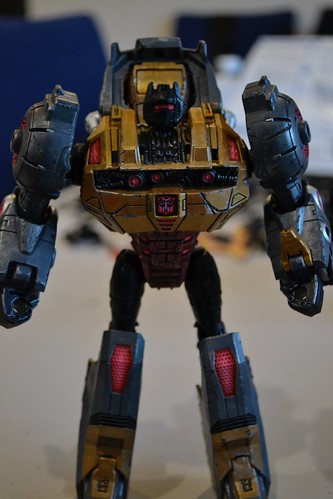
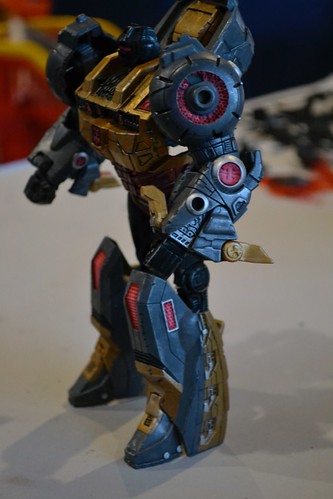
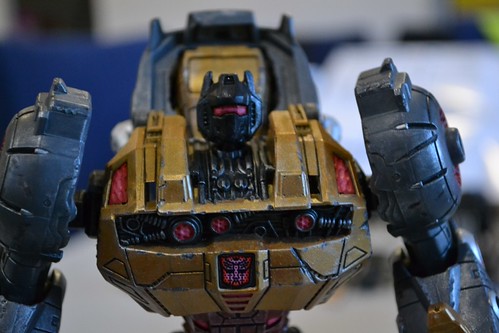
Finished product
It occured to me today that I never put up pics of the completed custom. It's not all my fault: mostly because it is not entirely complete. My kit from the Frenzyrumble customising class was short one of Grimlock's toes, and I'm awaiting delivery of the extra toe. So you'll notice the missing toe in some of the pics.
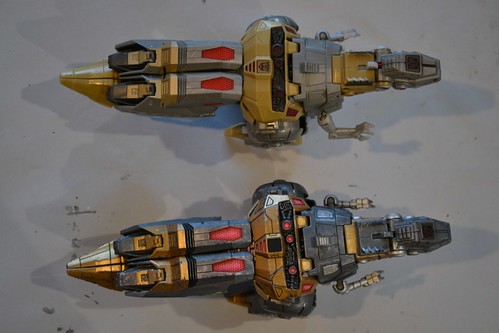
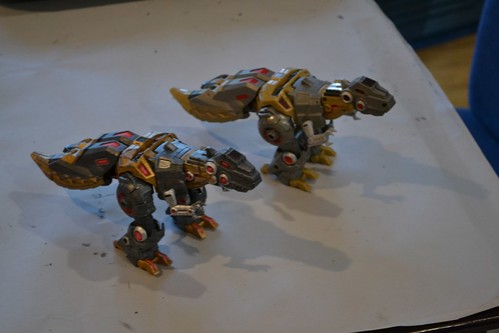
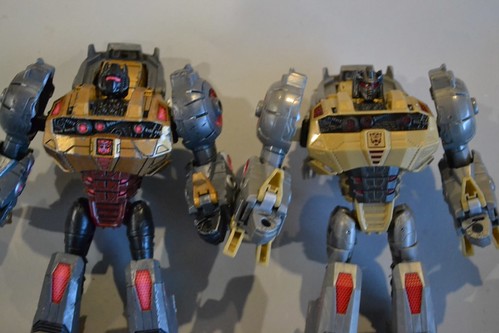
I've also included some comparison pics with a 'vanilla' FOC Grimlock for comparison. I'm still not enamoured with the mould, but I entered the class as a learning experience, and the custom model is frankly a hugely better toy for the paint job and weathering.
DSC_0401 by M-bot2011
DSC_0403 by M-bot2011

DSC_0404 by M-bot2011
DSC_0415 by M-bot2011
DSC_0409 by M-bot2011
DSC_0411 by M-bot2011
DSC_0408 by M-bot2011
...and the comparison shots...
DSC_0399 by M-bot2011
DSC_0398 by M-bot2011
DSC_0413 by M-bot2011

DSC_0414 by M-bot2011
-
25th December 2013, 10:47 PM
#86
it a huge different over the orig ! nice
-
25th December 2013, 11:07 PM
#87

Great work, M 
I'm especially fond of all the dings and chips on him
 Posting Permissions
- You may not post new threads
- You may not post replies
- You may not post attachments
- You may not edit your posts
-
Forum Rules


 Rank 9 - Board Staff


 Reply With Quote