Update!
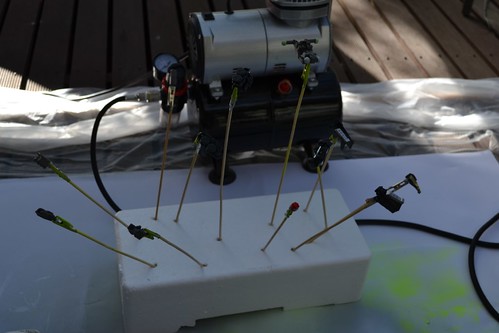
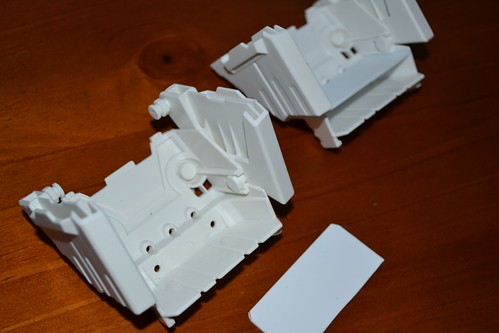
More gap filing. Pics might be getting a bit boring at this point, but this is an important part of the final result. I fully expect to spend way more time on prep than painting, which will give me a good result in the end. My deadline's about 6 weeks away, so I've been working pretty hard.
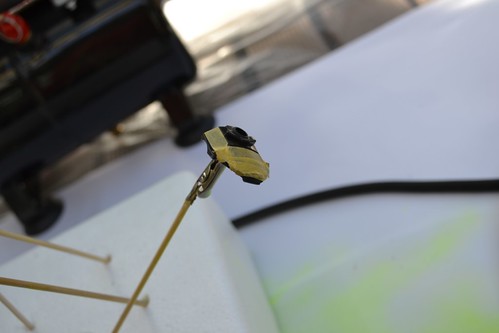
DSC_0123 by M-bot2011
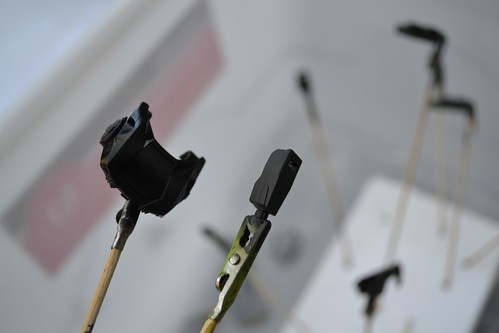
DSC_0143 by M-bot2011
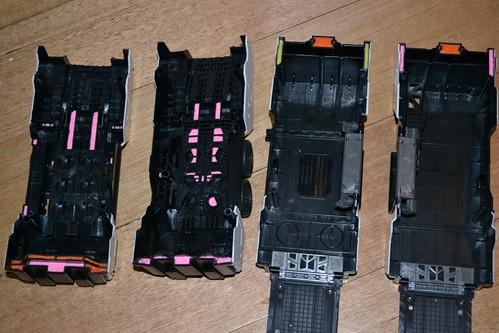
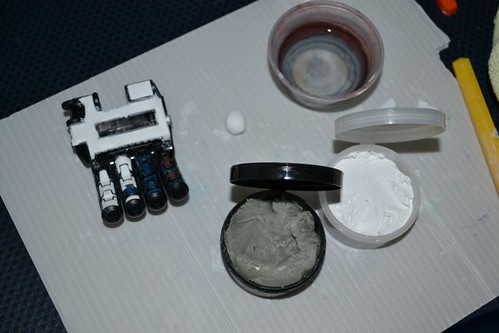
As you can see, when I run out of one colour, I move onto the next.
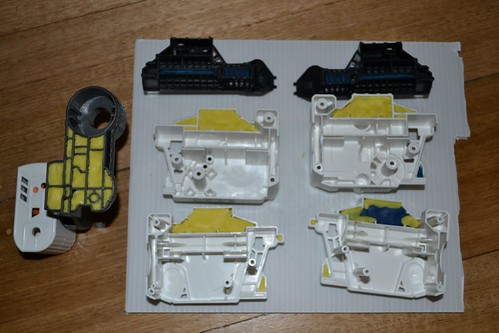
In the legs, I have a slightly different problem to the weight issues I discussed last time. The heavier the legs are, the easier it is going to be to balance the figure, lowering the centre of gravity. The lower legs are largely hollow, and hence, I stuffed as much plasticine low in the legs as I could fit, in areas that wont be seen in the finished product.
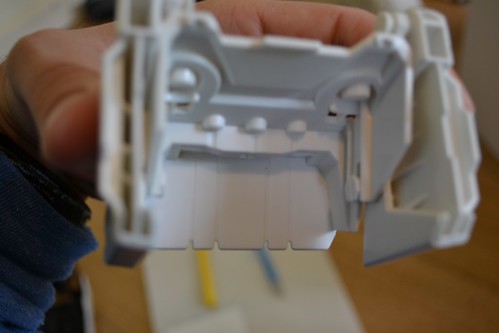
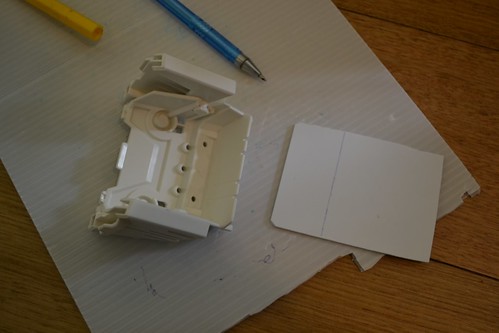
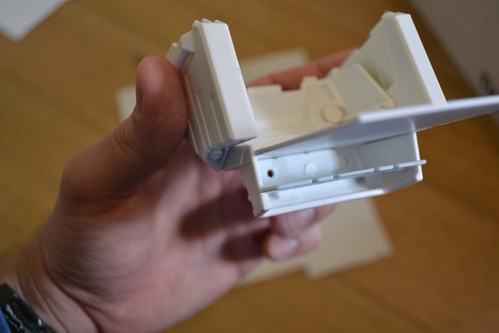
In addition, I found a little ridge in the inside of the feet that gave me an idea, and an opportunity for a little kitbashing...
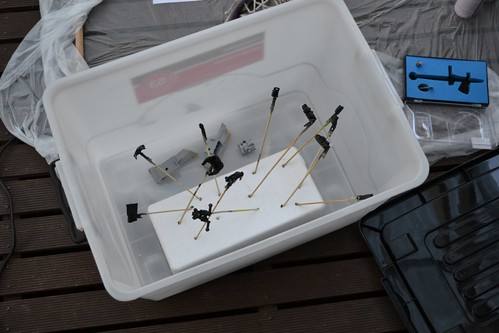
DSC_0127 by M-bot2011
I cut some styrene foam to size and slid it in to the ridge, creating a little compartment in the front of the foot, to add a space for more plasticine.
DSC_0128 by M-bot2011
DSC_0130 by M-bot2011
DSC_0142 by M-bot2011
More pics of this when it's all the way done.
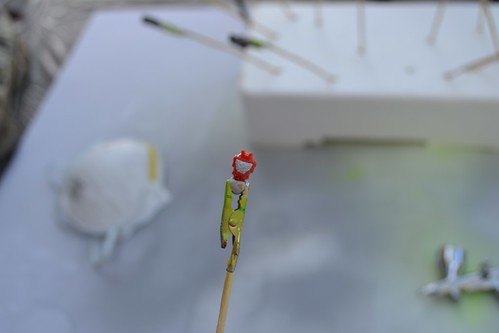
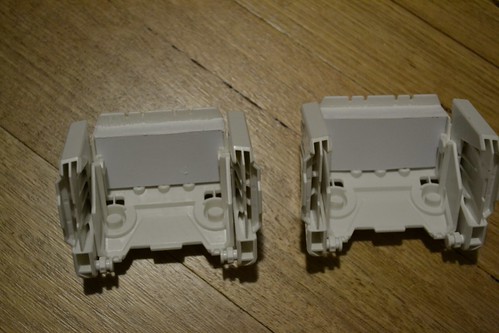
I've finished with the plasticine filling, I'm about 2/3 of the way through the epoxy putty over the outside. I got the stuff I'm using on eBay, way cheaper than the "Green Stuff" epoxy putty I've used before. On the plus side, the stuff I'm using is white, not green, so I'm expecting it will be easier to paint over in the end. On the downside, it's very very sticky, and not quite as easy to work with.
DSC_0141 by M-bot2011
Still need to trim and sand it down, but so far, so good.
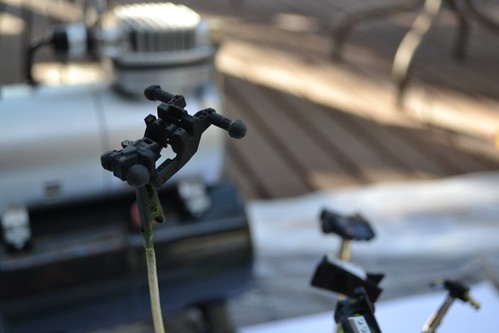
The biggest job - once again, it's the hands. Doing my head in! Small and fiddly, but even before the paint job, it looks so much better with nice cylindrical (and not hollow!) fingers.
DSC_0139 by M-bot2011
DSC_0140 by M-bot2011
More updates soon! Many thanks for all the positive comments.


 Reply With Quote
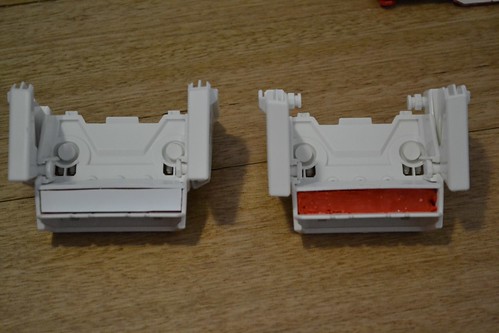

 Can't wait for the final showpiece.