-
1st April 2014, 03:37 PM
#111

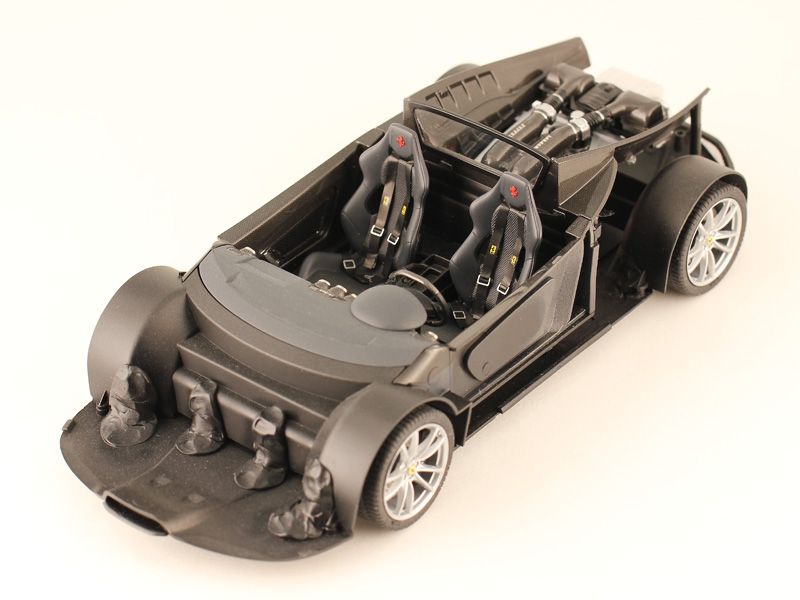
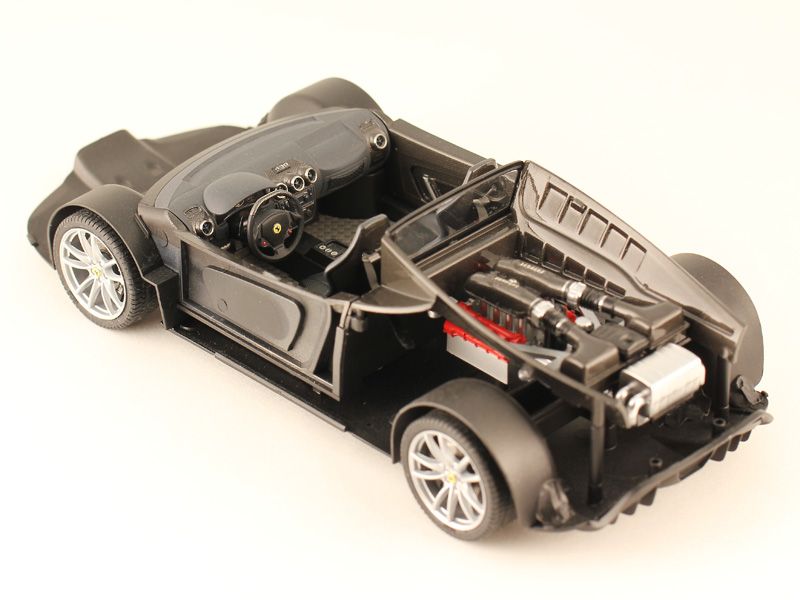
I was searching for a way to reproduce alcantara when I came across this guy's page. Such a brilliant idea I had to try it out.

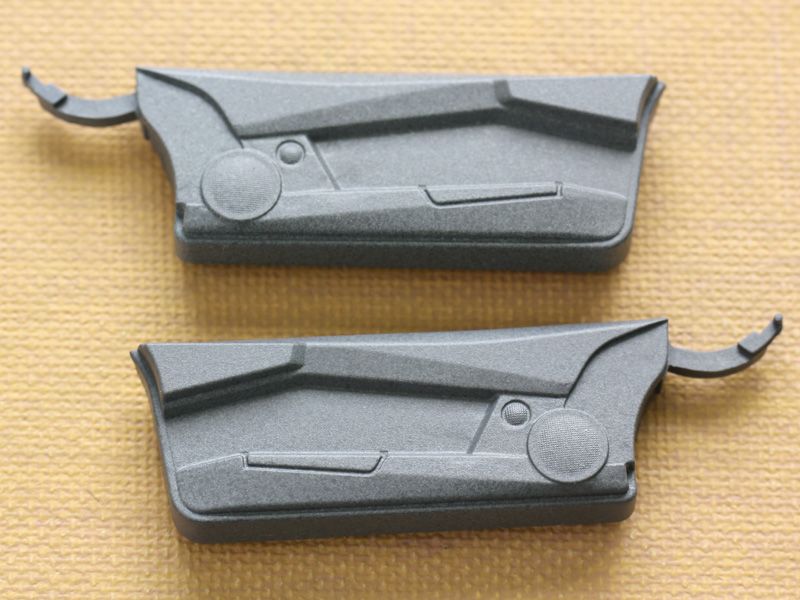
I just shaped some sprue and applied putty to my airbrush. When set I can remove and replace it as needed.
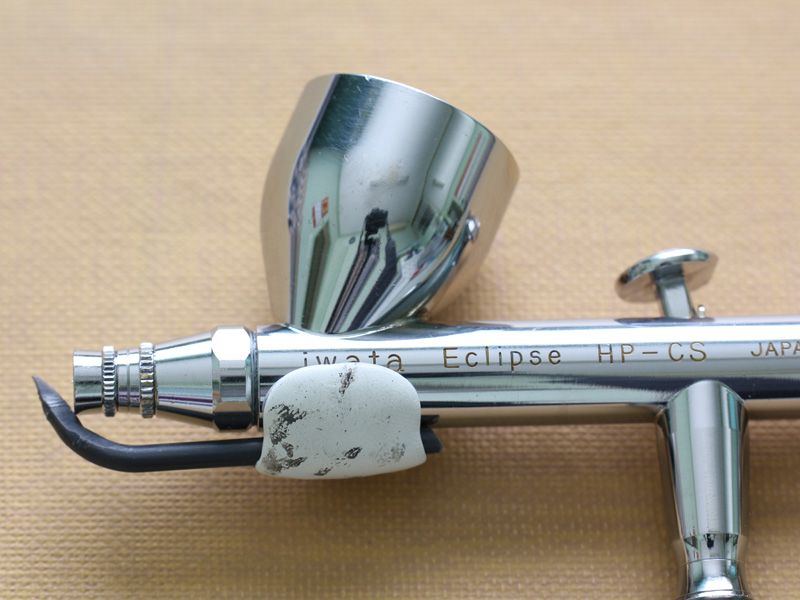
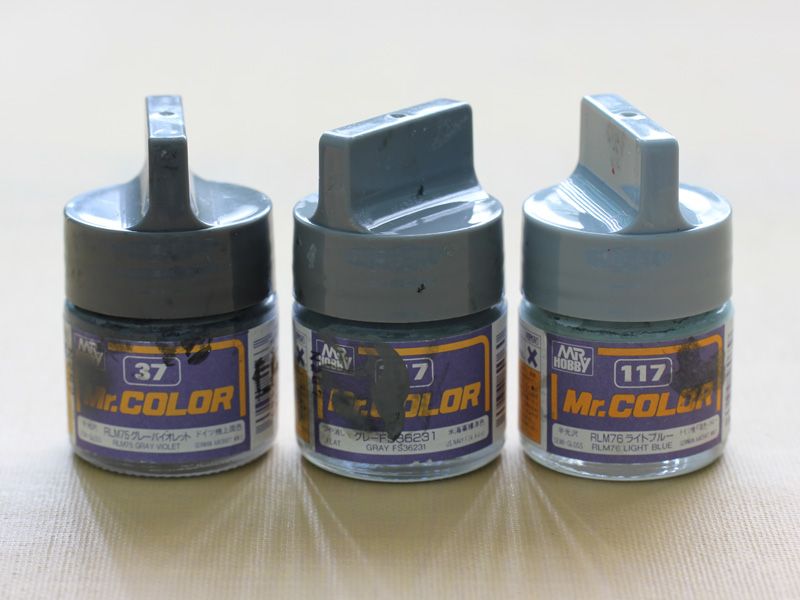
I used 3 paints going from dark to light.
Creates an interesting effect. Not quite the look I wanted but I think it would be perfect for painting carbon brake discs.
-
1st April 2014, 06:21 PM
#112
wow that looks great. i'll post a few pic's of my feeble attempts of airbrushing from the weekend a little later.
-
1st April 2014, 11:19 PM
#113
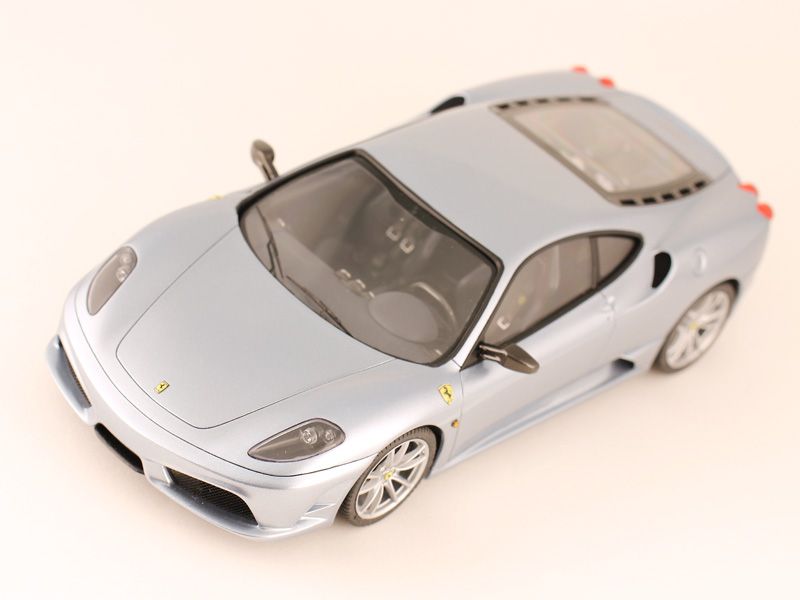
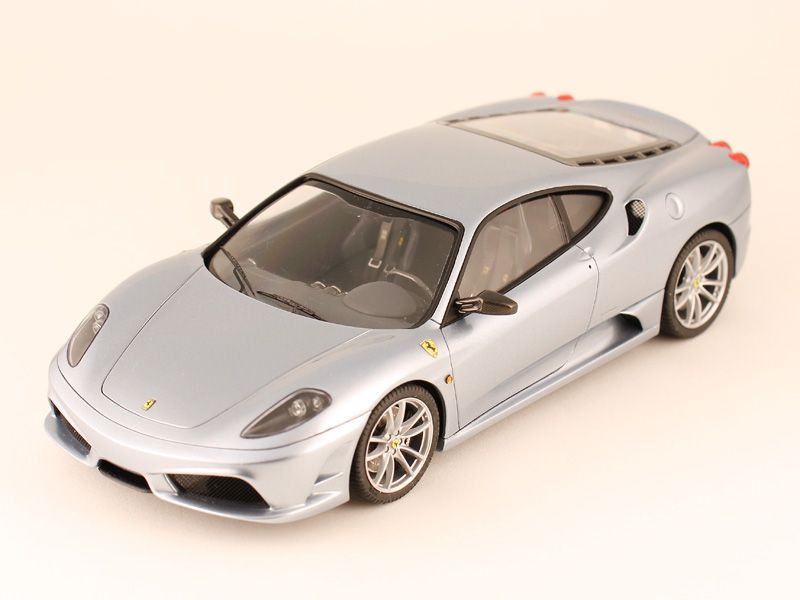
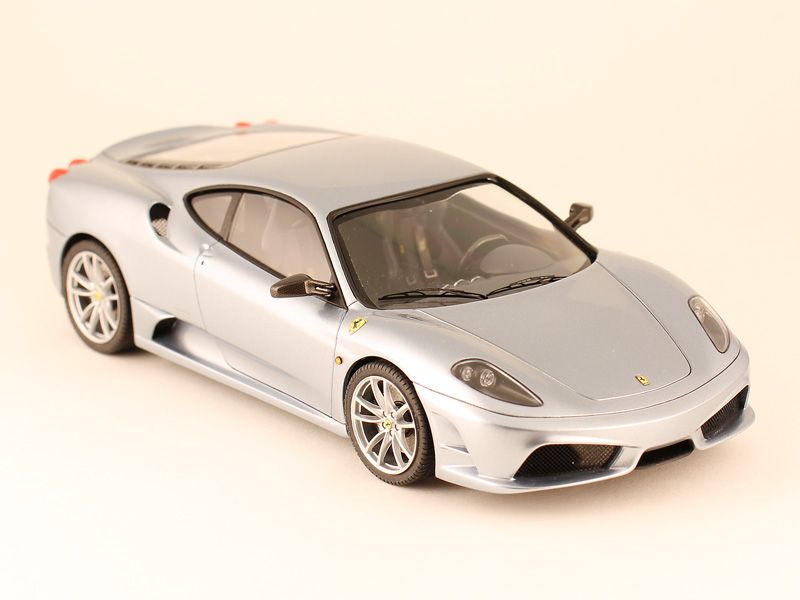
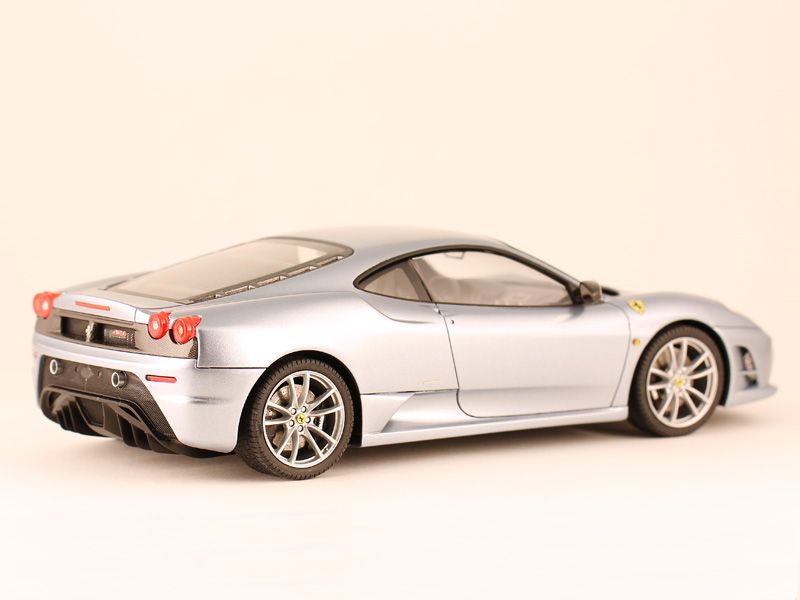
Put together a photo session so here are some new pics.
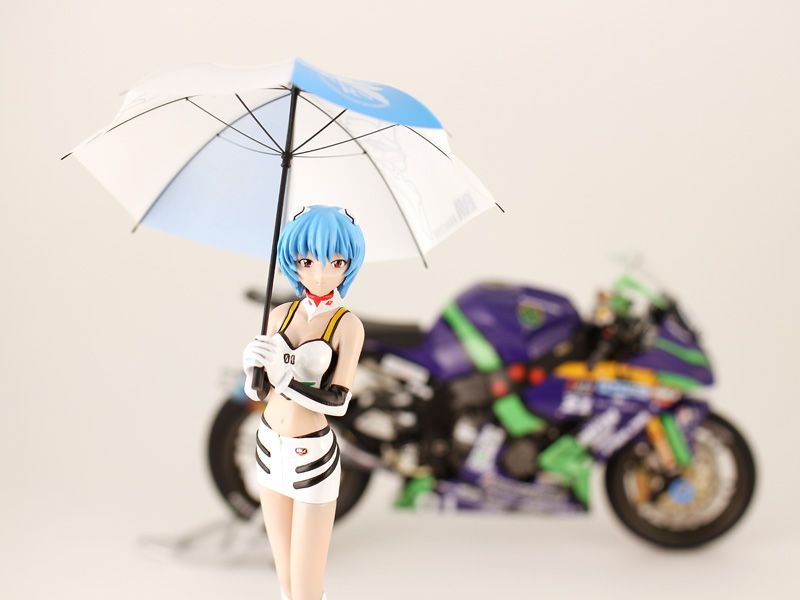
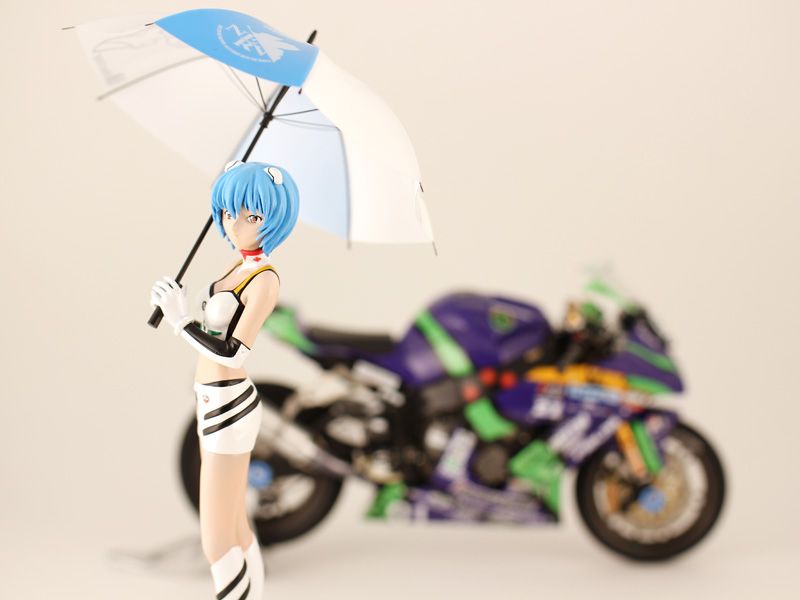
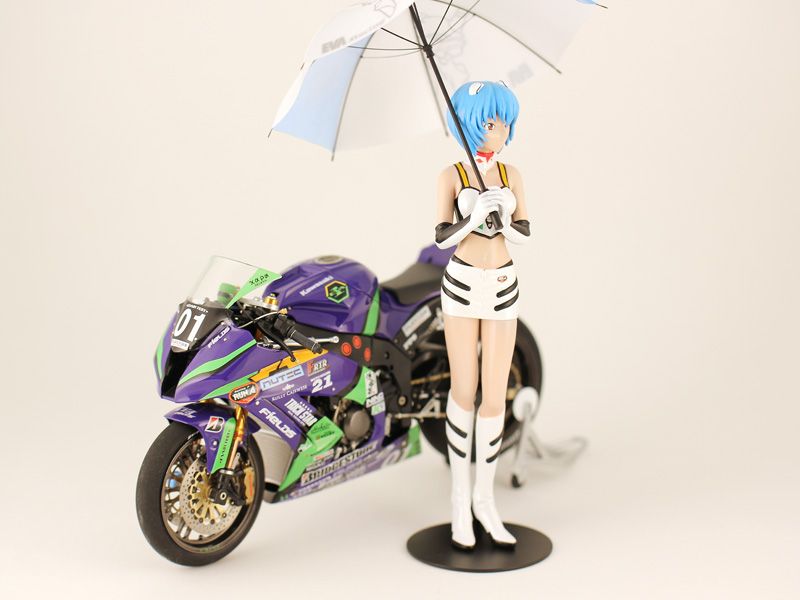
Fujimi Ferrari F430 Scuderia
-
3rd April 2014, 08:25 AM
#114
Nice photos! I like the alcantara effect you achieved, even if it's not quite right up close, it'll probably be close enough once the body is closed up. It might be worth experimenting to see if you can alter the spatter pattern - I think with a finer spatter and maybe mixing your lightest colour to be slightly darker or translucent you might get a near perfect match.
-
3rd April 2014, 09:16 AM
#115
The translucent colour might be the way to go. I'll have to do some more experimenting.
-
4th April 2014, 03:56 PM
#116
Very nice work. I have to start work on my Dendrobium kit.
-
6th April 2014, 04:34 PM
#117
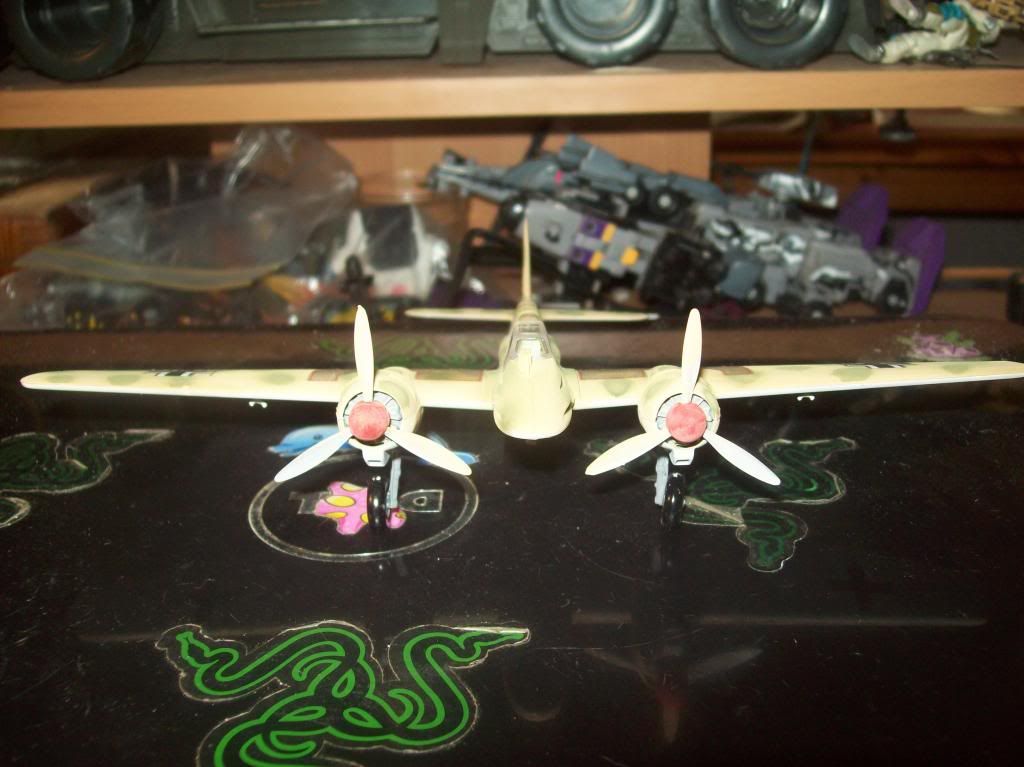
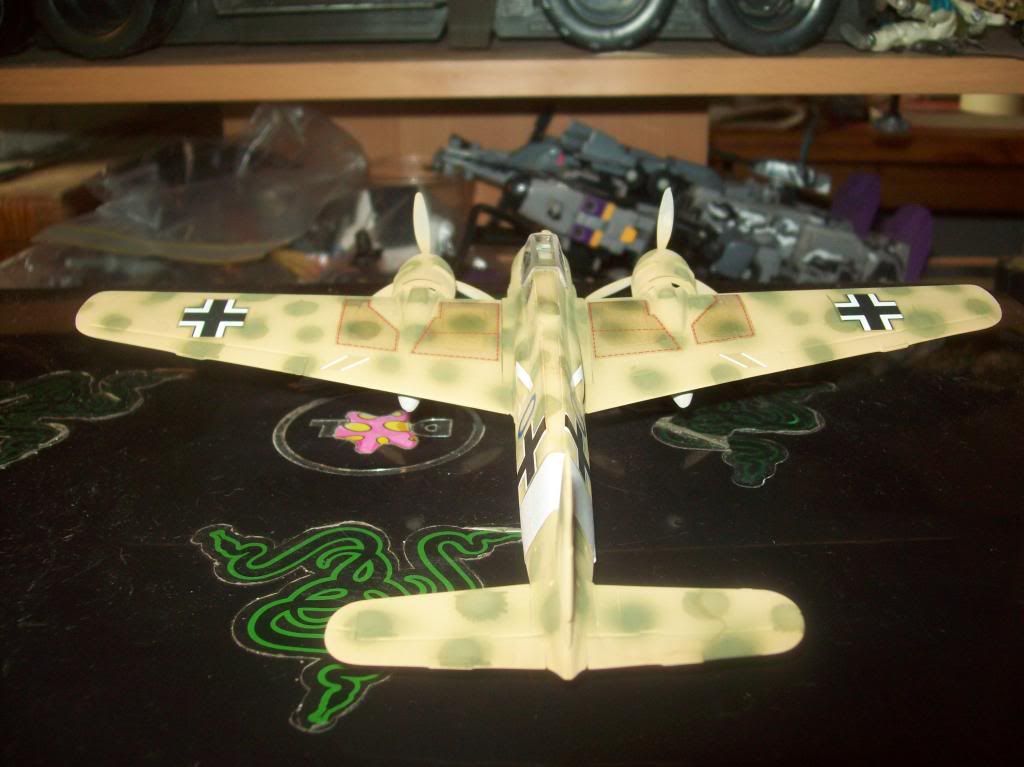
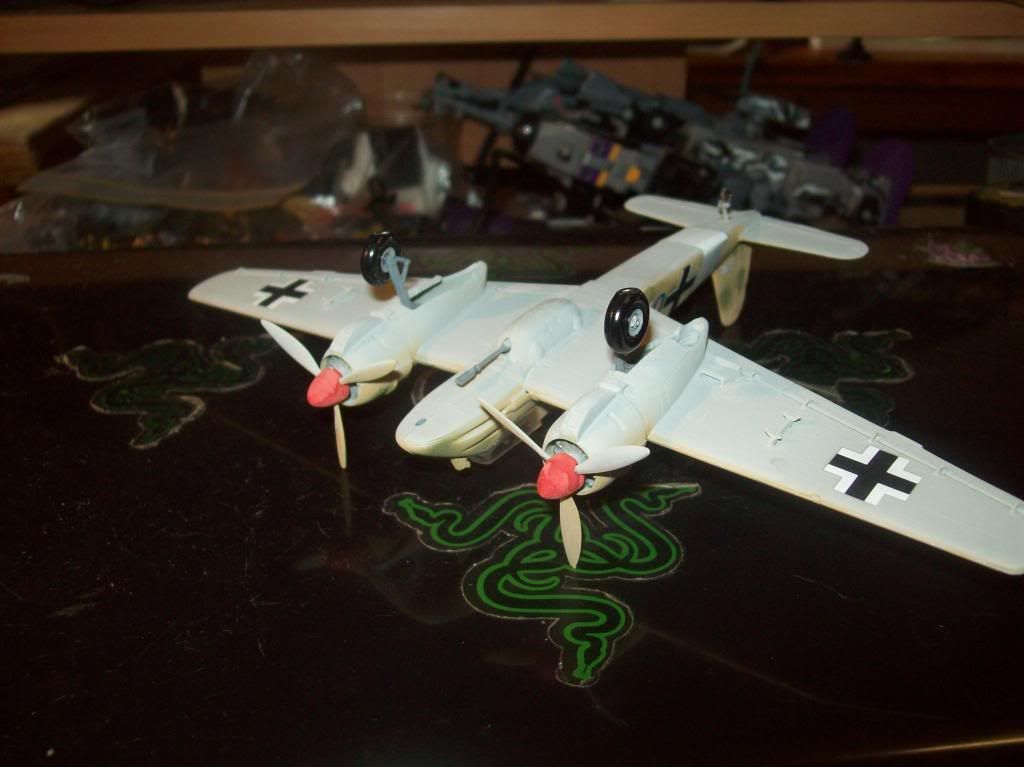
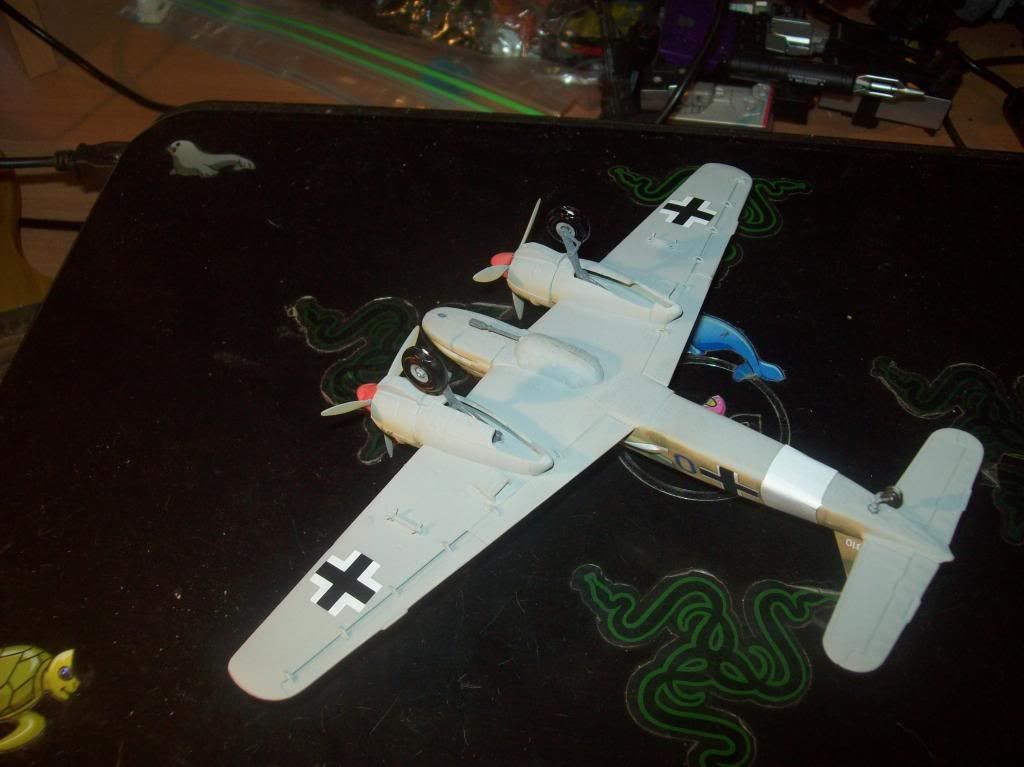
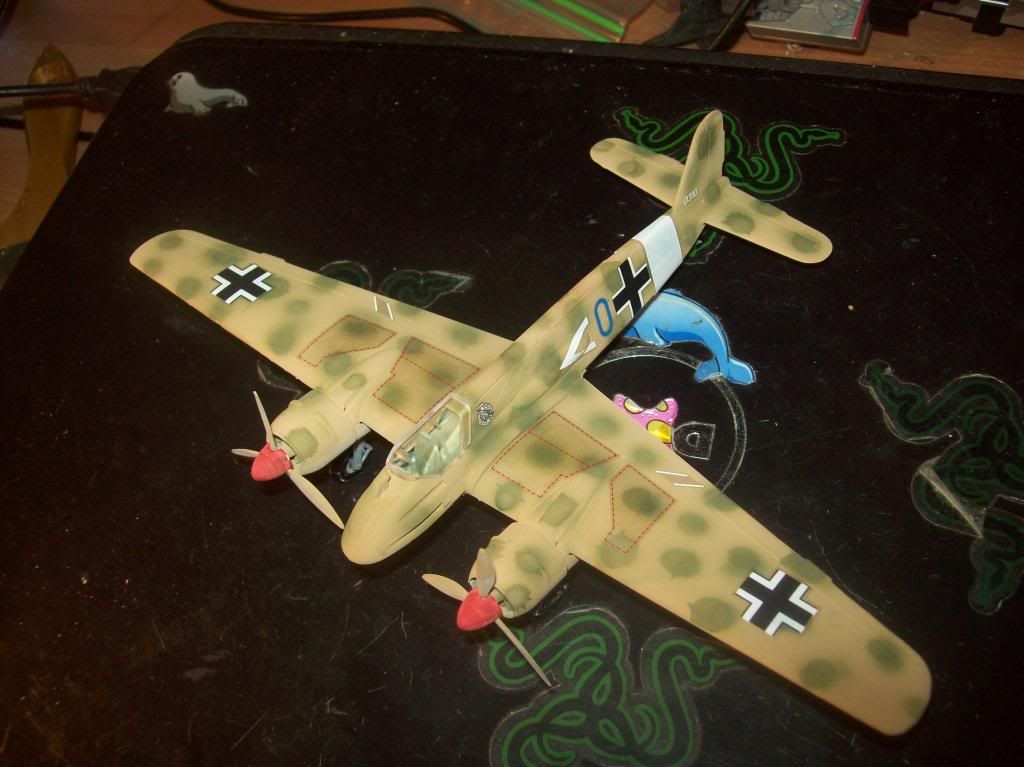
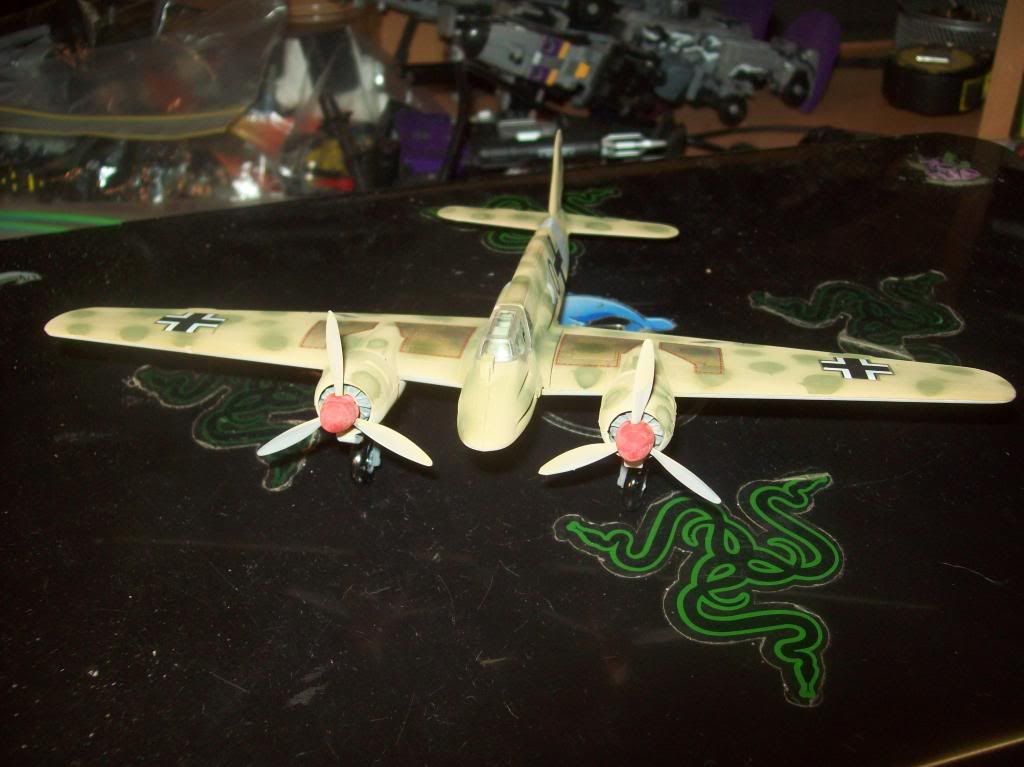
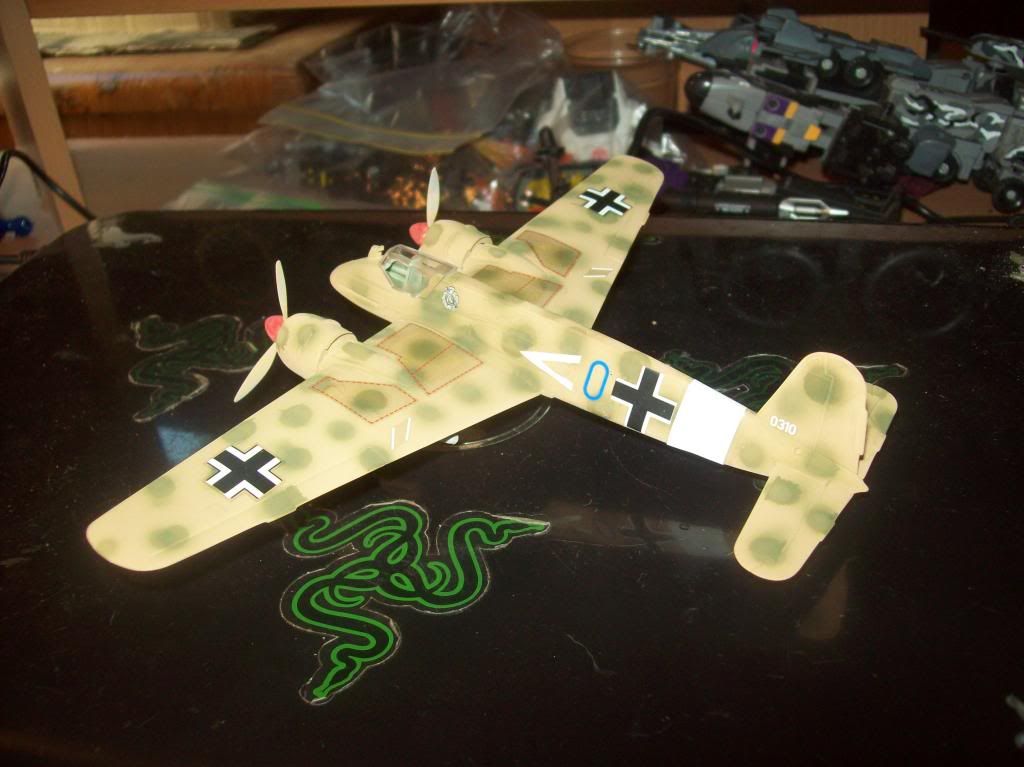
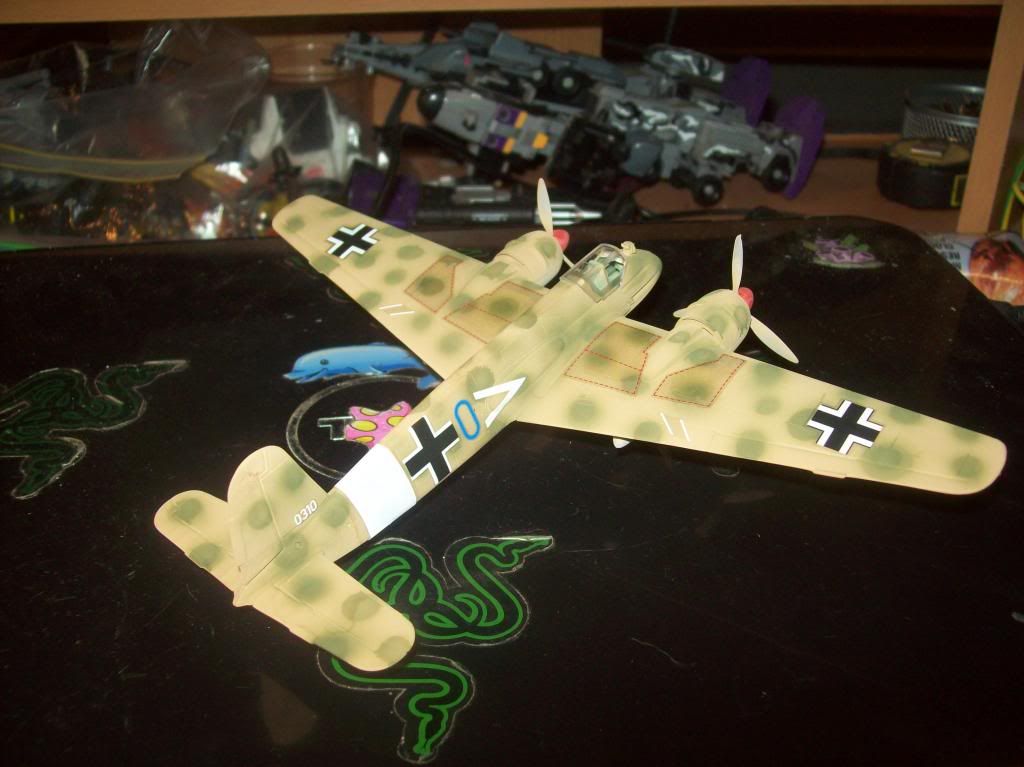
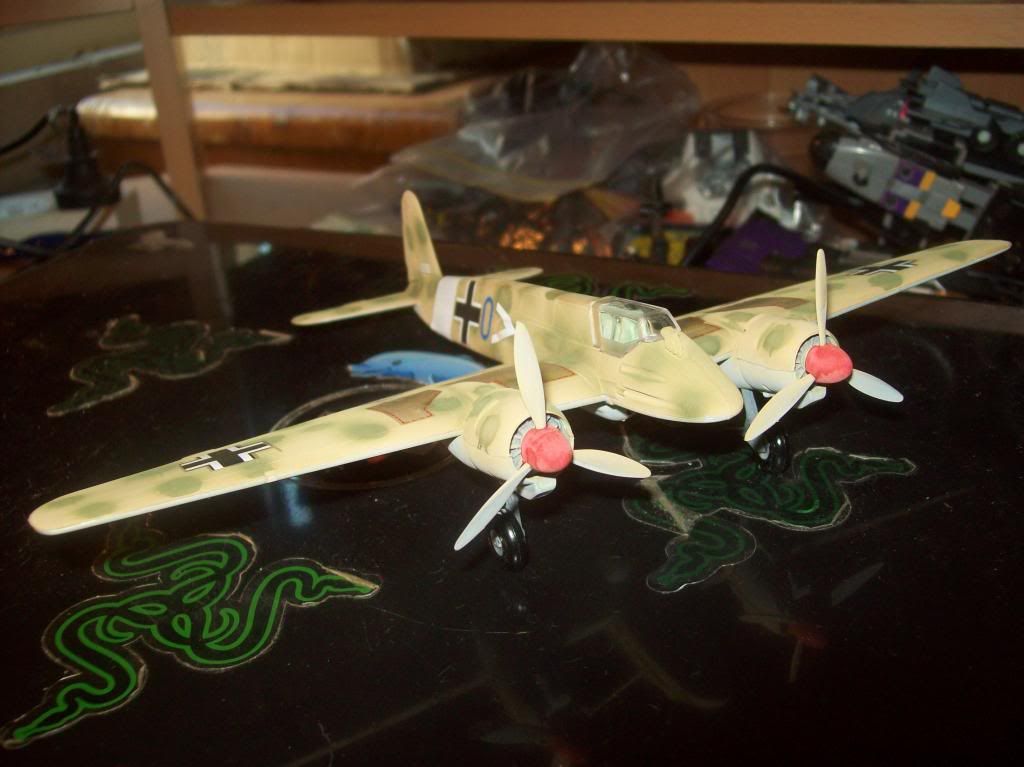
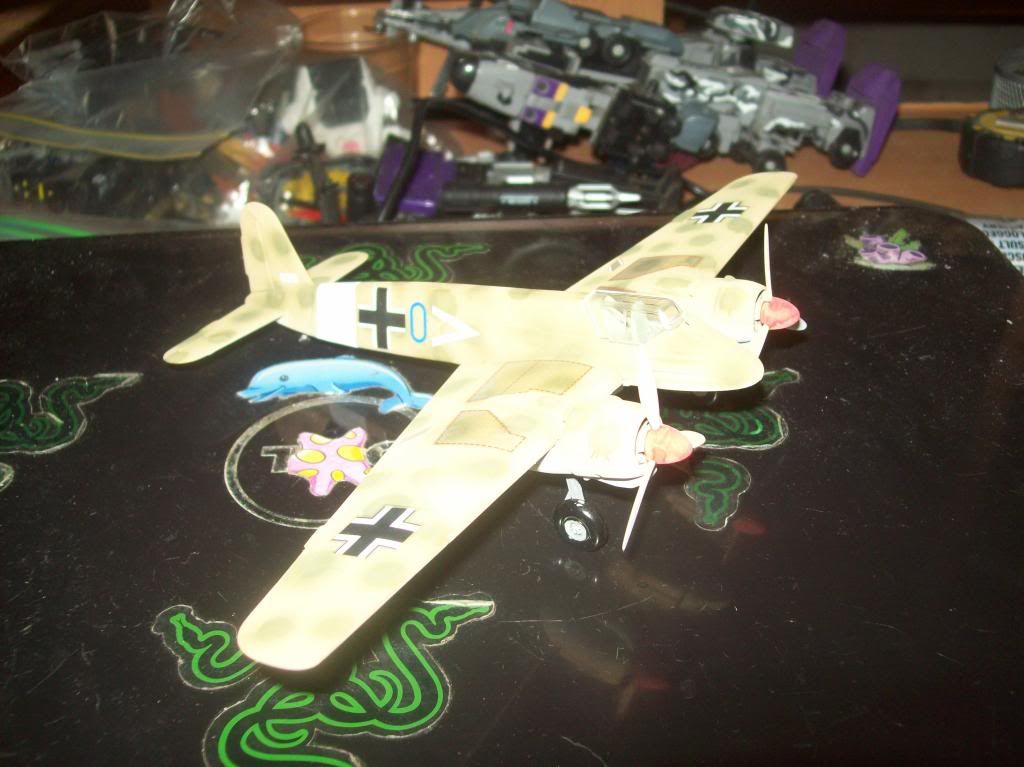
i went down to toyworld today to see if they had anything new in stock(nope nothing new and they are actually running out of kits. looking pretty bare) and i found a kit that i wanted as a kid, a Hs-129 B-2. unfortuantly it's made by italeri(it was cheap tho) and they ain't known for well made kits but i was able to do something with it and it turned out pretty good.i added some copper wire to the landing stalks to represent brake lines and what not. it was also my first fully painted kit i did with a airbrush. i experimented with the mottle on the aircraft and with pratice i should get better.the decals are pretty crap as i have no decal softner and toyworld hasn't stocked any in a long time so i'll be getting some soon online. any tips are welcome.


-
6th April 2014, 06:17 PM
#118
You've got a nice gradation from the top colour to the bottom. For the spots it looks like the air pressure is too high. Lower it a bit and don't pull back the trigger so much. Just build the colour up slowly.
This guy has really good tutorials.
-
6th April 2014, 06:47 PM
#119
thanks for the tip. i'm gonna check his vid's out after dinner and have a bit of a practice. i love the WW2 german warplanes and the camo on them is a nightmare to do. i'm really hoping to learn it so i can do further kits that are more of a challenge.
-
6th April 2014, 07:40 PM
#120
Not bad for a first attempt! Your camo dots have started to run a little bit so you might want to dial back on the trigger, and use slightly thicker paint.
One technique that might be helpful is to make a 'raised mask'. Basically, cut out a hole in a piece of stiff card, then either hold it or use a small ball of blutack/tape/whatever to position it a few millimeters above the model surface. You can start spraying on the mask to get your paint/air mix right, then move it over the cut-out giving a nice soft-edged pattern.
Practise makes perfect. 
Here's a couple of pages from an issue of FineScale Modeler which discusses how to identify and fix some common problems with airbrushing:
Page 1
Page 2
Edit:
With your decals, you'll often get better results if you trim as much clear film off as possible. With the wing decals, it's probably easier to cut them into individual strips first and position them by hand. Add some decal softener and they'll look fantastic, without the discolouration from the clear film.
 Posting Permissions
- You may not post new threads
- You may not post replies
- You may not post attachments
- You may not edit your posts
-
Forum Rules


 Reply With Quote


