-
17th July 2021, 05:26 PM
#1
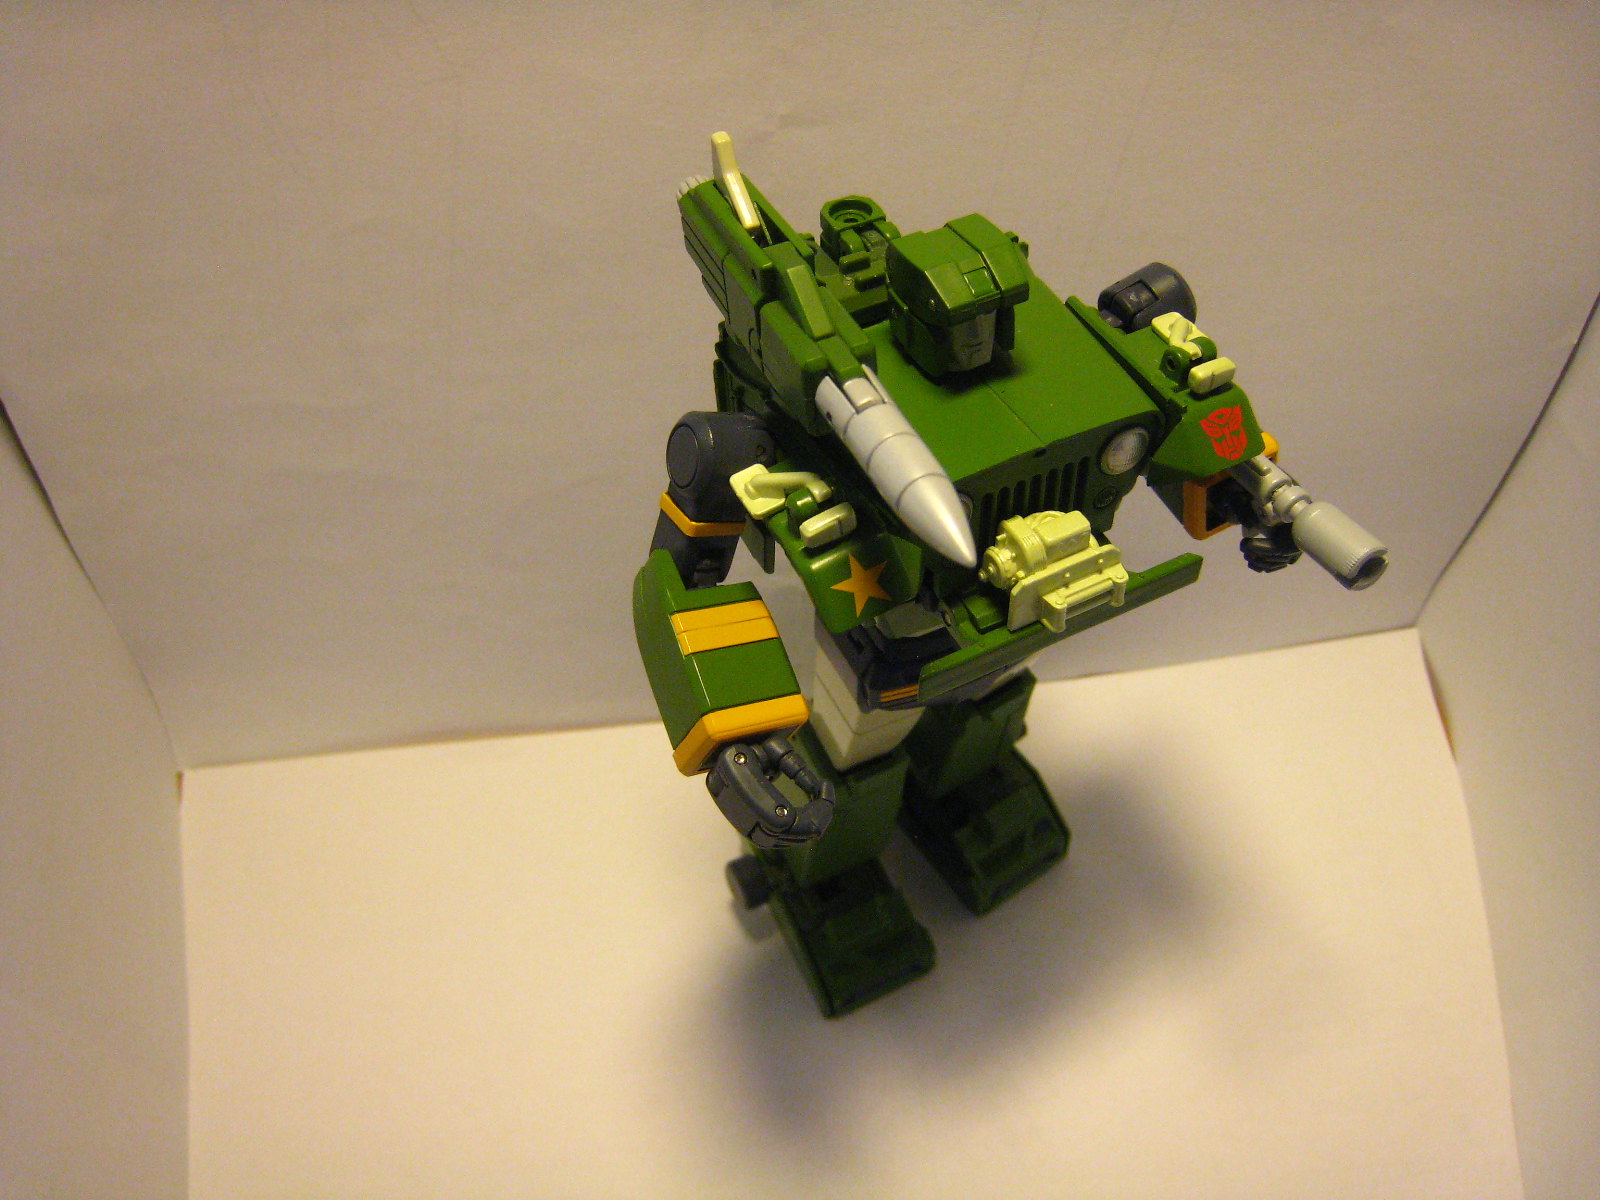
 MP-47 Hound shoulder missile armature crack repair
I got Hound in perfect condition but it's well known that he had many breakage problems, eventually acknowledged to be due to poorly made plastic, resulting in brittleness. Many Hounds were broken in the box and many on first transformation. Mine was ok for at least a year. I had only transformed him once (new-in-box car to robot) then placed on display with some posing on occasion. After nearly 1.5 years, I checked on him and found cracks as in the photos below. The 5 cracks were in the usual reported areas - 3 at the shoulder missile armature around the screw, 1 at the side at the door hinge and 1 at the back below the knee.
So this post is about how I addressed the armature crack.
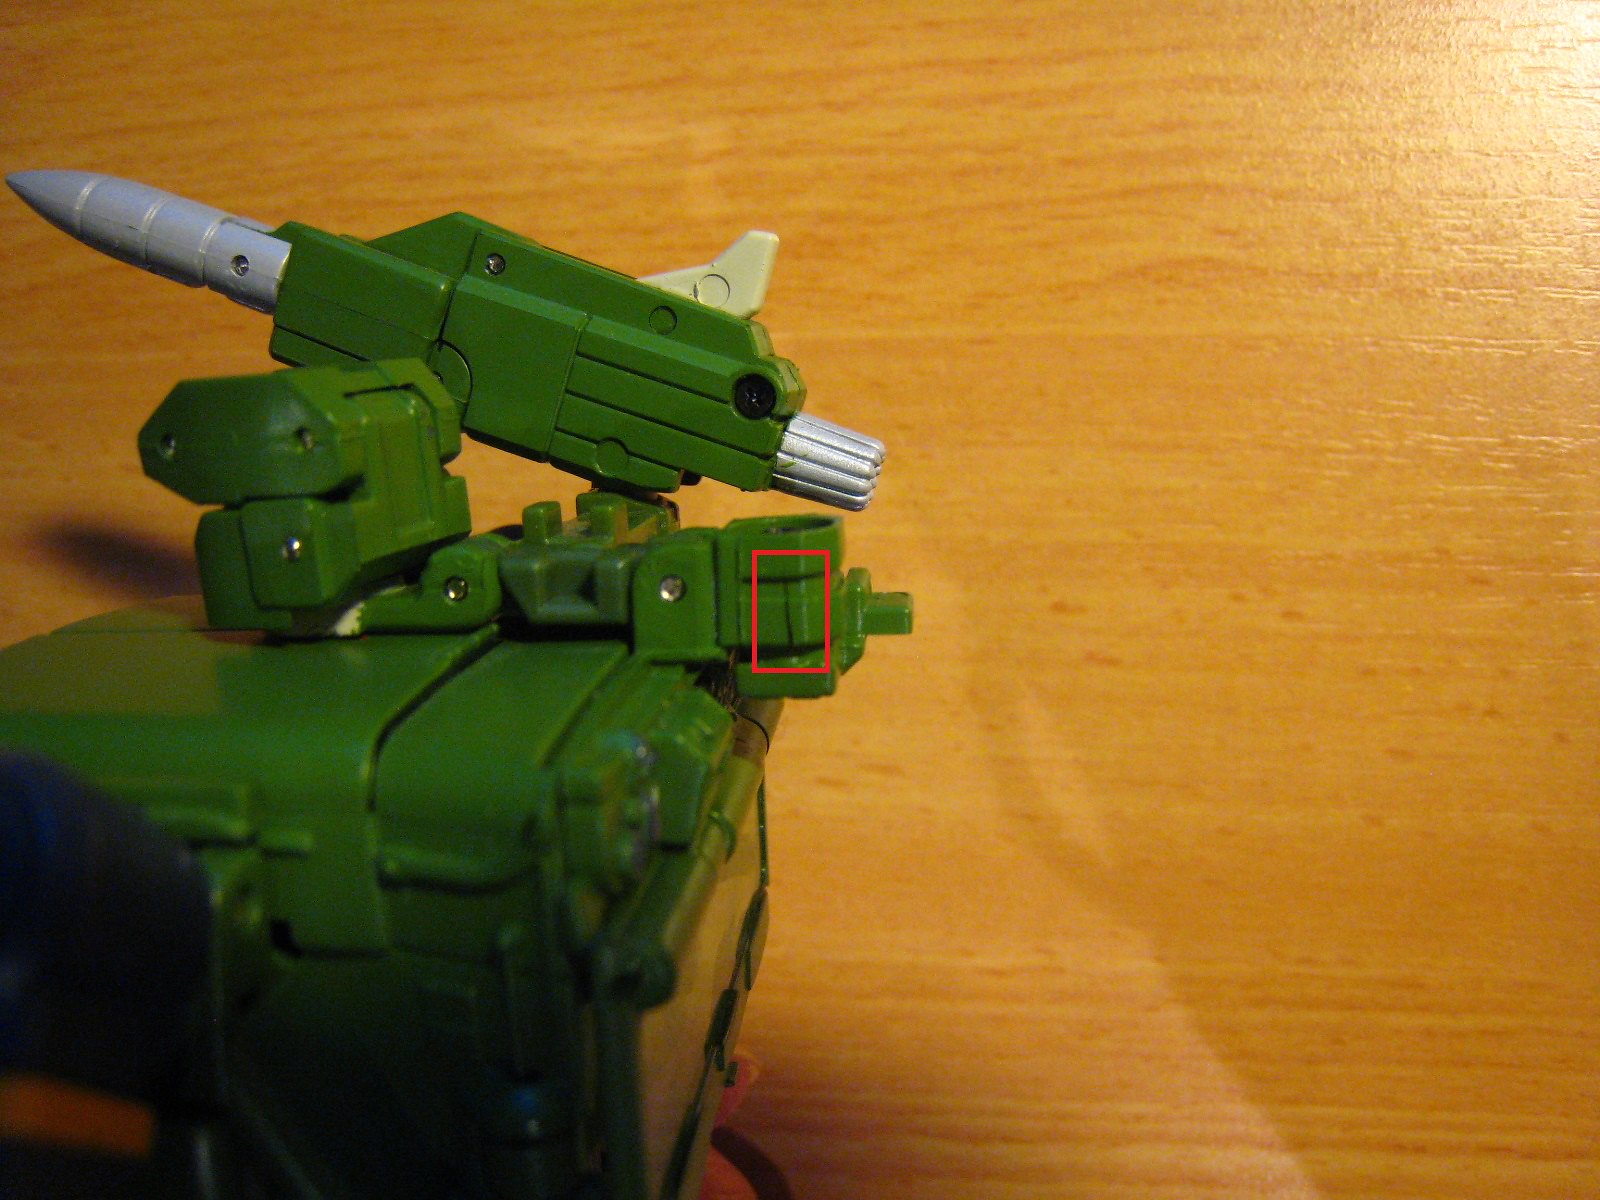


I removed the screw at the armature. I used a JIS screwdriver because some people reported difficulty removing the screw, and damaging it, with a regular Philips head. My screw came out easily and I perhaps could have just used a regular Philips. I would advise trying a Philips first and if you struggle then buy a JIS screwdiver set (mine cost about AUD$30 from Amazon but they are good/safe for any Japanese screws e.g. cameras, toys, electronics). Perhaps the reason my screw came out easily was due to the peg being cracked as shown below. Removing the screw narrowed the peg cracks. So, in my case, the screw was expanding the peg plastic, which was expandng the armature ring plastic, and cracking both (actually the poor plastic is the primary fault). Some people have only had the armature ring crack and have consequently sanded down the peg. But it's worth checking if the screw is creating the pressure, especially if sanding the peg weakens it.
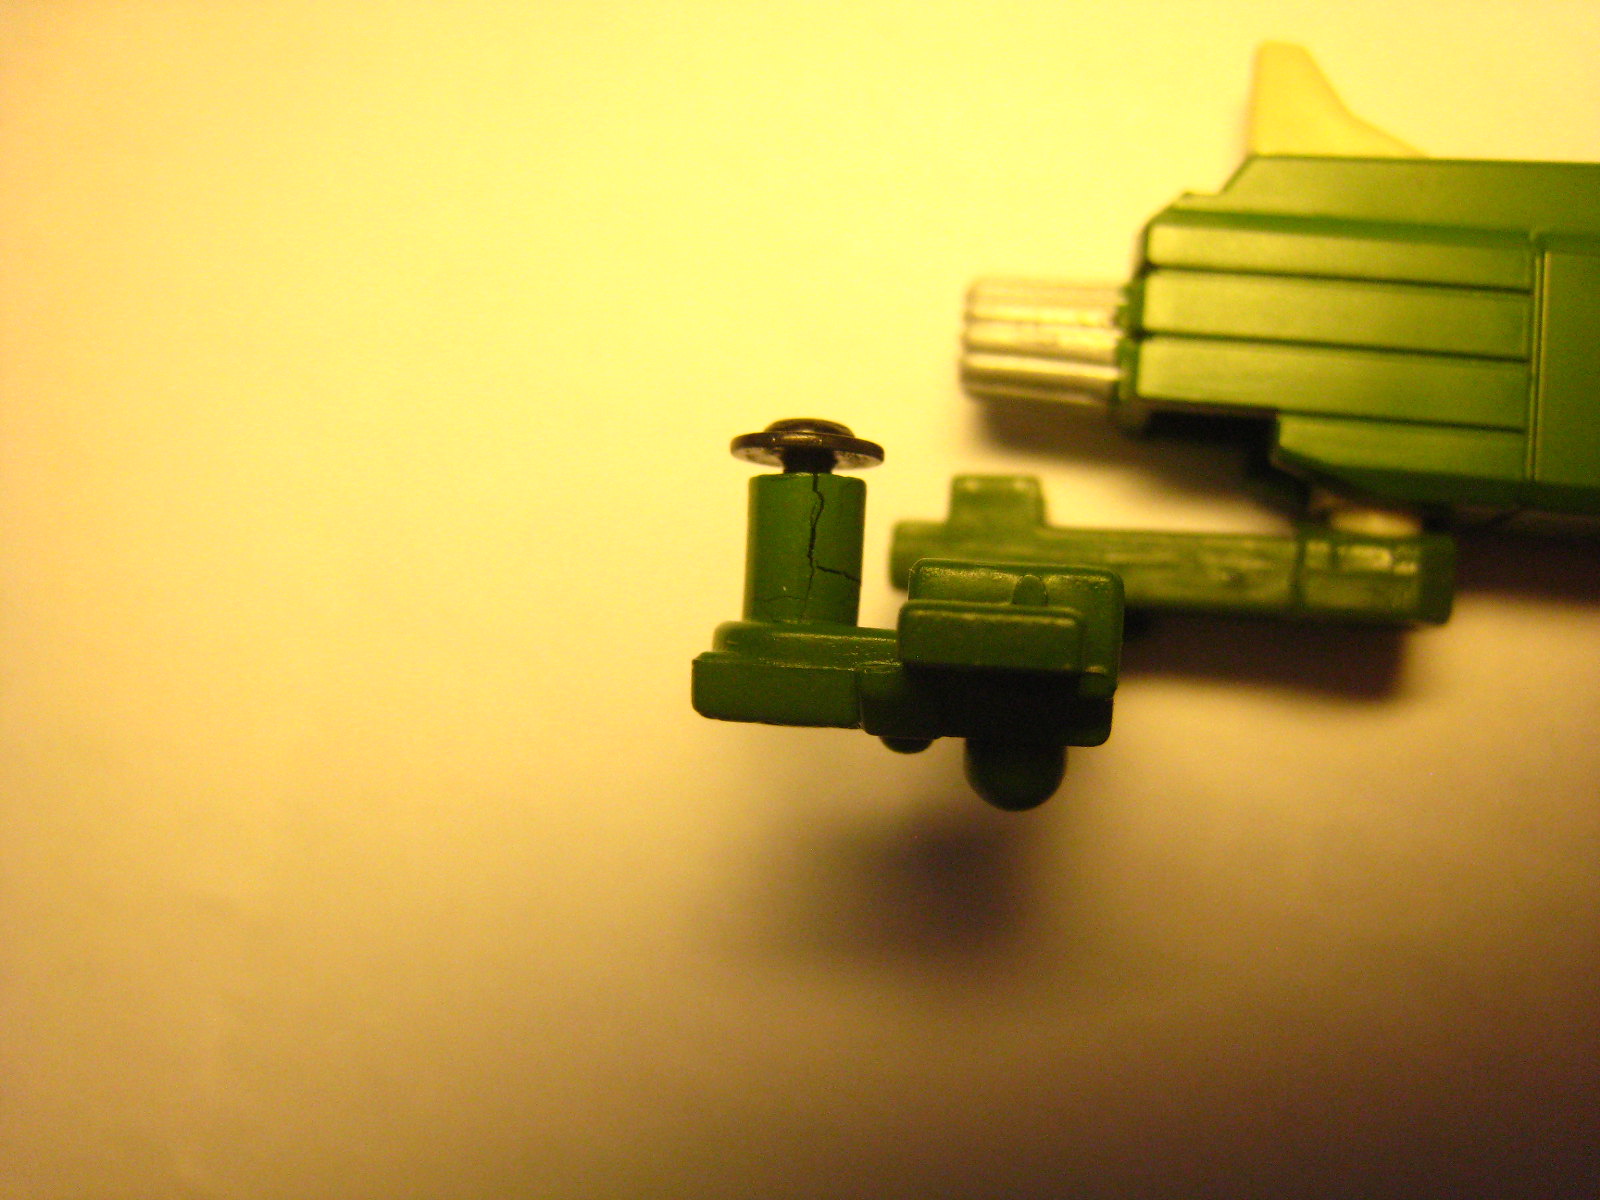

I glued the armature ring cracks using cheap cyanoacrylate superglue by inserting a small sewing needle into a crack to pry them open (the cracks on both sides opened by doing this) and then using another small sewing needle with its tip dipped in glue to apply into the crack. I couldn't get into the extremely narrow part of the crack (I was hoping capillary action would do it) but the repair seems strong. Try not to make a mess - the outside of the ring (not the bottom) is visible in robot and car mode and the inside is part of a moving surface.
As for the armature peg cracks, I dipped the needle into glue again and rubbed the inside of the screw hole with the needle shaft. One crack still opened up so I pried it open gently with my fingers and put the tip of the needle with glue into the crack from the outside. Again be careful not to make a mess of the outside as it's a moving surface.
Putting the peg back into the armature ring, it fits well - even slightly tighter than when the screw was in place, but rotation is free and smooth. The armature ring is not actually circular - it is hexagonal and has flat surfaces inside. I have found that I don't need the screw for the peg to stay in the ring. In fact, I need a slight bit of force to pull it out again. So I don't actually need the screw. Even before glueing, the peg was staying in by itself. After glueing, I suspect there is a micron of glue residue adding to more friction. Anyway, no screw means no outward pressure on the peg and the ring, and nothing is falling out. Plus when the armature folds across Hound's hood, it softly clips into place behind his head. So that's my fix - I thought I might need to fill the peg screw hole and re-drill but everything is holding strong (for now) without needing the screw. If I ever transform this again, I think I will pull out the armature firstly and parts-form at the required step.


Last edited by Skyfire; 17th July 2021 at 05:40 PM.
-
17th July 2021, 05:54 PM
#2
Nice repair job.
I just gotta remember not to transform or pose mine ever again.
 Posting Permissions
- You may not post new threads
- You may not post replies
- You may not post attachments
- You may not edit your posts
-
Forum Rules


 Reply With Quote