-
8th June 2010, 12:02 AM
#1

Whoa, that's a lot of work! Nice. And still with painting to come.
Collection Count (w/ a 12.42% upsize): 3053
New Family Members: DA-15 Jetwing Prime, DOTM Leader Ironhide, Perfect Effect Reflector, DOTM Shockwave & Skyhammer, eHobby United 3-packs
Current Desires: Japanese BW Optimal Optimus
The Holy Grail: Ultmetal Optimus Prime
-
8th June 2010, 07:02 AM
#2
Nice work! I like the step by step photos.
-
8th June 2010, 07:32 AM
#3
Many thanks syl and gamblor!
Now here is a bit of an update from this morning, after the aves fixit (turns out I accidentally bought the non-sculpt version. D'oh!) cured, I thought I would put him together and do a bit of posing...
So here we are!!
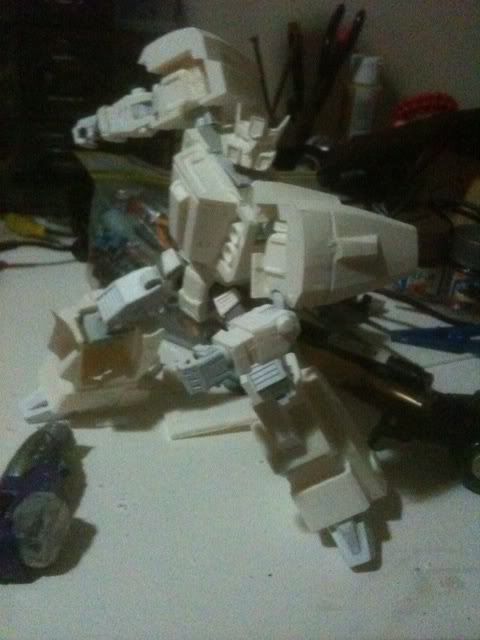
as I said, high kicks!! Heh. Happy with how that's turned out, just need to now check how he is going to go with transformation... I want to get some magnets for him too..


Current Wants: Shadow Scyther
-
8th June 2010, 10:56 PM
#4
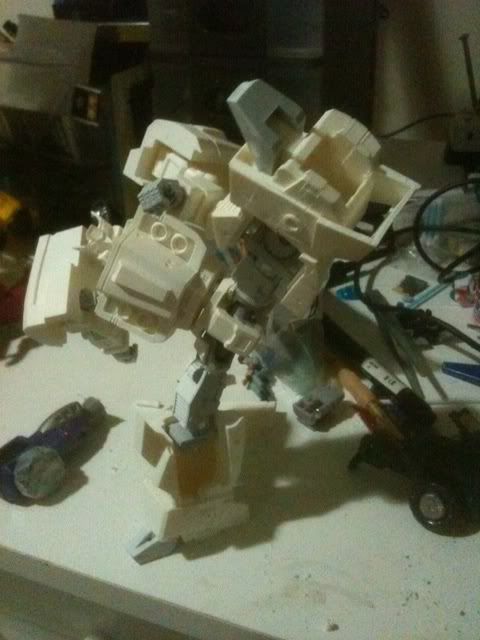
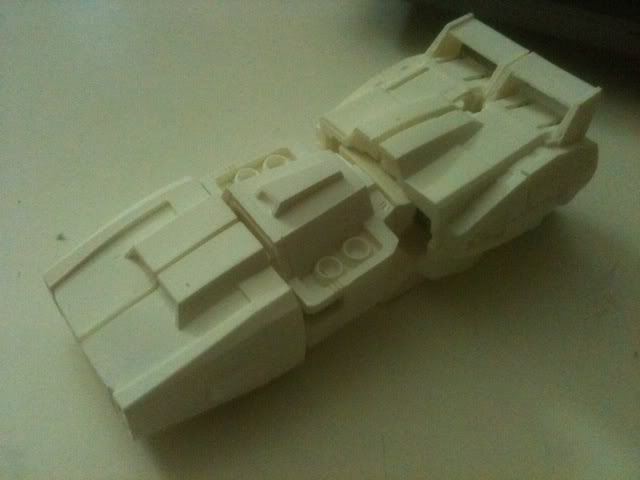
And here we are... Alt mode!
Thankfully the leg mods didn't affect anything here at all! 8D
Phew.
Right now, Drift is in pieces though... I've had to repair a minor breakage in his arm joint (caused by overdrilling...great) and am also filling in little holes and dents that he came with...
more updates to come 
Current Wants: Shadow Scyther
-
9th June 2010, 12:24 AM
#5
nice work.
i put mine together a while back, then tore him down to try and upgrade the joints with hard plastic and metal but sort of gave up halfway...there was also quite a lot of sanding involved to prep the surface prior to painting. 
oh well... at least i can look at your pics...it might give me the motivation i need to revisit this kit.
Oh - thanks alot to KC99 for hooking me up with a set a while back.
-
9th June 2010, 07:10 AM
#6
Looks good. Resin is a challenge to say the least.
-
11th June 2010, 09:29 PM
#7
Love it, I thought about buy this myself but if that's what it take to get articulation.I think I'll be giving it a miss... Just wondering what sort of epoxy are you using? Just a suggestion when mixing your epoxy, mix some talc (baby powder) with it.It thickens it up so if you have any holes or divets you need to fill it wont run everywhere.It wont affect the epoxy in any way,other than thickening the resin. just make sure when applying the resin to any surface to sand it or it wont stick to it....
 Posting Permissions
- You may not post new threads
- You may not post replies
- You may not post attachments
- You may not edit your posts
-
Forum Rules


 Rank 8 - Deluxe Member


 Reply With Quote