Okay, I thought I would chuck a post up following me through the casting process. Luckily for this post I made a LOT of mistakes today through rushing and general mishaps.
I am only learning the craft and thought this post would help some others that want to give it a go.
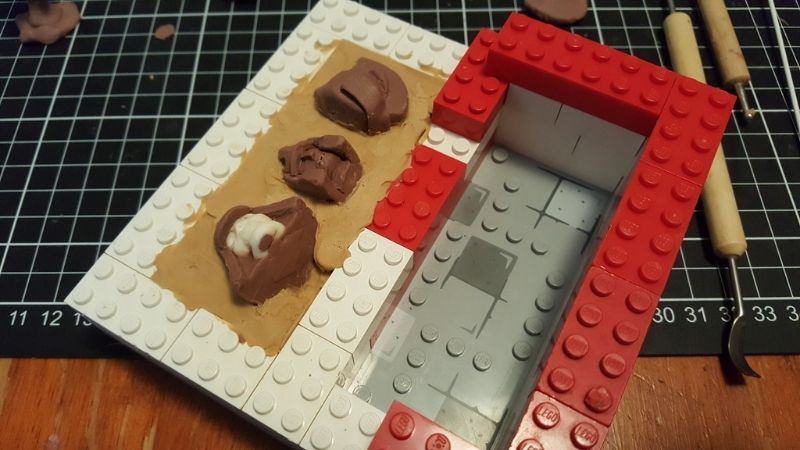
Step 1 - Forming the mold frame -
In this step I have used a lego base and bricks to make the frame. You can use anything that will seal and a popular choice is styrene sheeting using a hot glue gun to stick it to a base and pin it down. MDF or ply sheet is another option.
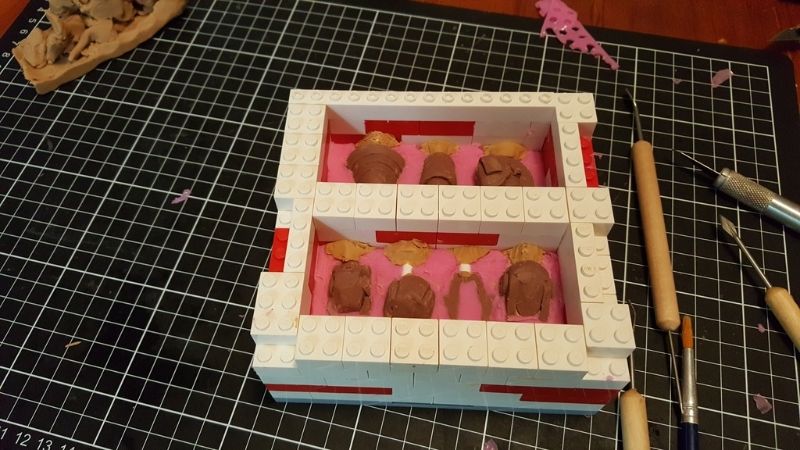
Step 2 - Claying out the negative/adding the parts -
In this step I have used modelers Plasticine (Oil based, non drying clay) to make the bottom (Negative) part of the mold. I am not too happy with the Plasticine I used here. It stuck to the model too much, making it difficult to clean. And also was not the easiest to flatten out.
Next time I may try a coat of mold release and if that fails, a new medium altogether.
Also try to align the part to eliminate any overhangs, being mindful of where your seam lines will be
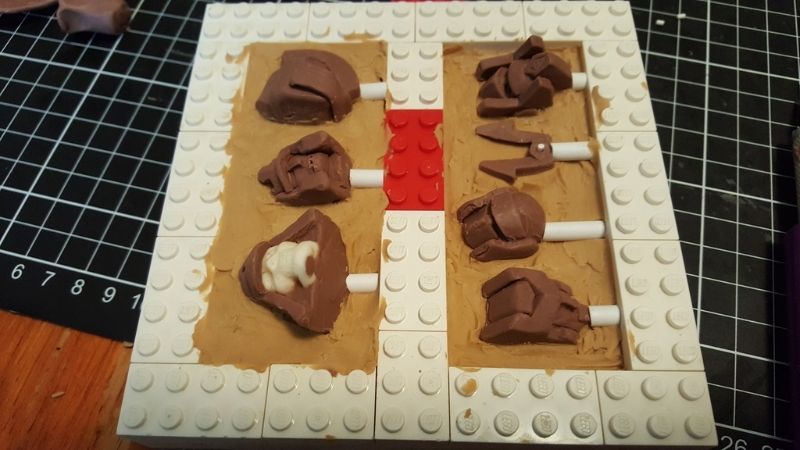
Step 3 - Adding sprues -
In this step I added the sprues for filling the molds. Normally I would add some alignment pegs or dips, but as I didn't smooth the Plasticine out too much it was already taken care of. I also later increased the size of the pour cavities/sprues to allow more air to escape during pouring.
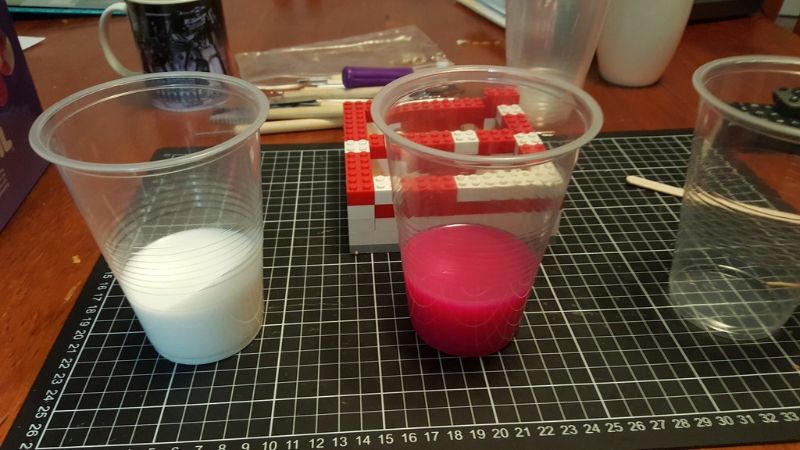
Step 4 - mixing your silicone -
Here I mixed the Silicone, It's PinkySil brand that can be measured out by either weight or volume to mix. It's 1:1 so really easy. This particular brand also does not require degassing, but more on that later.
I worked out from the space I needed to fill with standard volume calculations (W x L x D), in this case 80cm3 per half mold. (Remeber this is one of two batches of silicone to make these molds). I then mixed 80ml plus a bit extra of each part. Stir slowly to avoid making bubbles.
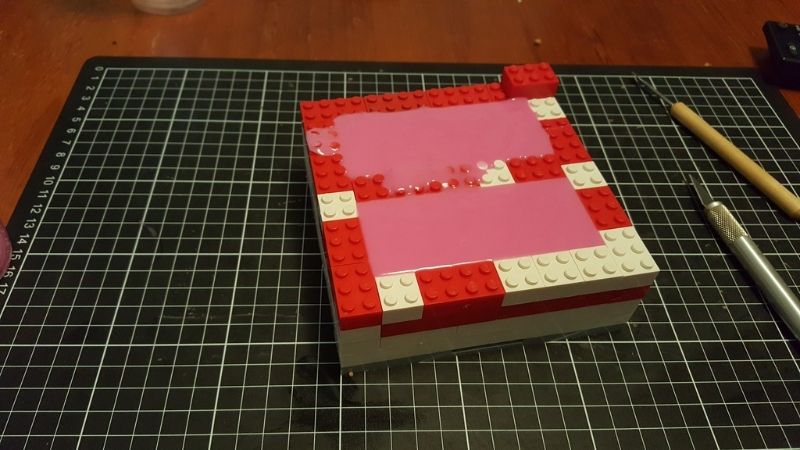
Step 5 - Fill the Mold -
In this step I filled the mold with the "high pour" method. Hold the container as high as you can while still being accurate (I did it just above shoulder height to my dinner table). Pour in a continuous thin stream 1-2 mm thick. this will eliminate a lot more bubbles.
Start in the corner of the mold, the silicone will seep over everything, filling in gaps slowly, thus allowing air to escape.
This silicone has a pot life of about 6 minutes but even in the cold weather it started getting lumpy at about 4. Don't rush, but don't dawdle either.
Step 6 - Demold -
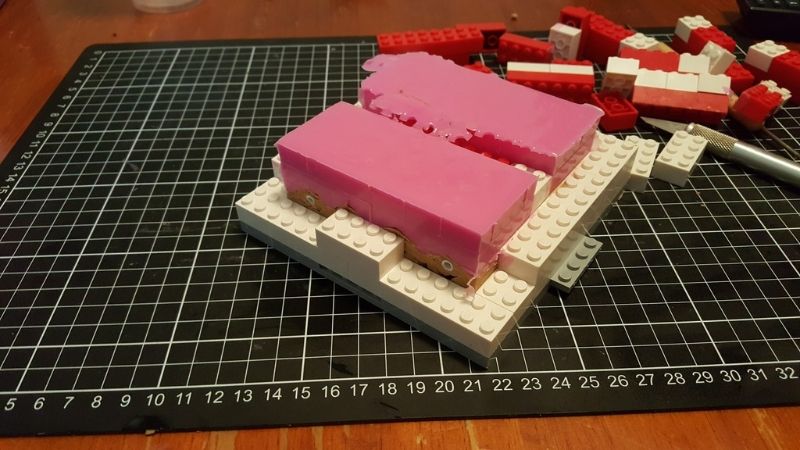
Break down the mold. try to avoid bending or twisting your half completed project as that could well ruin the whole process by breaking seals and allowing silicone where it shouldn't be.
This Silicone has a demold time of about 20+ minutes. I give it 30.
Step 7 - Clean up the negative -
Time to undo all the work you did with the Plasticine. Try to get it all off, a little bit of time here will make for a vastly better mold. Again, I hope that mold release will help here. I will update when I have tried it.
Reverse your set silicone and build up the frame again.
Now would also be the time to remove the alignment keys if you used them.
Step 8 - Second half of the mold -
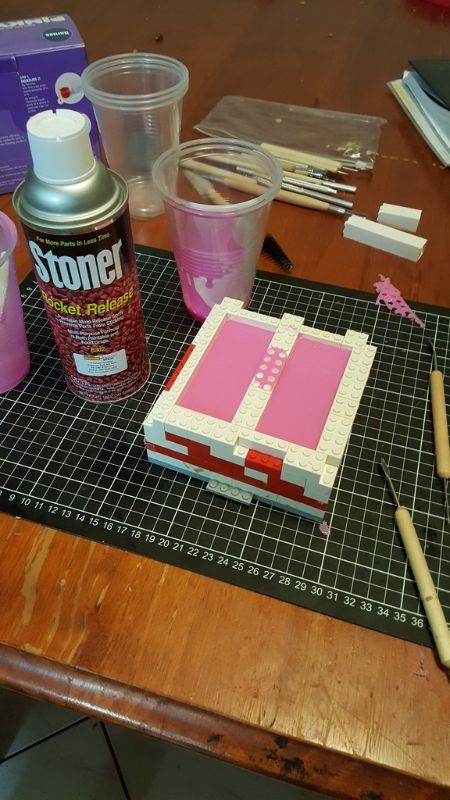
- IMPORTANT MESSAGE - you MUST use mold release here or the silicone will bond to itself and you will have to your masters out.
Give the silicone a quick spray with mold release. Follow the particular instructions for the brand you use.
This was another error for me, I used too much release agent which made the second half of the mold tacky. it did eventually set but greatly increased curing time and I'm pretty sure I got lucky.
Mix up your silicone and fill the same as last time.
Step 9 - clean up -
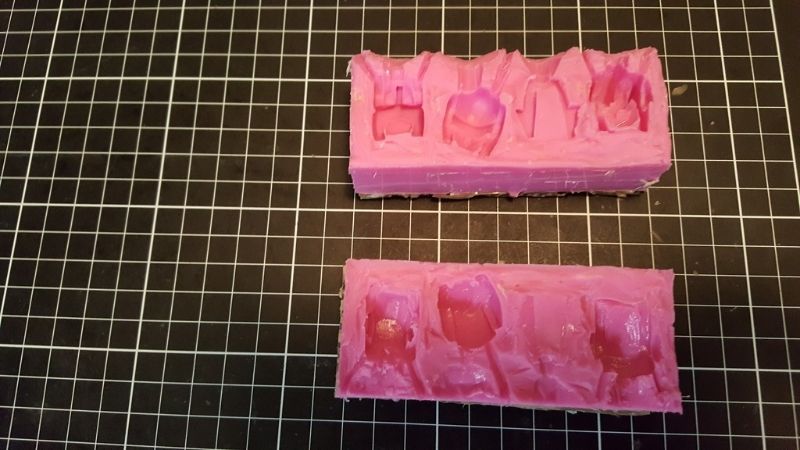
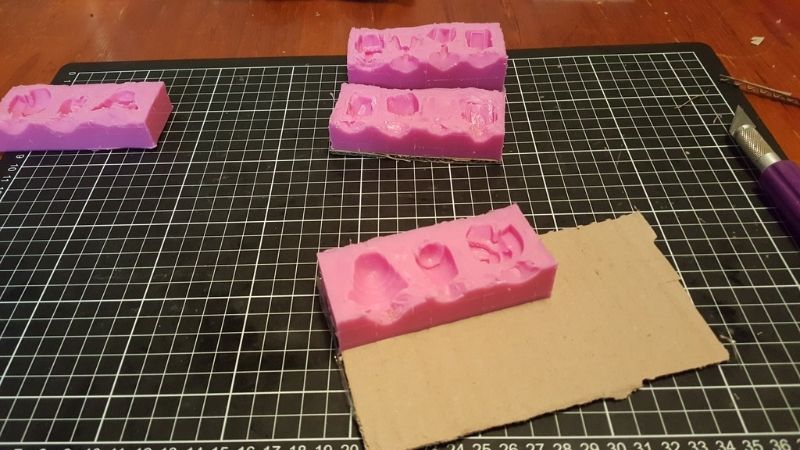
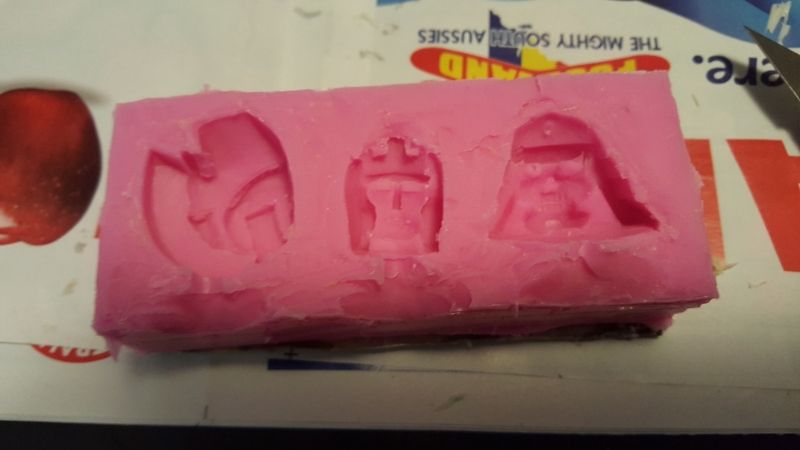
Break down your frame again and start going over your molds. look for any areas where silicone has seeped under the part or too far into a crevice. These are usually incredibly thin wisps that can be be cut out with a hobby knife, just make sure it's definitely not meant to be there.
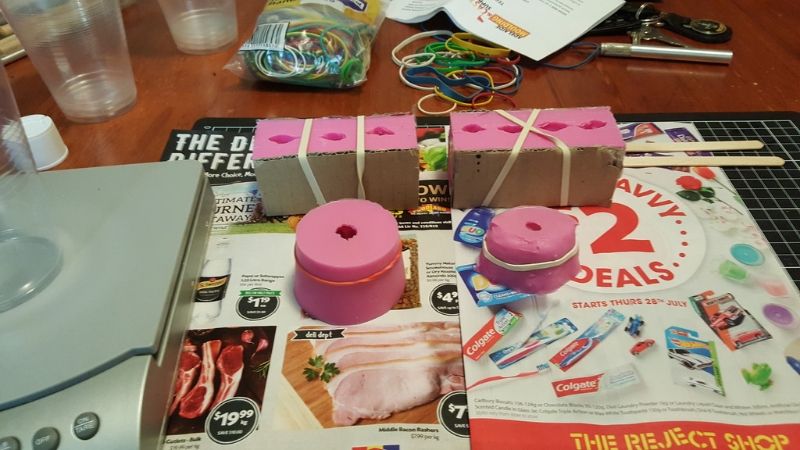
Now is a good a time as any to make up some backing boards. The intent of these is to keep the mold straight and disperse even pressure over it when banding it up. Wood is a great choice, anything firm will do however my mistake here was avoiding going out to the shed in the wet and cold and just using cardboard. It wasn't strong enough as I will explain next step.
Step 10 - Prepare the mold -
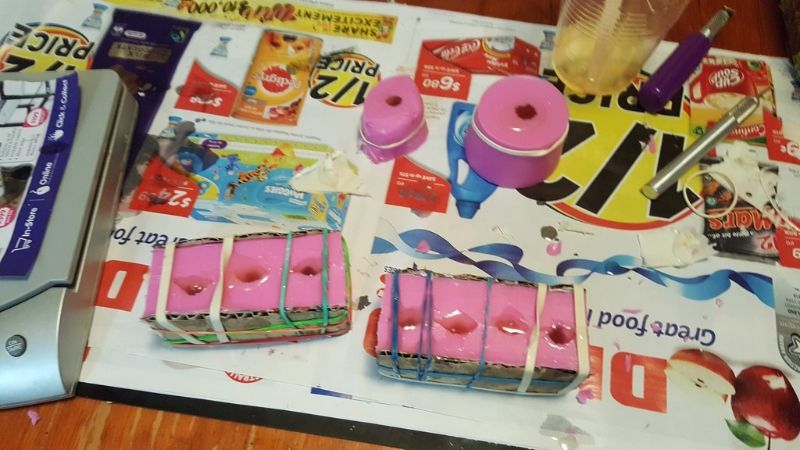
Once your halves are fully cured give them a quick burst of mold release, place the together with their backing boards and bind them together. I used rubber bands, the ones here would probably been enough had I used wood backing. You can also use tape, the idea is to prevent it separating, not to compress it.
So, by using a more flimsy backing it put more pressure on the mold where the bands were. This in turn caused other areas of the mold to spread apart ever so slightly. The result was constantly trying to fill the molds while resin poured out the bottom.
Step 11 - casting -
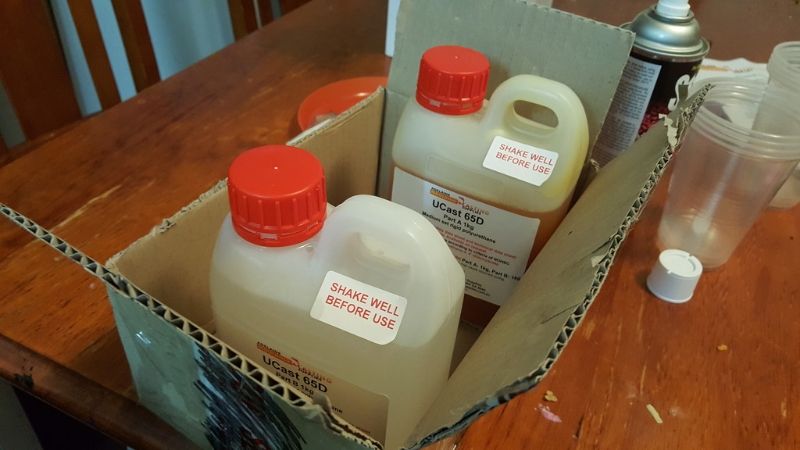
Mix up your resin as per product instructions. In this case I'm using Ucast 65D from Adelaide Molding and Casting Supplies. It's measured at a 1:1 ratio by weight so some digital scales come out. You get about 4-5 minutes pot life with this product, it's really important however to mix slowly. It mixes a lot easier than the silicone but will aerate more.
Take note of the big stickers saying "Shake well before use". I would suggest doing this an hour or two before you intend to use it. that will give it time to settle and get those nasty bubbles out. (I didn't do this for the first pour) *EDIT* I tried a cast after 2hrs from shaking.......it was not a good result. Either my resin has gone bad from age or moisture (quite possible) or I didnt get it mixed properly.
It does state in the instructions to degas this product but my vacuum chamber is about a month away at this point.
Use the "high pour" method again and let the molds fill up slowly. For the second pour I tilted the molds on their side so that there would be less air build up inside. When I get the results I will add them below.
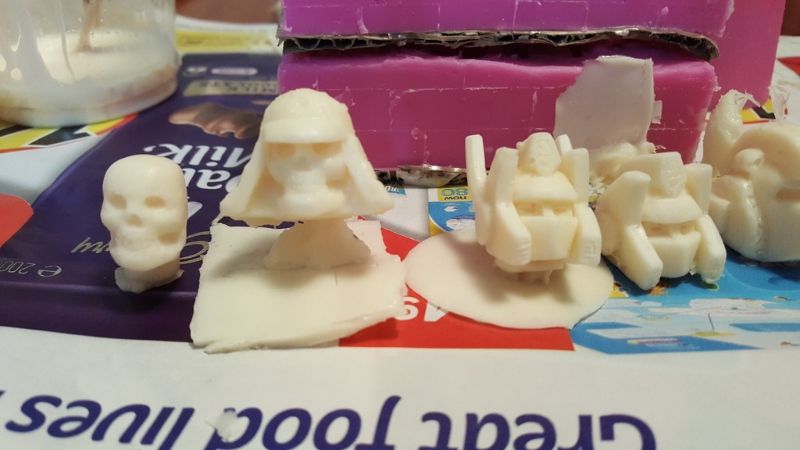
The other molds are some older 1 piece molds, to use up any extra resin. I figured each head at about 2cm3 and wasn't too far off with a bit to spare, better too much than not enough.
Step 12 - Demold/results -
Demold time for this resin is about 50mins. because the items cast are small it takes longer to set (More mass = more heat from chemical reaction = faster curing time) and at the end of that the cast is about 80% cured. it will take about a week to cure fully. They are still a little malleable to start with and you can fix a couple of small errors in this time.
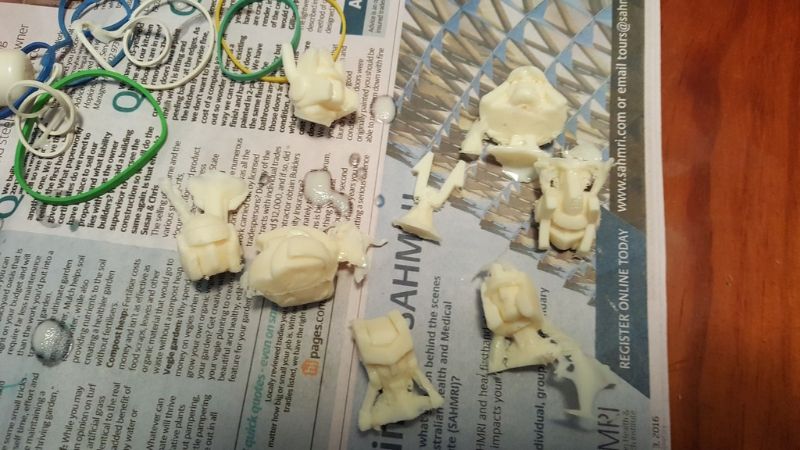
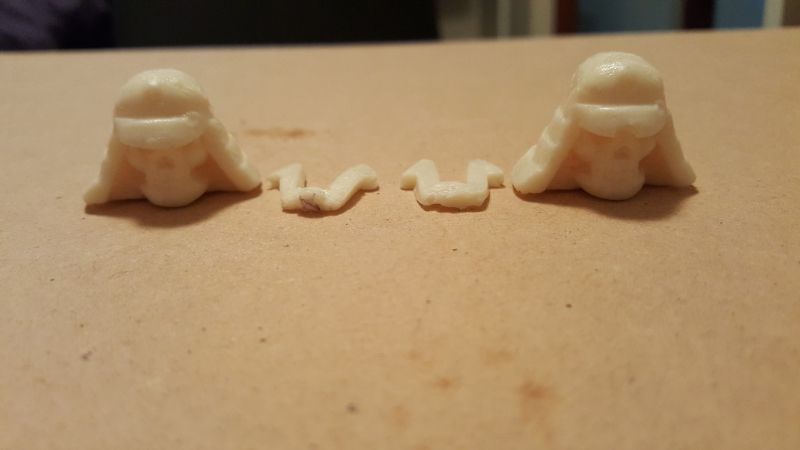
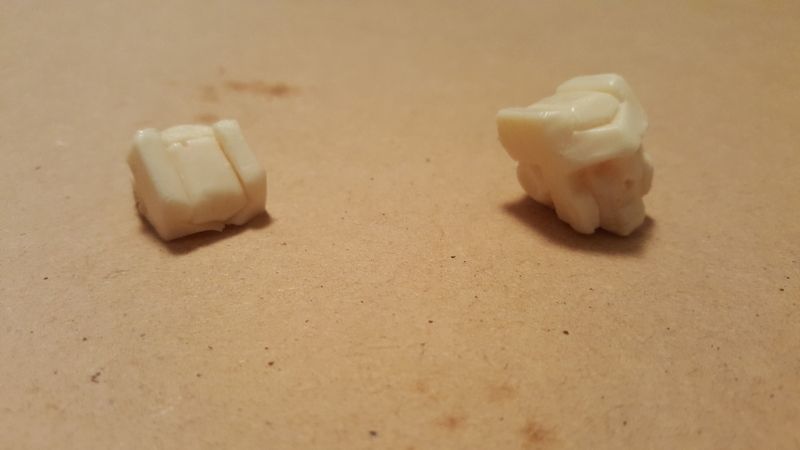
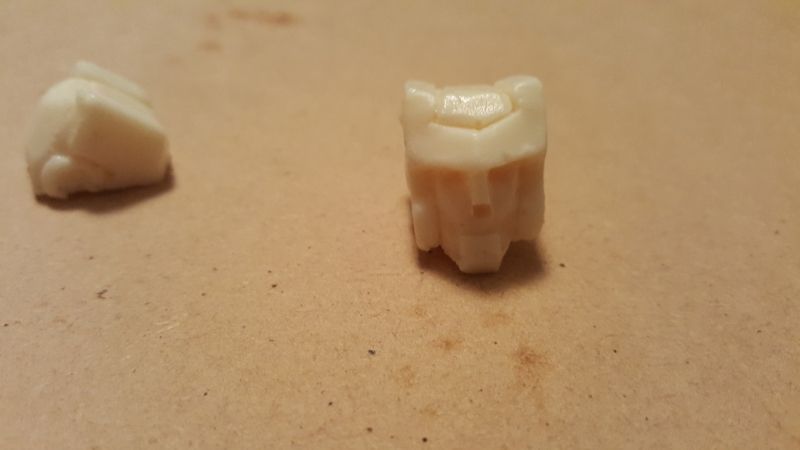
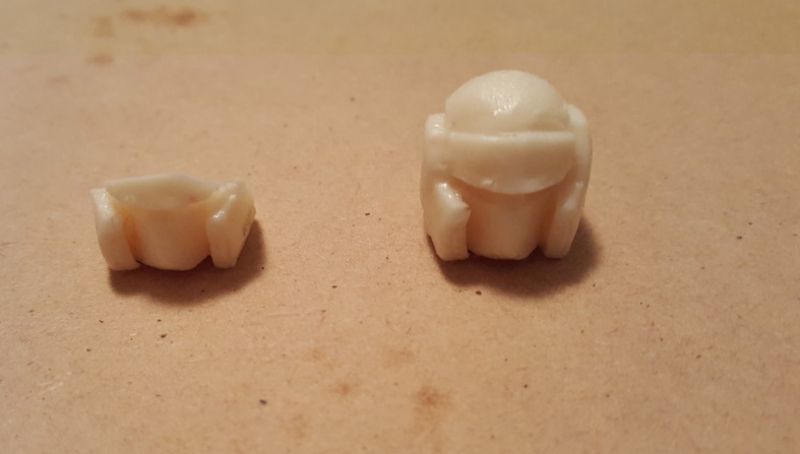
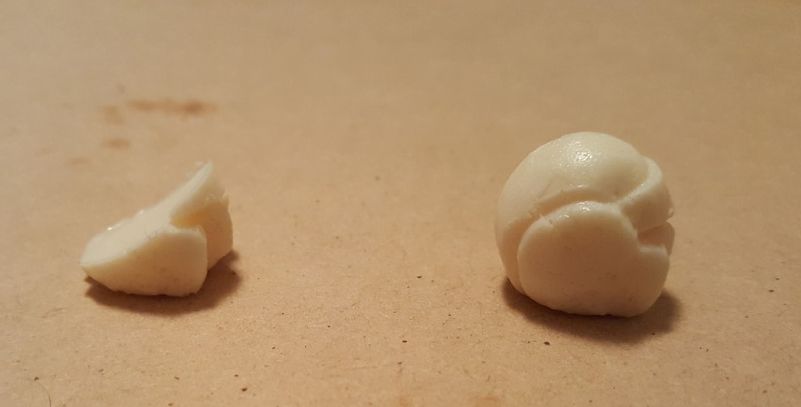
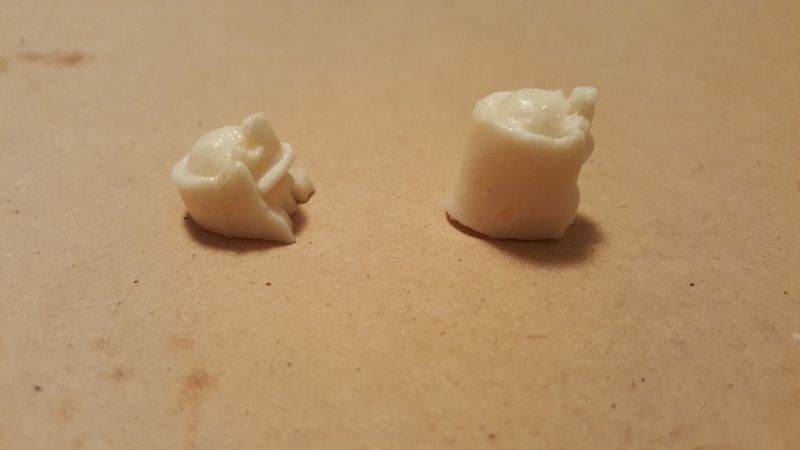
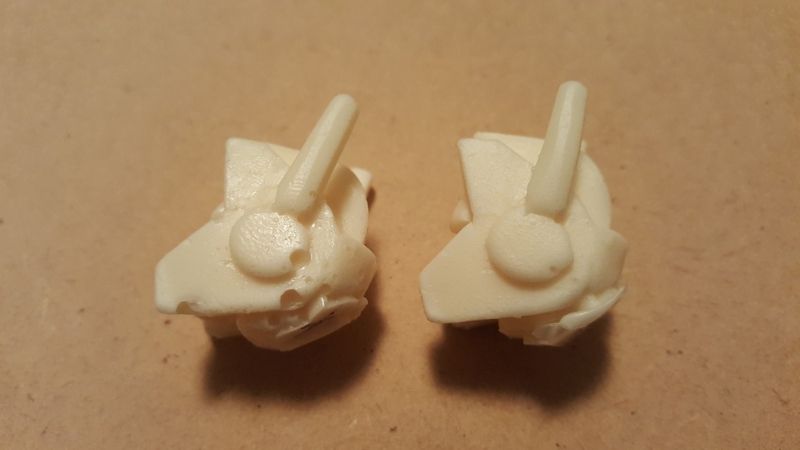
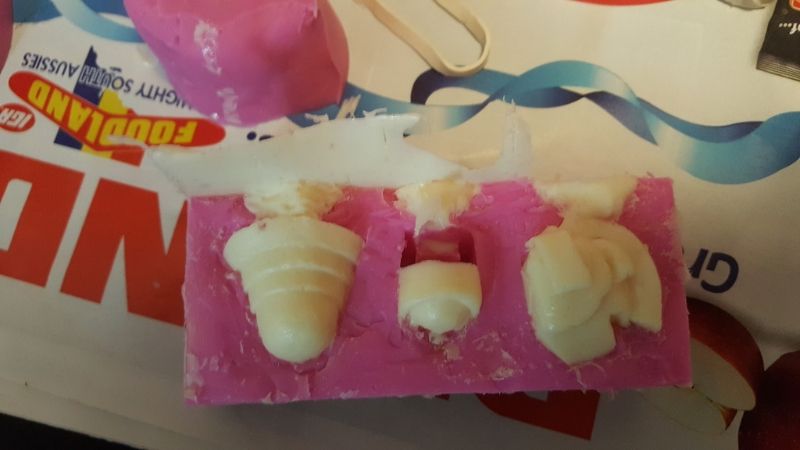
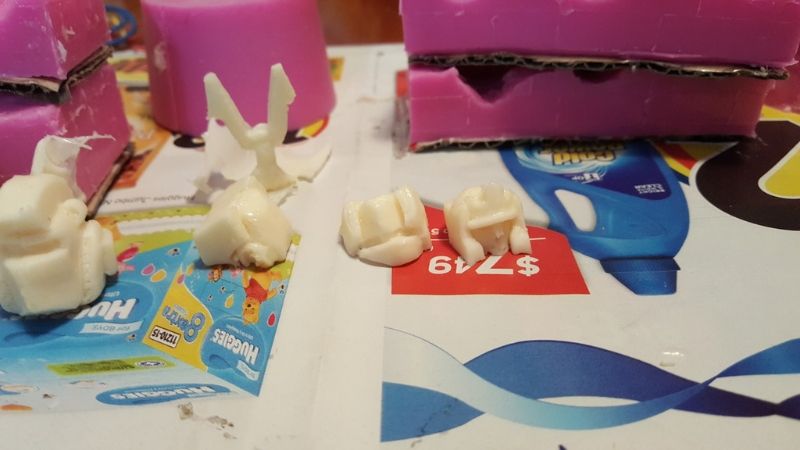
Okay so the compression issue caused some major issues. some of the heads sucked in air as it leaked out the bottom, creating massive air bubbles in the centre
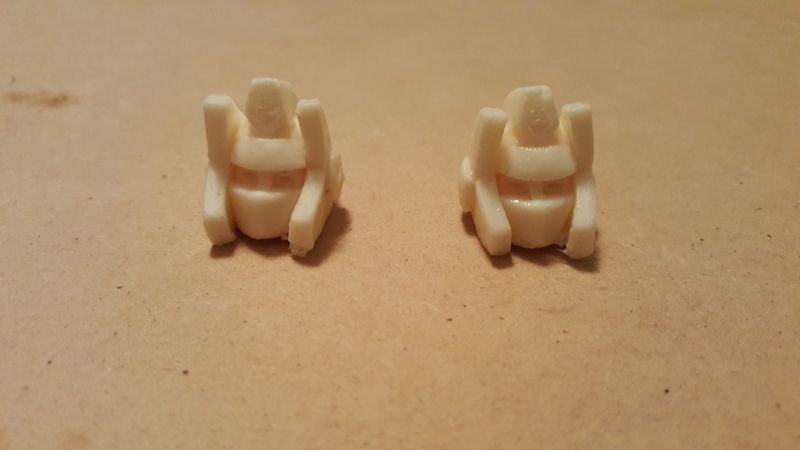
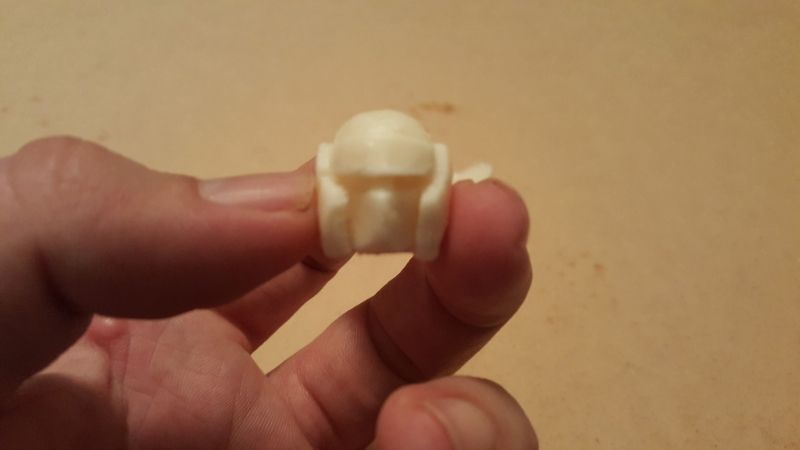
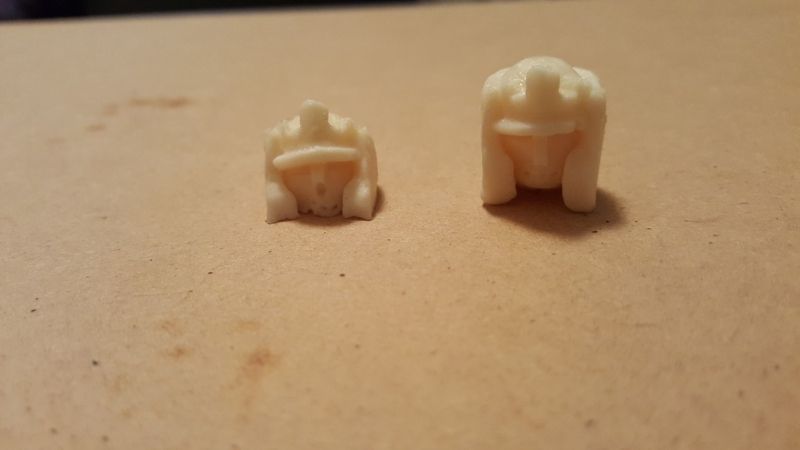
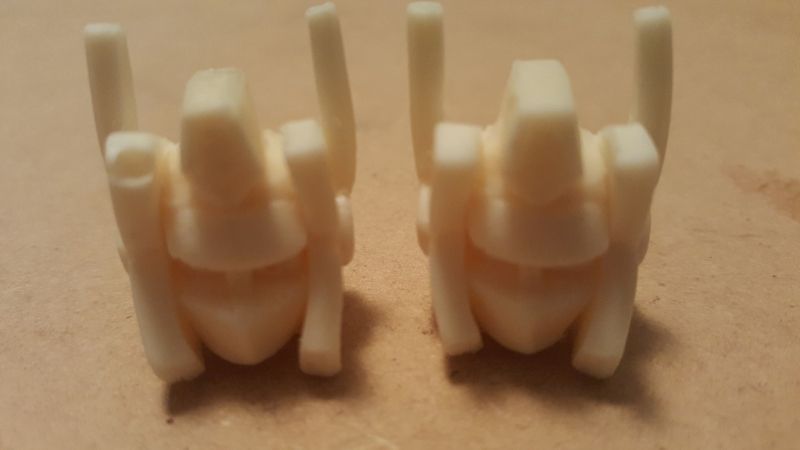
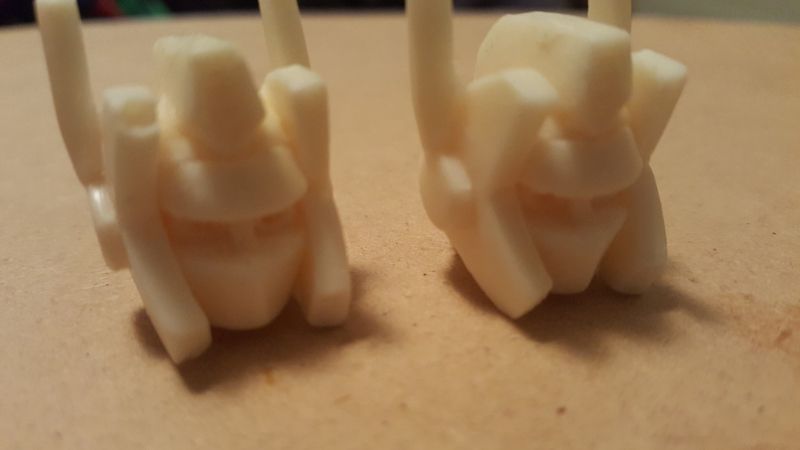
Some of the casts turned out ok, barring the small bubbles (And some larger ones) that were mainly caused by shaking the resin as instructed.
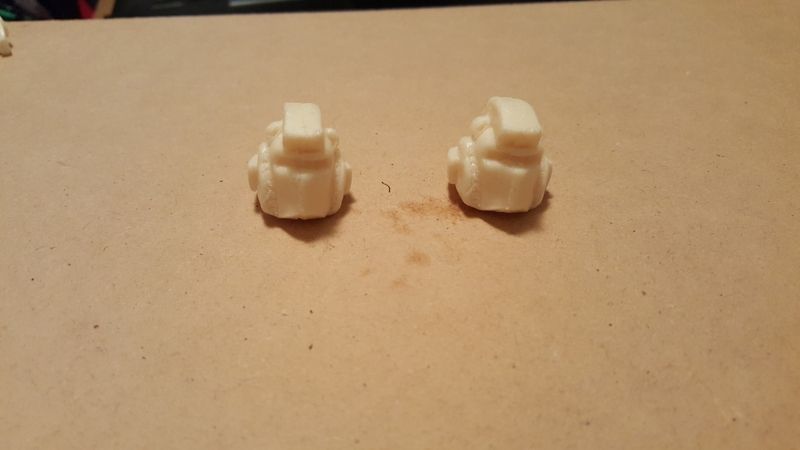
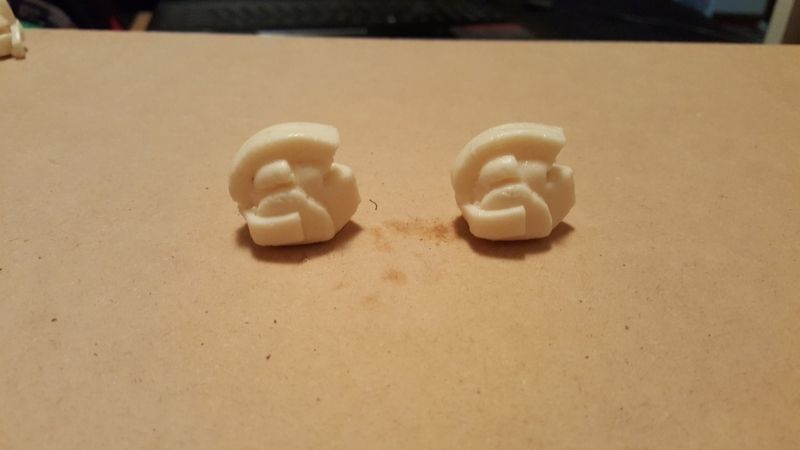
I cleaned up the molds and gave it another shot, this time with a more even compression on the mold, less bubbles from shaking, and cutting bigger channels for pouring
.
I will update the post when I have the results.
I also intend on adding to the post once I have the vac chamber, although these molds will be useless for it I think but that can wait.
See you soon




 Reply With Quote

