Page 1 of 3 123 LastLast
Results 1 to 10 of 27

Thread: BH Starscream to Airachnid conversion (WIP)

  1. #1
    Join Date
    8th Nov 2012
    Location
    Beverly Hills, Sydney
    Posts
    1,650

    Default BH Starscream to Airachnid conversion *FINISHED*

    Phone and internet went down when Sydney had our recent bout of heavy rain. After two weeks, 3 technicians and a new modem, I am no longer reliant on my mobile phone and I can post what I've been working on.

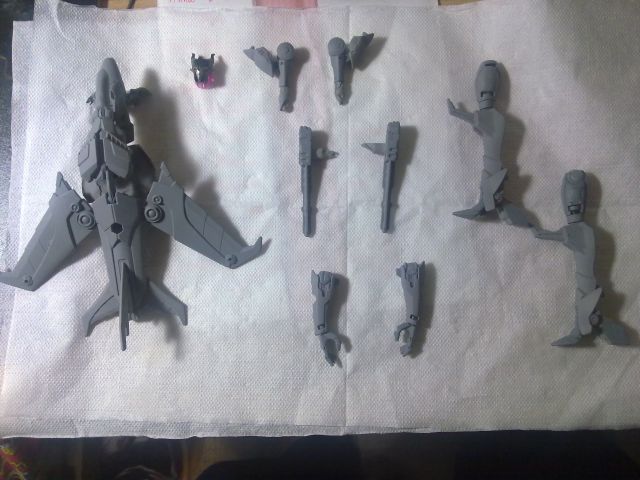
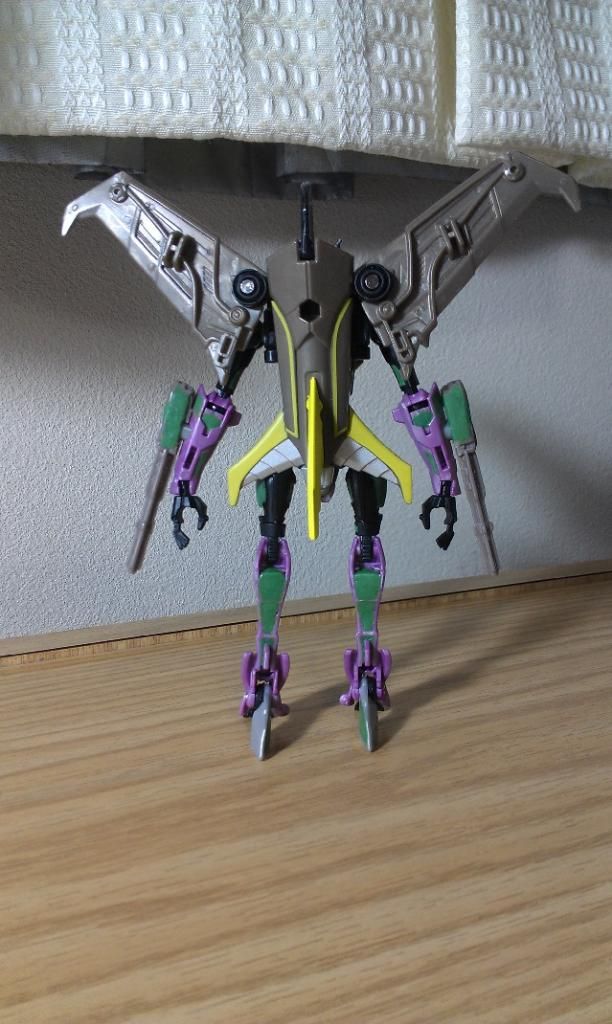
    Inspired by Lancalot's custom work I've decided to try my hand a project or two. I'm working along the lines of JinSaotome's custom Airachnid.

    After much trimming and greenstuffing.


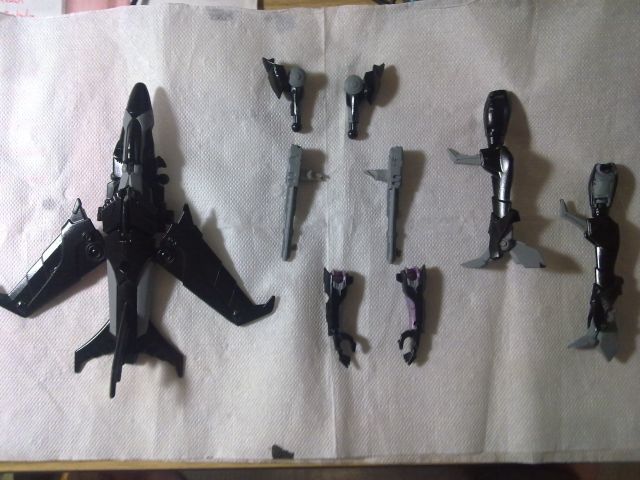
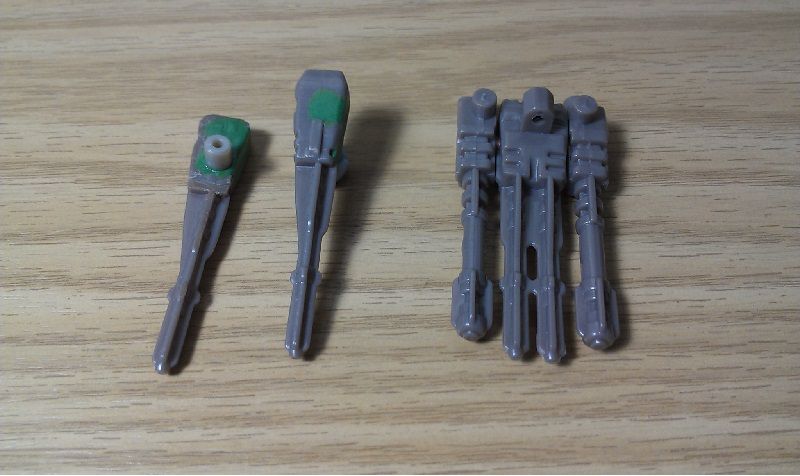
    Also made these blasters for her from Bruticus Maximus hands (and I use the word hands in the loosest possible sense of the word). Not sure if I'll use them. They're definitely more suited to a Slipstream custom. JinSaotome also did a Slipstream custom from the same mold.


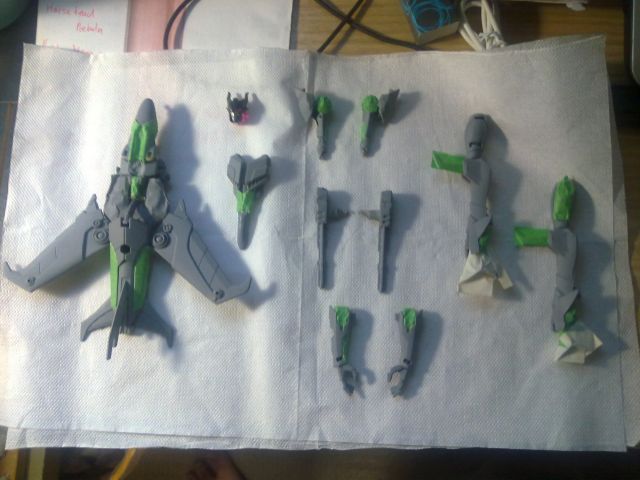
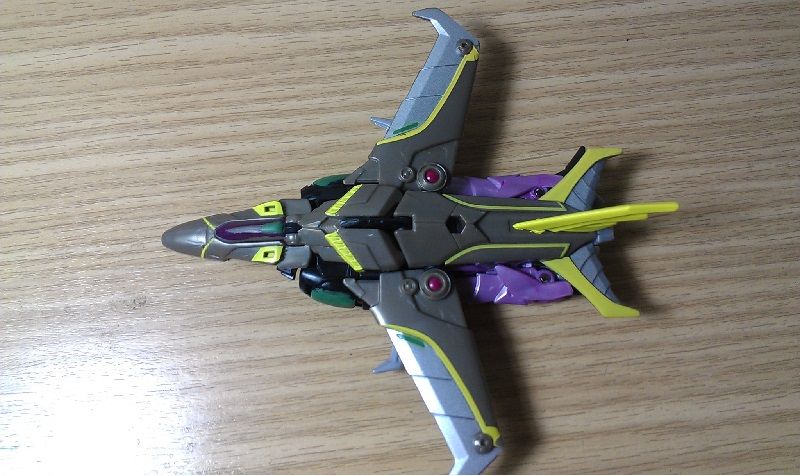
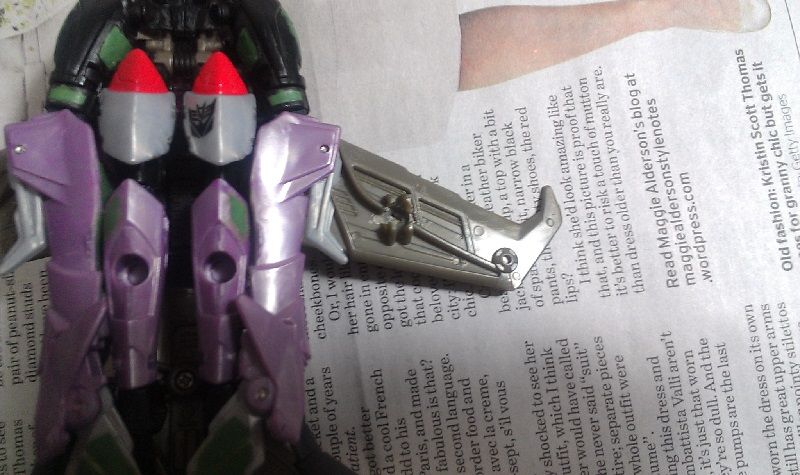
    And got to work on mounting points under the wings for weapons with 5mm pegs.


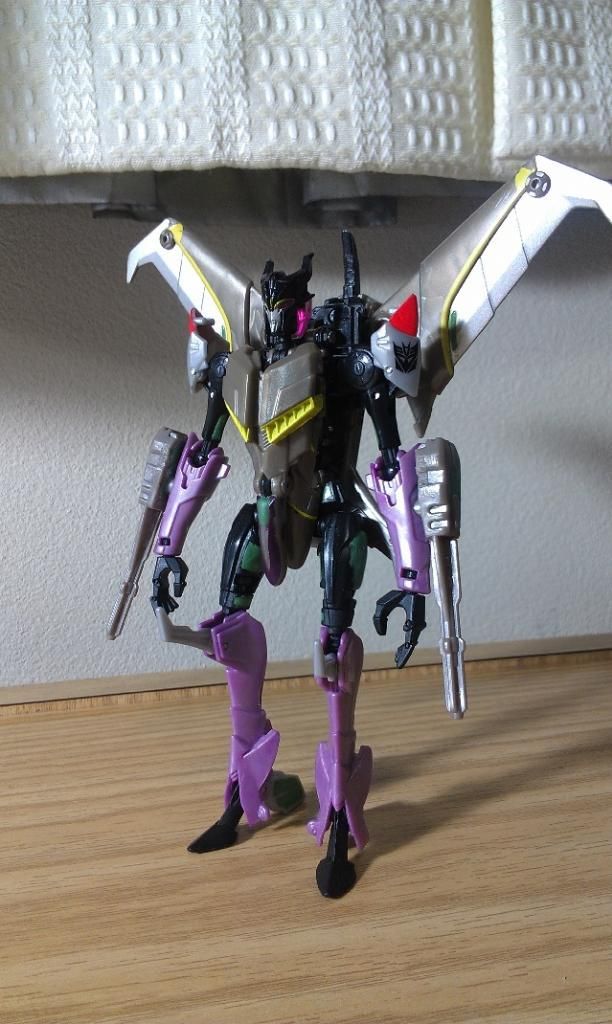
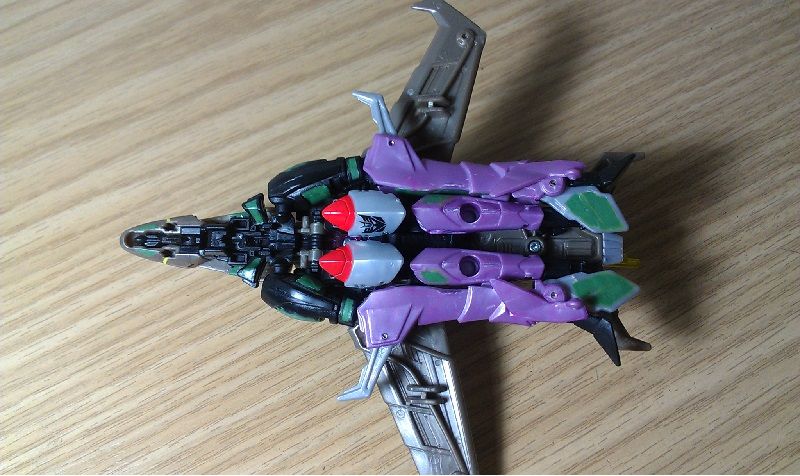
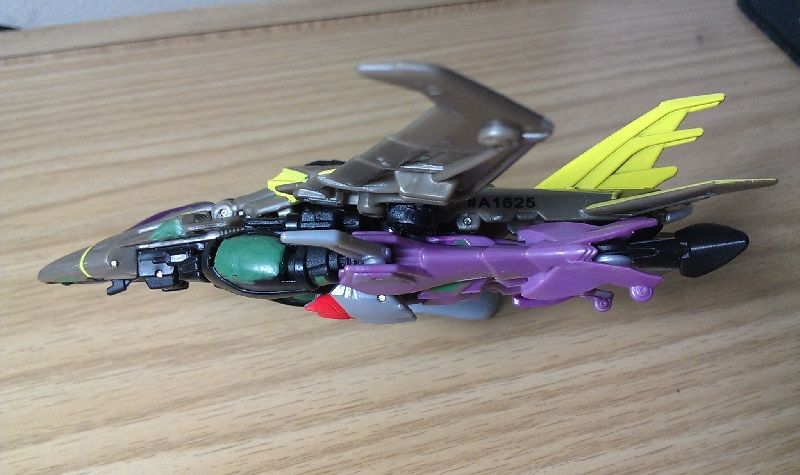
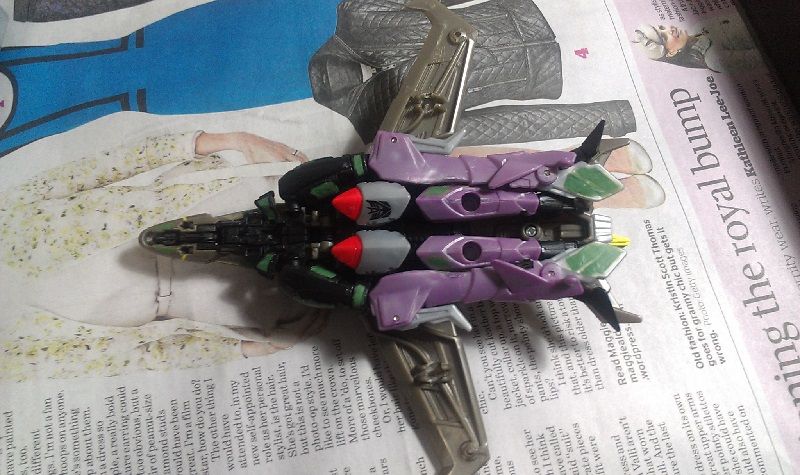
    Just making sure they look right.


    Fitting a plug before adding reinforcing greenstuff.


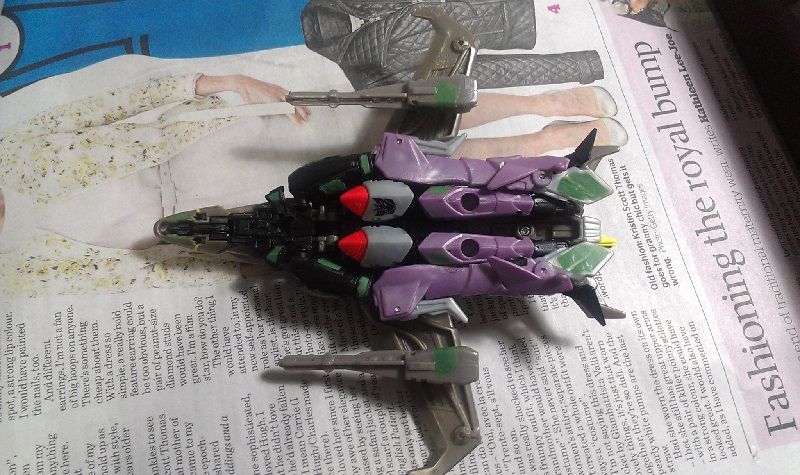
    And that's it so far.
    Last edited by CBratron; 30th March 2015 at 04:33 PM. Reason: cleaning up and resizing photos

  2. #2
    Join Date
    8th Jun 2012
    Location
    Melbourne
    Posts
    5,306

    Default

    Very nice. It comes across as Airachnid well.

  3. #3
    Join Date
    26th Jan 2013
    Location
    Sydney
    Posts
    3,204

    Default

    Wow that coming along good man..... what that green stuff your using to fill in ?

  4. #4
    Join Date
    8th Nov 2012
    Location
    Beverly Hills, Sydney
    Posts
    1,650

    Default

    Quote Originally Posted by lancalot View Post
    Wow that coming along good man..... what that green stuff your using to fill in ?


    When I used to do Games Workshop miniatures we called it Green Stuff but don't buy it from them. Buy it online or from hardware stores (edit: or hobby stores and maybe some art stores) under the name Kneadatite and you can get triple the amount for the same price.

    It's an epoxy putty, usually yellow and blue ribbons which you mix, hence green stuff. Cut off the desired amount and knead it until it's a smooth green colour. I'll discard any hardened bits that form in the middle where the ribbons are joined before I mix the parts, otherwise you'll get lumps. Working time is about half an hour, maybe an hour. Feels like hard rubber when it fully sets in 24 hours. Sticks to almost anything including itself (so you can do half a sculpt one day and finish it the next day by throwing more on). Vaseline or oil (even skin oils) will stop it sticking to any sculpting tools.

    There are other modelling putty formulas out there but green stuff is a very good starting point.

  5. #5
    Join Date
    7th Nov 2011
    Location
    Melbourne
    Posts
    766

    Default

    Looks like she's coming along nicely.

  6. #6
    Join Date
    26th Jan 2013
    Location
    Sydney
    Posts
    3,204

    Default

    thanks for the info .... are you planing to do the legs as well?..

  7. #7
    Join Date
    8th Nov 2012
    Location
    Beverly Hills, Sydney
    Posts
    1,650

    Default

    The spider legs? As soon as I can get a Star Wars Spider Assassin Droid (or if I see anything better) I will. Saw one on ebay but I'm exploring all local options I can before I pay international shipping for such a small item.
    Last edited by CBratron; 10th July 2013 at 06:26 PM.

  8. #8
    Join Date
    29th Jun 2011
    Location
    Melbourne
    Posts
    2,606

    Default

    Hey that's really good! It's amazing how many parts on the figure need filling in - I only noticed when I started customising my FOC Grimlock, and now I'm noticing it on all my figures.

    Looking forward to more WIP pics!

  9. #9
    Join Date
    27th Dec 2007
    Location
    Sydney NSW
    Posts
    37,658

    Default

    Wow... this mould does work better as a female than a male; even moreso than the original TFP Deluxe Starscream mould. Hasbro really should use this to give us a TFP Slipstream (in mass retail thanx)

  10. #10
    Join Date
    8th Nov 2012
    Location
    Beverly Hills, Sydney
    Posts
    1,650

    Default ***WIP UPDATE***

    Some progress has been made.
    All 'primed' and ready to paint.


    Taped up any parts I didn't want sprayed. Also filled any ball sockets with blu-tack. Actually filled the sockets and peg holes before priming.


    After the shiny black sexiness is sprayed on.


    Currently hand painting any other parts. Was delayed because all my old paints had solidified and was debating whether or not to buy a purple or mix one.
    She's looking good so far
    Last edited by CBratron; 4th February 2015 at 11:03 PM.

Tags for this Thread

Posting Permissions

  • You may not post new threads
  • You may not post replies
  • You may not post attachments
  • You may not edit your posts
  •