Page 1 of 3 123 LastLast
Results 1 to 10 of 30

Thread: Custom: CHUG Breakdown V2 the semi-tutorial

  1. #1
    Join Date
    25th May 2008
    Location
    Mount Barker, South Australia
    Posts
    3,448

    Default Custom: CHUG Breakdown V2 the semi-tutorial

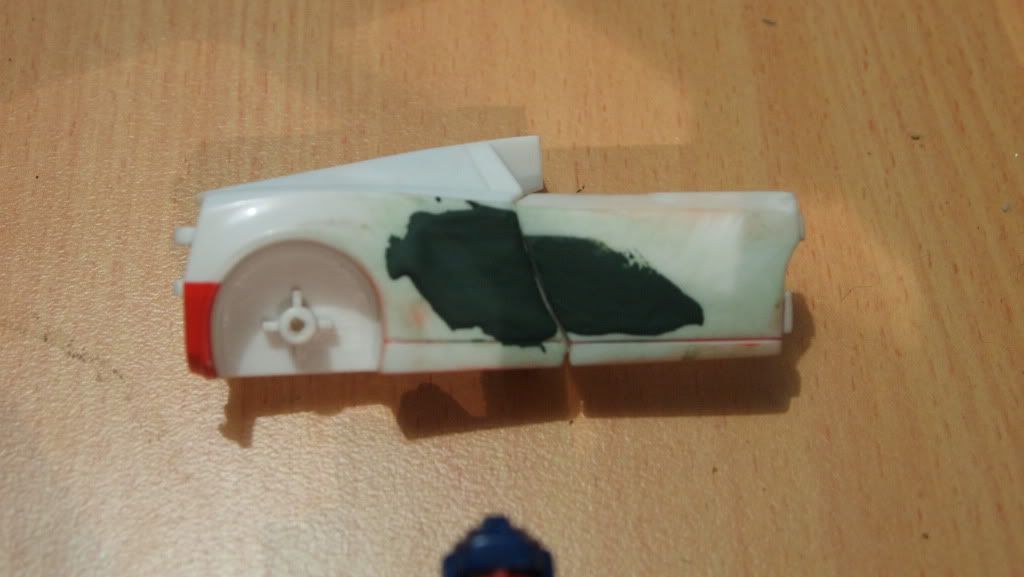
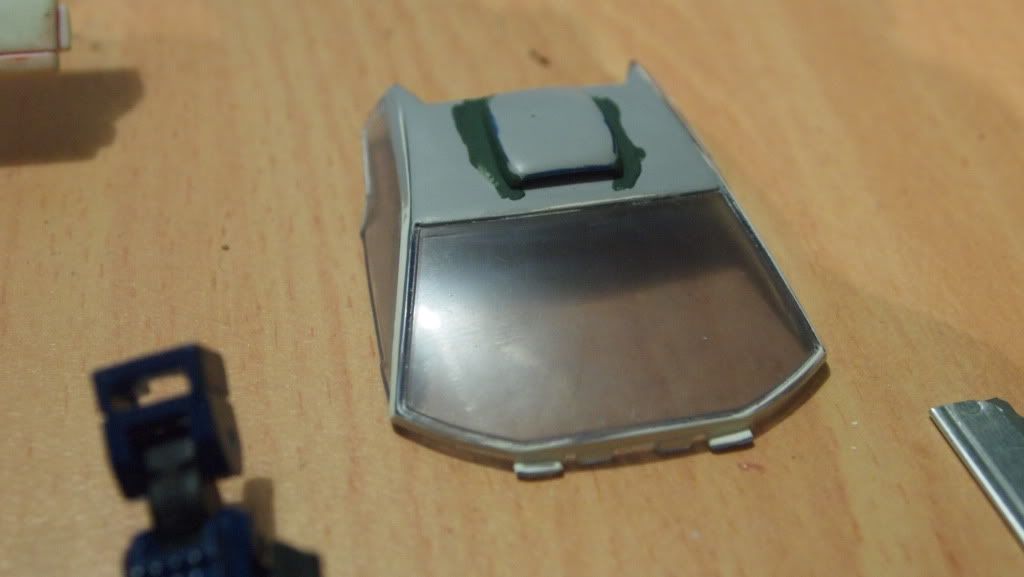
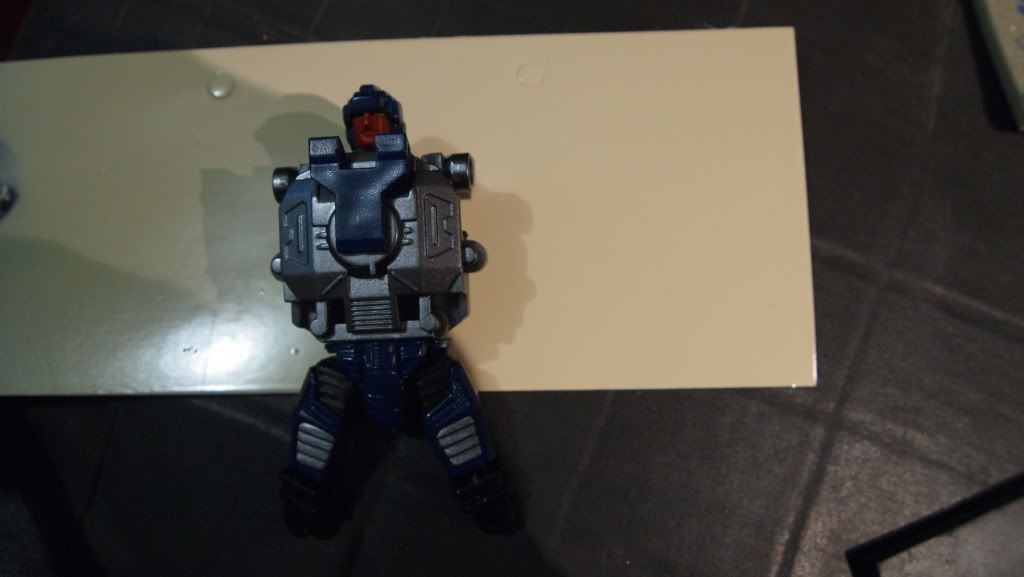
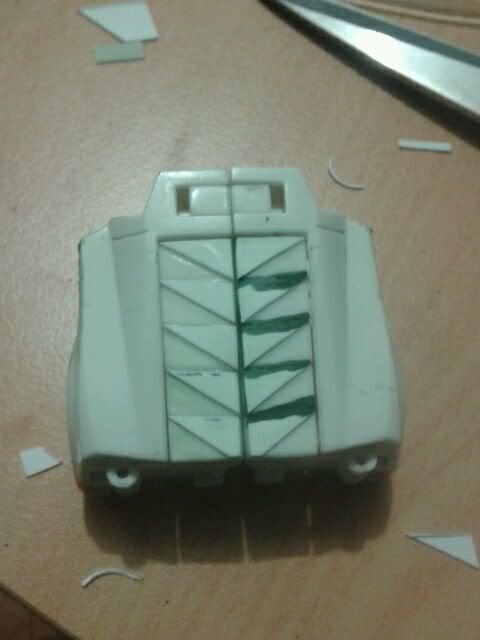
    I am now in the process of redoing my Classics version of Breakdown this time im going paint him closer to the G1 colour scheme i.e. the creamy colour and use more of flat colour to match in with the rest of the team and just do a couple of other little modifications.

    This time though i will be using alot of the Red Alert generations figure as he is already white making it easier for me and along the way im going to try and post up a how to guide on what to do for preperation of paint and so forth.

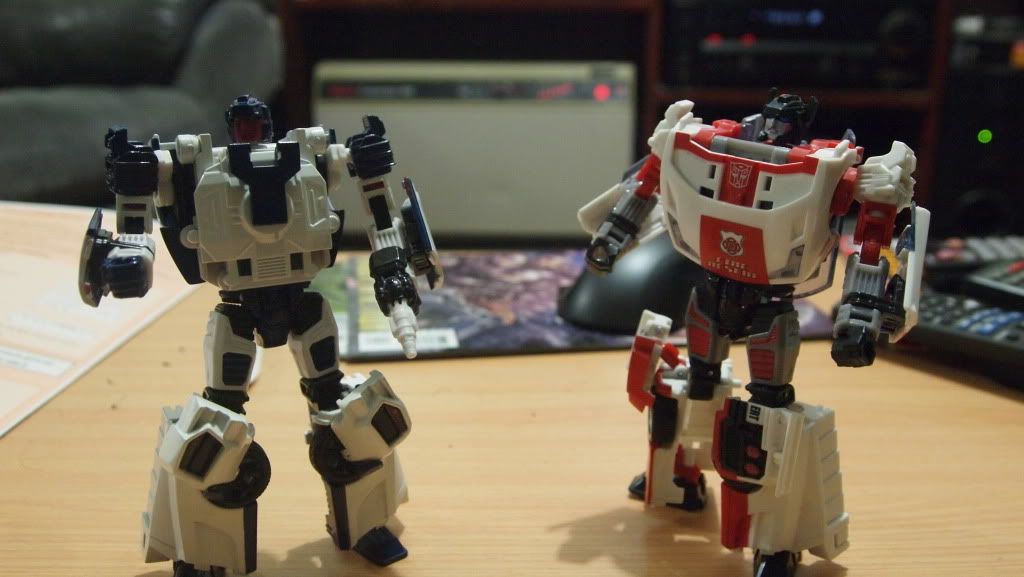
    Here is Breakdown and Red Alert next to each other as a comparison.


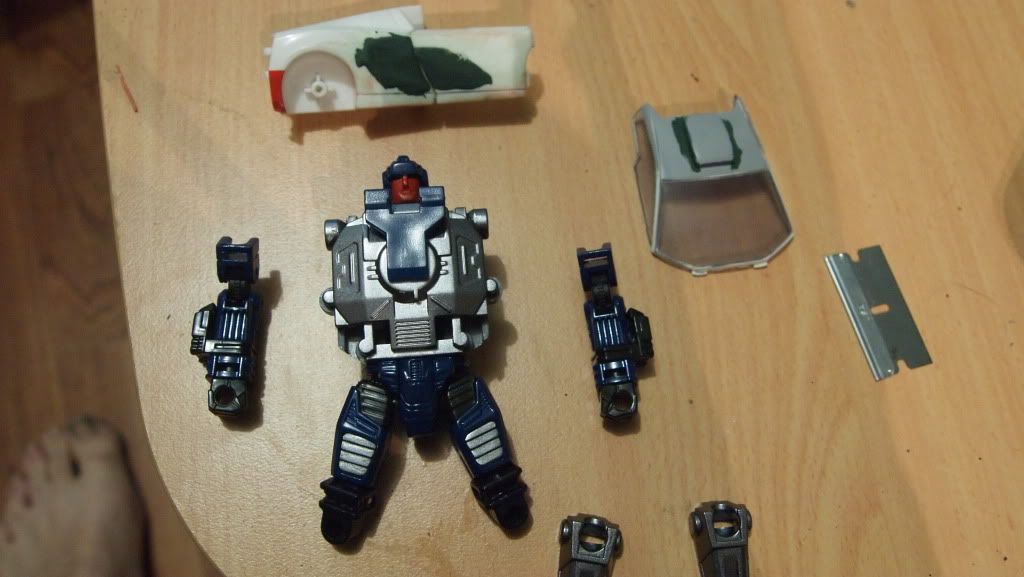
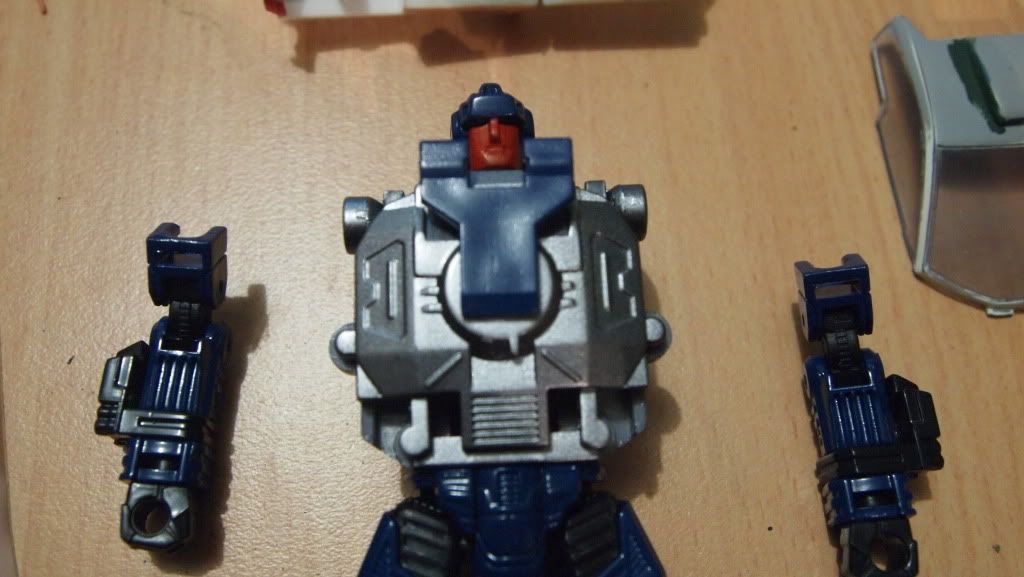
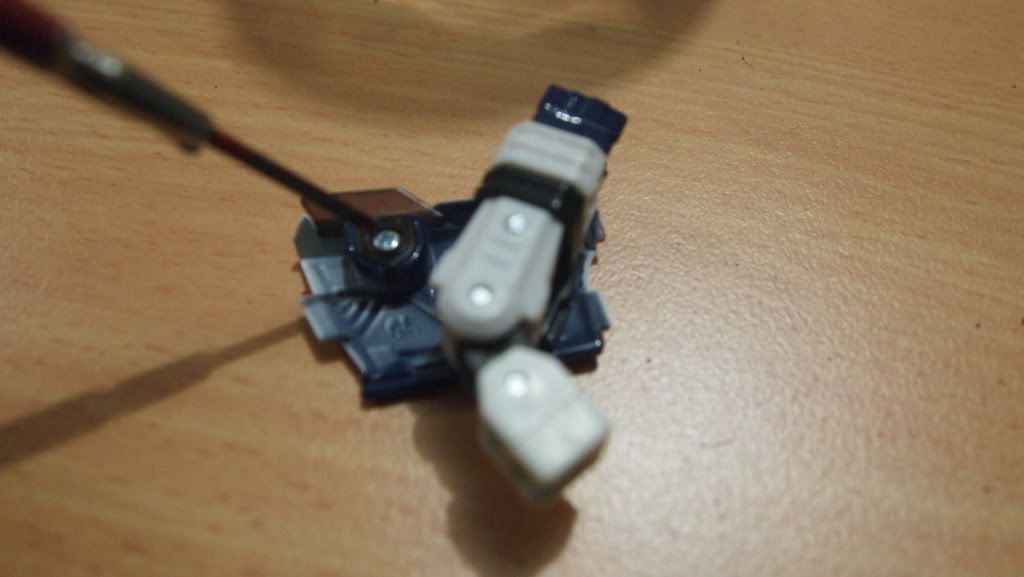
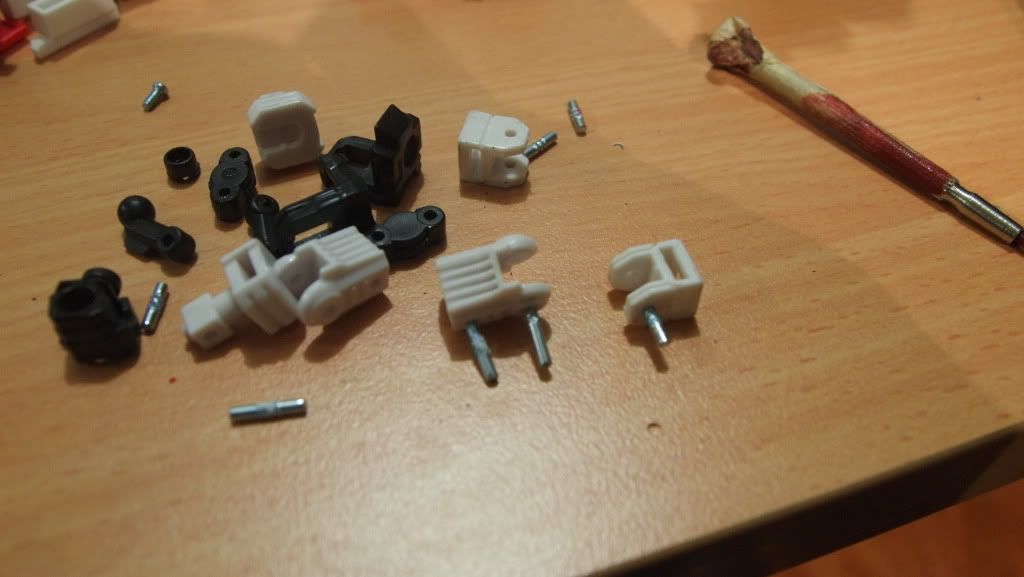
    Now here i have popped Breakdowns arm off the ball joint and about to undo the screw that holds the window onto the arm i will also be taking out every other screw on this figure


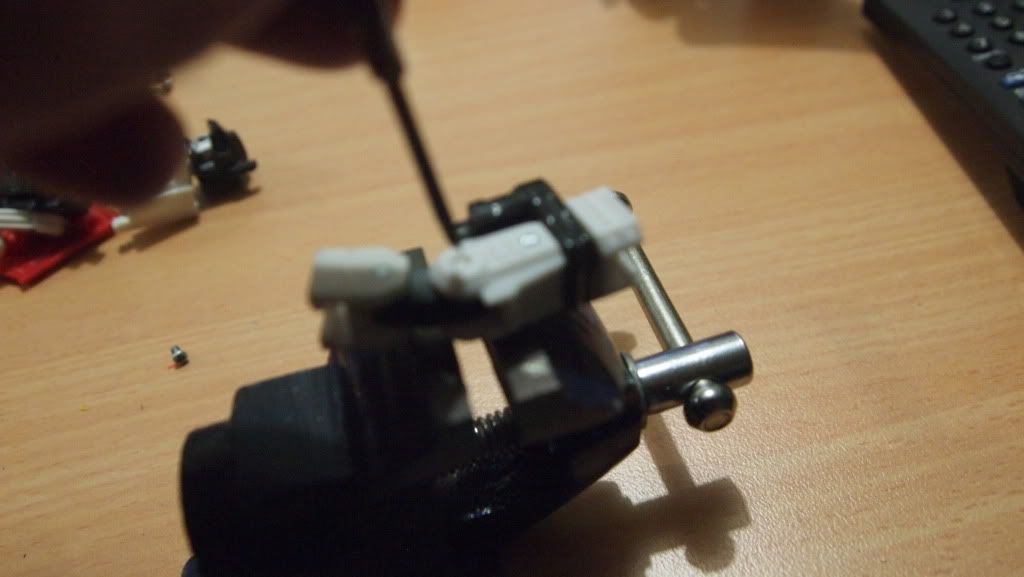
    Here im about to tap out the pin that connects his lowerarm to the shoulder joint for this you are going to need a small screwdriver with the head of it the same size as the pin if not a tiny bit smaller and a small hammer so that you can tap the pin out.
    Now you are going to need to put the joint on a vice or two blocks of wood so that the pin has somewhere to go once you start to hammer it out.

    When knocking out the pins you want to start tapping them out the side where they are sitting more flush with the panel this has proven to be the easiest way for me so far

    Me about to tap the pin out


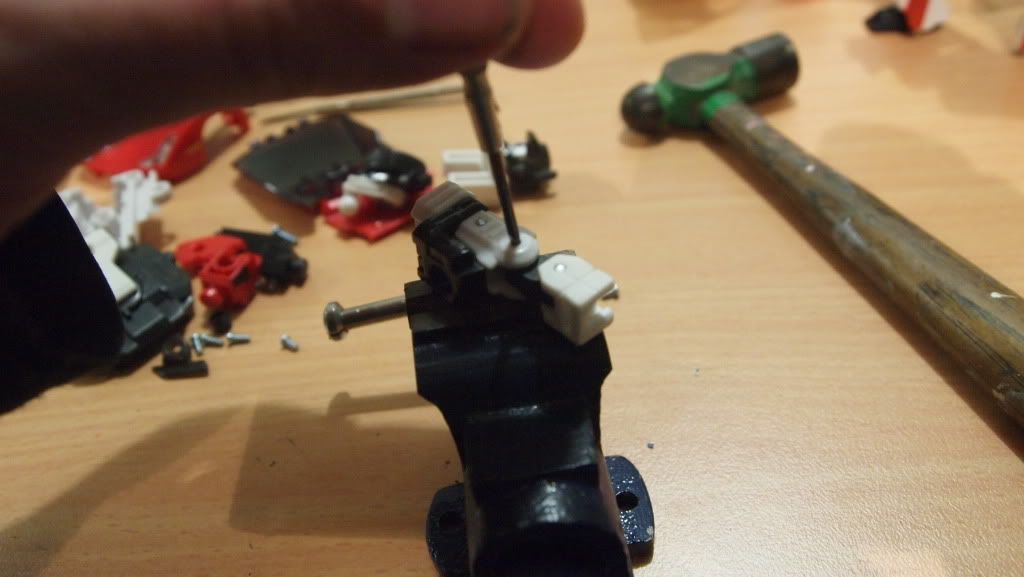
    I also find it easier to put the joint on a flat surface (like the table im working on) first give it a couple of taps so the pin is starting to move and then put it in the vice that way its harder for the screwdriver to move off the pin.

    After giving it a couple of taps the pin has started to move and now i can keep going to take the whole pin out.


    As you can see here i have all but knocked the pins out in one arm and completely out of the other one


    * when i say tap or knock i mean hit with the hammer with as much force as necessary sometimes it doesnt take too much force and sometimes it does

  2. #2
    Join Date
    25th May 2008
    Location
    Mount Barker, South Australia
    Posts
    3,448

    Default

    i have found some enthusiasm over the last few days and have come up with this

    -painted head arms and torso using tamiya spray cans
    -filled in the roof and added a scoop to it, because i could
    -started to fill in the sides of the car mode with green stuff so that i can eventually give it a more of a lamborghini reventon look
    -i also colour matched the original G1 Breakdown toy for the white/cream colour which im a bit unsure to use as its a very creamy white i dont know if it will look good


  3. #3
    Join Date
    27th Dec 2007
    Location
    Sydney
    Posts
    3,152

    Default

    That's a great idea, I really like reading step by step posts.

  4. #4
    Join Date
    25th May 2008
    Location
    Mount Barker, South Australia
    Posts
    3,448

    Default

    a little but more done, cut out some styrene and glued it to the "engine cover" to give at a different look


  5. #5
    Join Date
    11th May 2011
    Location
    Ballarat
    Posts
    760

    Default

    This is looking very nice. Where do you usually buy styrene sheets?

  6. #6
    Join Date
    25th May 2008
    Location
    Mount Barker, South Australia
    Posts
    3,448

    Default

    Quote Originally Posted by theheretic View Post
    This is looking very nice. Where do you usually buy styrene sheets?
    i usually buy mine from a local hobby shop called Hobby Habit, but i think most hobby shops would have them

  7. #7
    Join Date
    27th Nov 2011
    Location
    moves around
    Posts
    161

    Default

    i was only just admiring this a second ago at the Sector.
    the head is eFFin joy, man, and you got some super tidy styrene work happening too

  8. #8
    Join Date
    11th May 2011
    Location
    Ballarat
    Posts
    760

    Default

    Yeah I'd have to agree. It's very nicely done. It's gonna look great when you finish it.

  9. #9
    Join Date
    23rd Sep 2010
    Location
    Sydney
    Posts
    9,352

    Default

    Nice start, the paint on the arms and head is very nice. can't wait for the rest of your guide Loophole
    My Fan interview with Big Trev

    my original collection from when I was more impressionable.
    My Current Collection Pics (Changing on occasion)

  10. #10
    Join Date
    29th Dec 2007
    Location
    NSW
    Posts
    14,762

    Default

    This is an awesome tutorial as I have a spare Universe Sunstreaker that I have wanted to turn into Breakdown for a long while.

    When it comes to appying the spray paint, do you prep the plastic in some way so that the paint sticks?

Posting Permissions

  • You may not post new threads
  • You may not post replies
  • You may not post attachments
  • You may not edit your posts
  •