Wow you going all out and filling all the gaps as well!! great stuff bro... i think who ever get the commission is going to get a bargain!


 Rank 8 - Deluxe Member
 Rank 8 - Deluxe Member
Filling all the gaps is no easy feat. But he will look superb when he is done. Eagerly want to see how this big guy will look.
Originally Posted by lancalot


 Rank 8 - Deluxe Member
Great work so far! You have the patience of a saint. Really looking forward to seeing how this turns out.
 Rank 8 - Deluxe Member
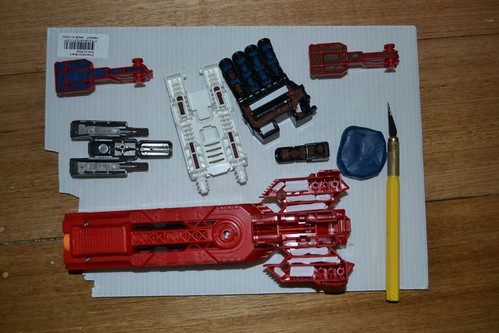
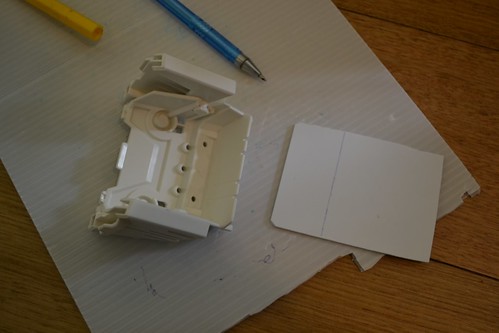
More gap filling...
DSC_0122 by M-bot2011
You have no idea.19 separate gaps on each big red gun (I'm doing 2 guns), a whopping 27 gaps on each hand!
I've got a few days off work, including a clear 8 hours without the family tomorrow, so I'll be getting plenty done on the custom.
In other custom news, thanks to a generous tax return, I've brought forward a goal I had already set for next year - bought an airbrush! Plenty of Youtube tutorials to watch and practice before I unleash it on Metroplex, but it should improve the results and speed up the painting process when I get to it.
Rank 8 - Deluxe Member
Fantastic! Well take your time with it, the more meticulous you are the better the result. As much as I am looking forward to the final result, I'm also happy to wait for the awesomeness that will be your Metroplex custom. Loving the progress pics by the way.
Rank 8 - Deluxe Member
Update!
More gap filing. Pics might be getting a bit boring at this point, but this is an important part of the final result. I fully expect to spend way more time on prep than painting, which will give me a good result in the end. My deadline's about 6 weeks away, so I've been working pretty hard.
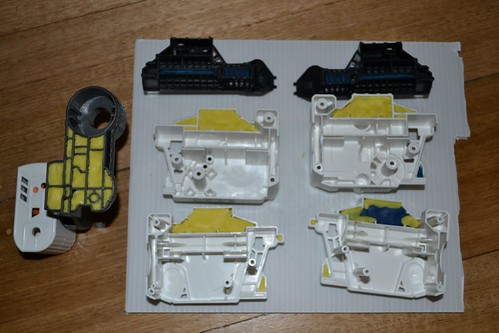
DSC_0123 by M-bot2011
DSC_0143 by M-bot2011
As you can see, when I run out of one colour, I move onto the next.
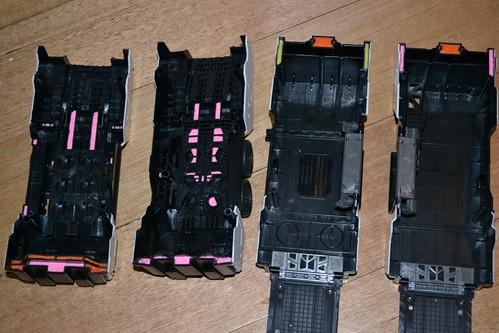
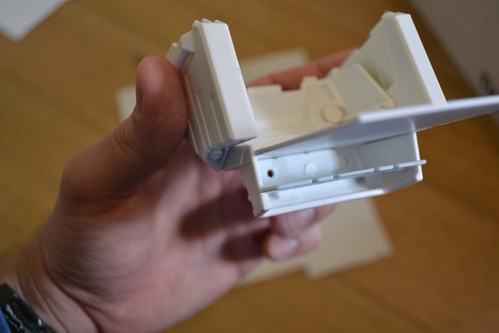
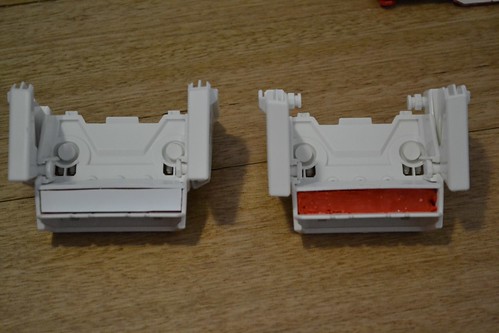
In the legs, I have a slightly different problem to the weight issues I discussed last time. The heavier the legs are, the easier it is going to be to balance the figure, lowering the centre of gravity. The lower legs are largely hollow, and hence, I stuffed as much plasticine low in the legs as I could fit, in areas that wont be seen in the finished product.
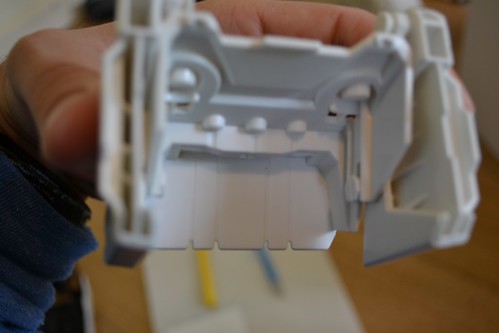
In addition, I found a little ridge in the inside of the feet that gave me an idea, and an opportunity for a little kitbashing...
DSC_0127 by M-bot2011
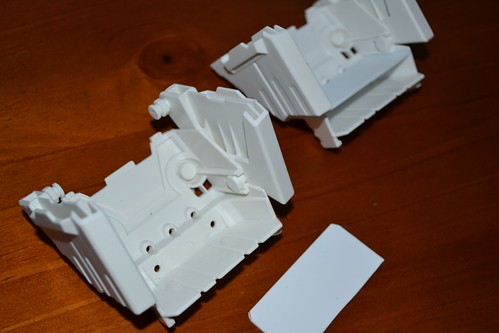
I cut some styrene foam to size and slid it in to the ridge, creating a little compartment in the front of the foot, to add a space for more plasticine.
DSC_0128 by M-bot2011
DSC_0130 by M-bot2011
DSC_0142 by M-bot2011
More pics of this when it's all the way done.
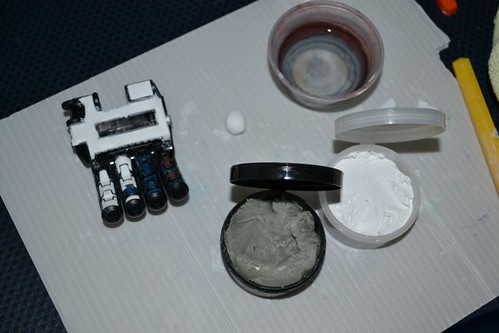
I've finished with the plasticine filling, I'm about 2/3 of the way through the epoxy putty over the outside. I got the stuff I'm using on eBay, way cheaper than the "Green Stuff" epoxy putty I've used before. On the plus side, the stuff I'm using is white, not green, so I'm expecting it will be easier to paint over in the end. On the downside, it's very very sticky, and not quite as easy to work with.
DSC_0141 by M-bot2011
Still need to trim and sand it down, but so far, so good.
The biggest job - once again, it's the hands. Doing my head in! Small and fiddly, but even before the paint job, it looks so much better with nice cylindrical (and not hollow!) fingers.
DSC_0139 by M-bot2011
DSC_0140 by M-bot2011
More updates soon! Many thanks for all the positive comments.
Rank 8 - Deluxe Member
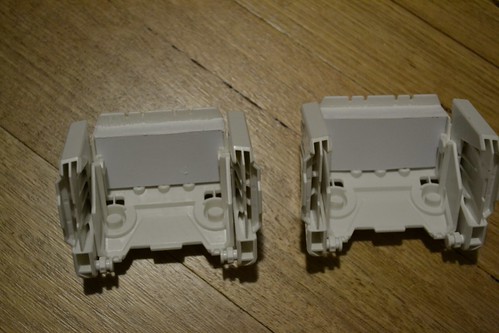
The foot addition, all finished bar a bit of a clean up. Plasticine added in a newly created pocket to add a small amount of weight to the foot, hopefully giving the figure a bit better balance. If my observations are correct, it shouldn't affect transformation at all.
DSC_0150 by M-bot2011
DSC_0152 by M-bot2011
And with that, all the gap filling is complete. including each and every fiddly digit of both hands.
This week, I'm going to start base coating.
On a side note, I have ordered the Reprolabels set for Metroplex, which I will add some of judiciously, right at the end, keeping in mind that you can't beat a good old fashioned paint app.
 Posting Permissions


 Reply With Quote