-
13th December 2011, 09:37 PM
#11

loopholes tools of the trade and some directions.
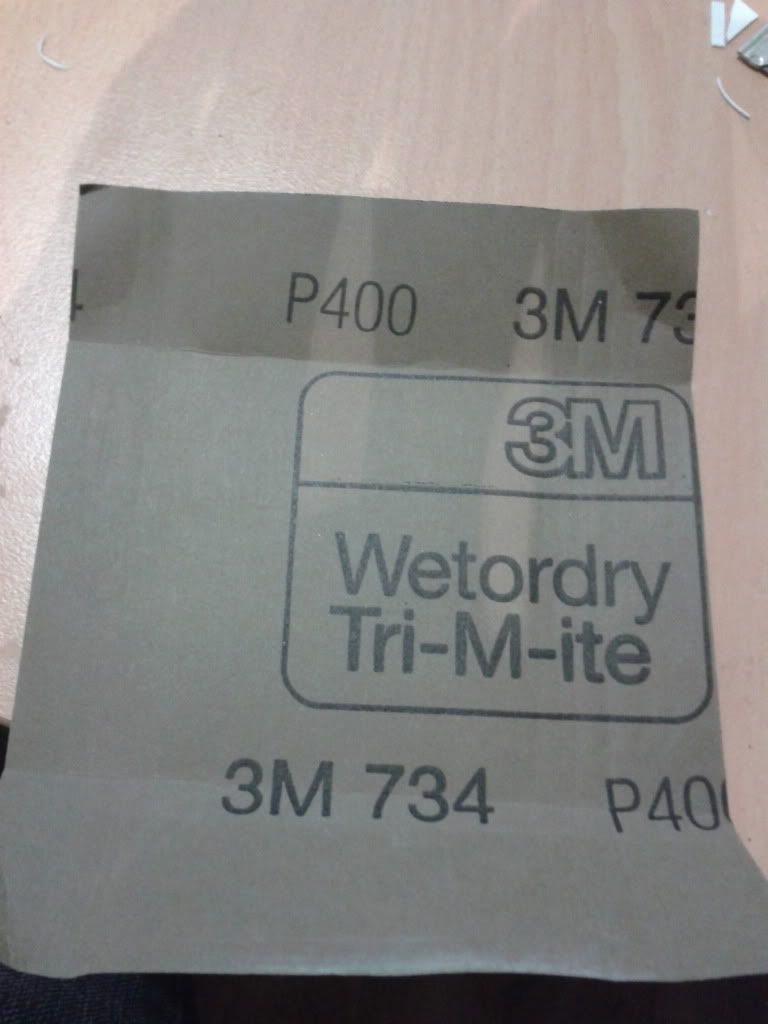
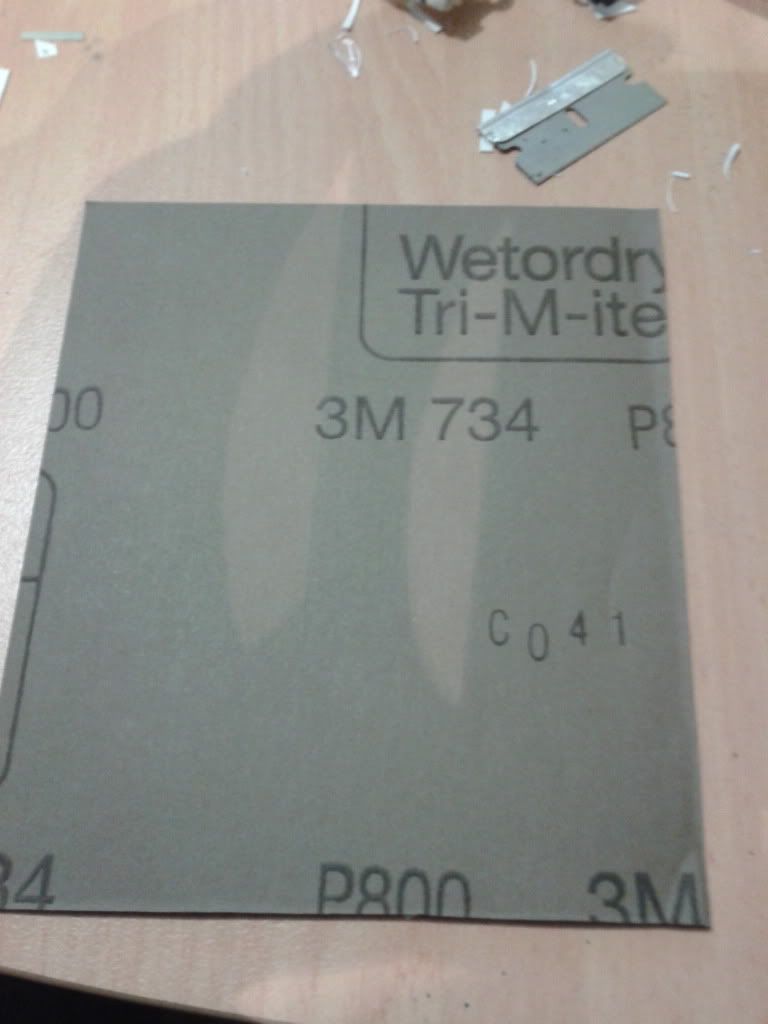
For preparing the plastic i will either use 400grit wetordry or 800 wetordry sandpaper.
Now i will only use the 400grit sandpaper if i have done any modifications and need to smooth them off, like when i filled in the roof of Breakdown with green stuff to make it flat. After that i would spray the primar surfacer let it dry and then rub it again with 800grit as any coarser sandpaper will show scratch marks in the paint. I also use a hard block with the sandpaper with any parts that i have modded and want to rub it nice and smooth.
With any parts that i haven't modified i will try and scuff as much as i can with the 800 grit sandpaper, but with the spray cans that i use are designed to stick to plastics so there is no need to stress if every part hasn't been sanded.
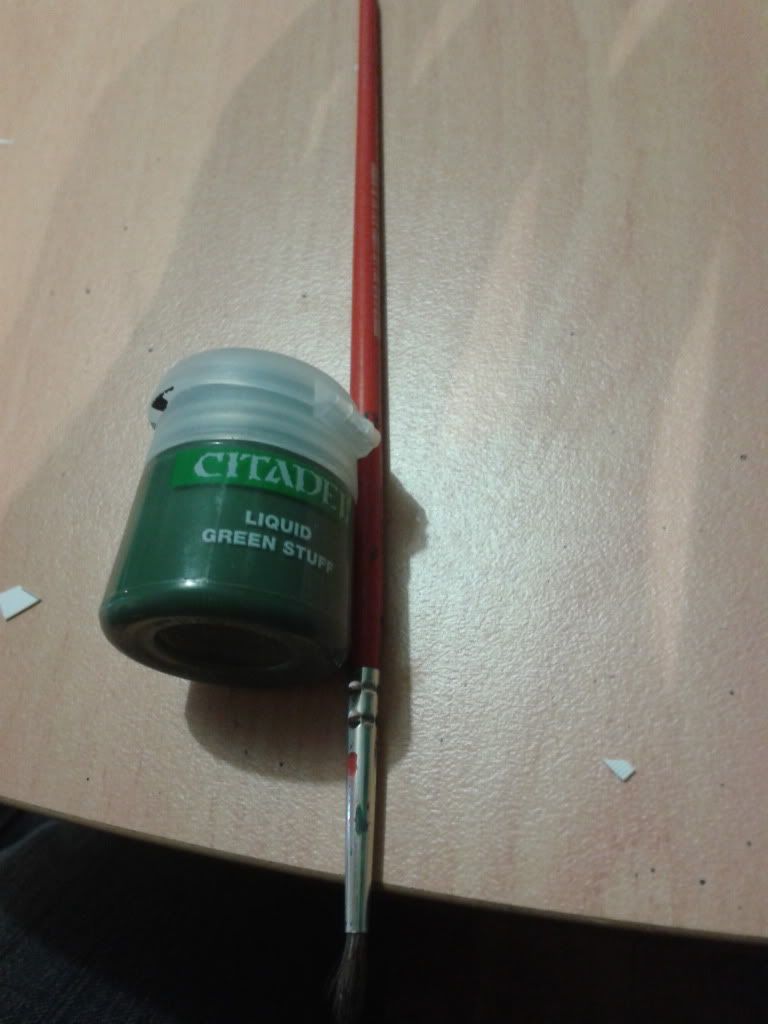
I mentioned "green stuff" before which is available from games workshop there are 2 types that you can get 1 is a 2 part epoxy type of material where you meld 2 strips together and then apply it to what you want, the other is in a bottle where all you need to do is get a brush and apply it straight away and the leave it overnight to dry to rub the next day.
Sandpaper
Green stuff and brush. Just make sure to clean the brush with water after every use and wipe clean.
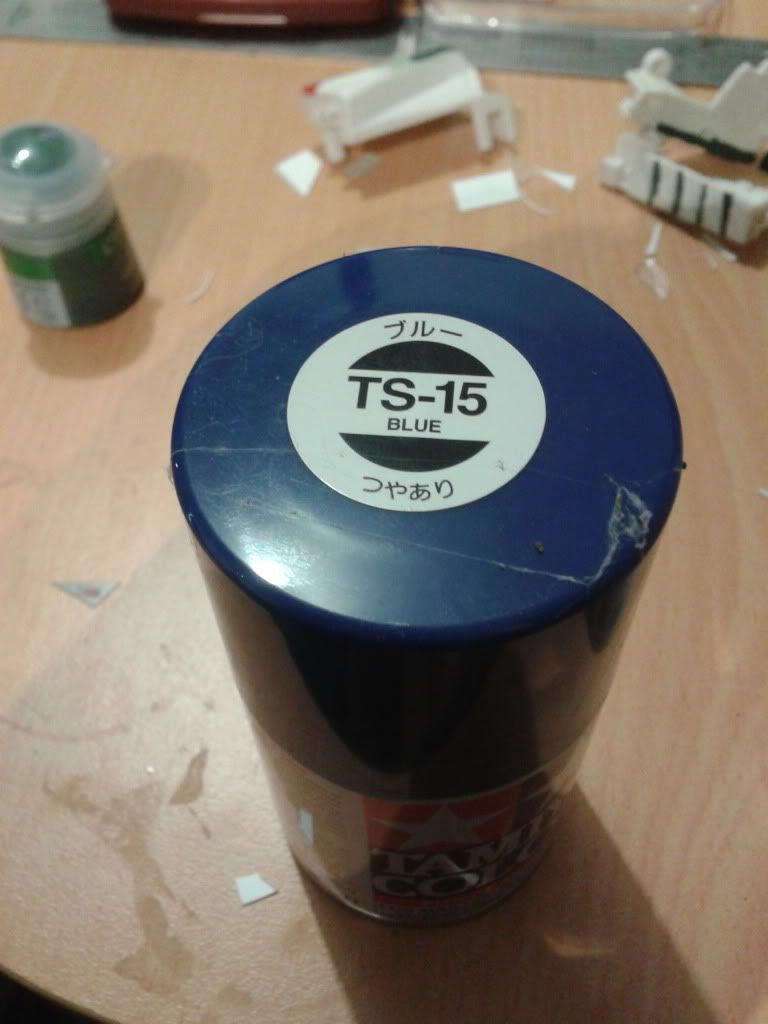
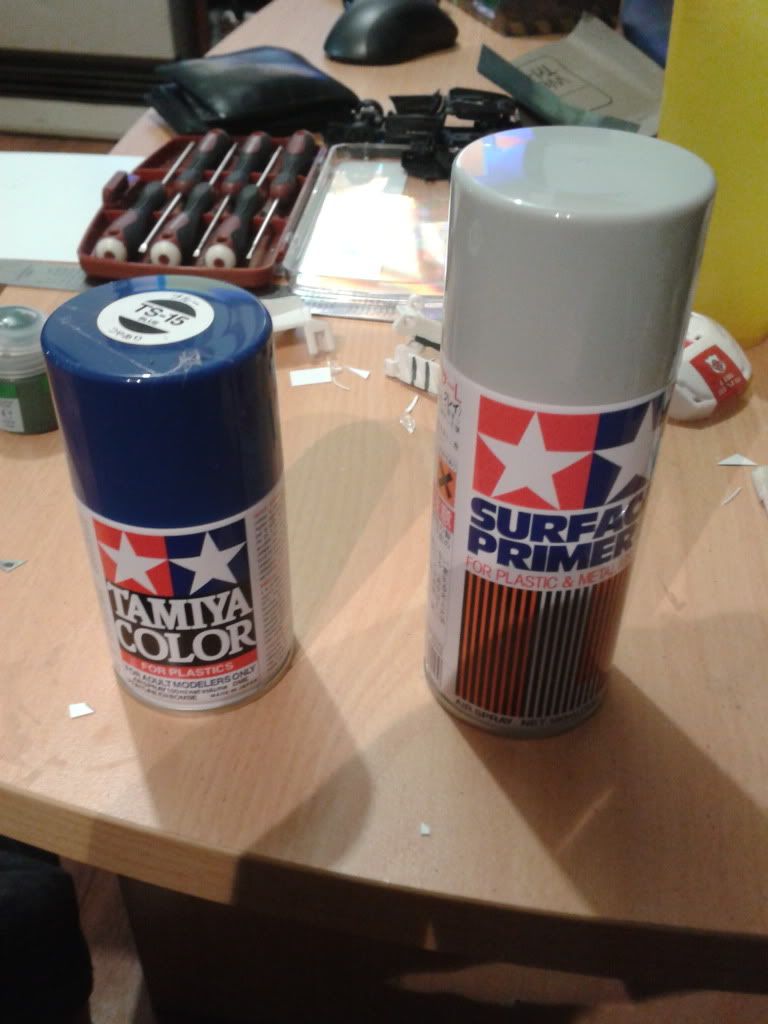
The spray cans i use are Tamiya TS remember the TS as there are other Tamiya Spray cans that wouldnt be suitable for this type of use.
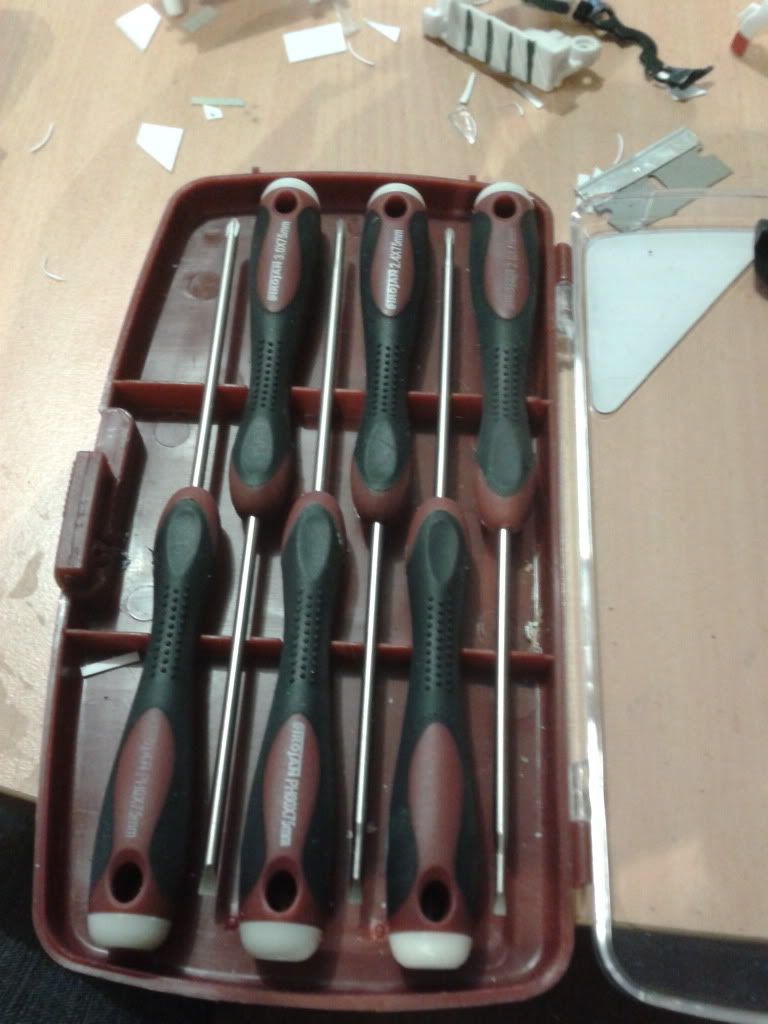
Get yourself a screwdriver set i got this set from bunnings for about $12 and its great
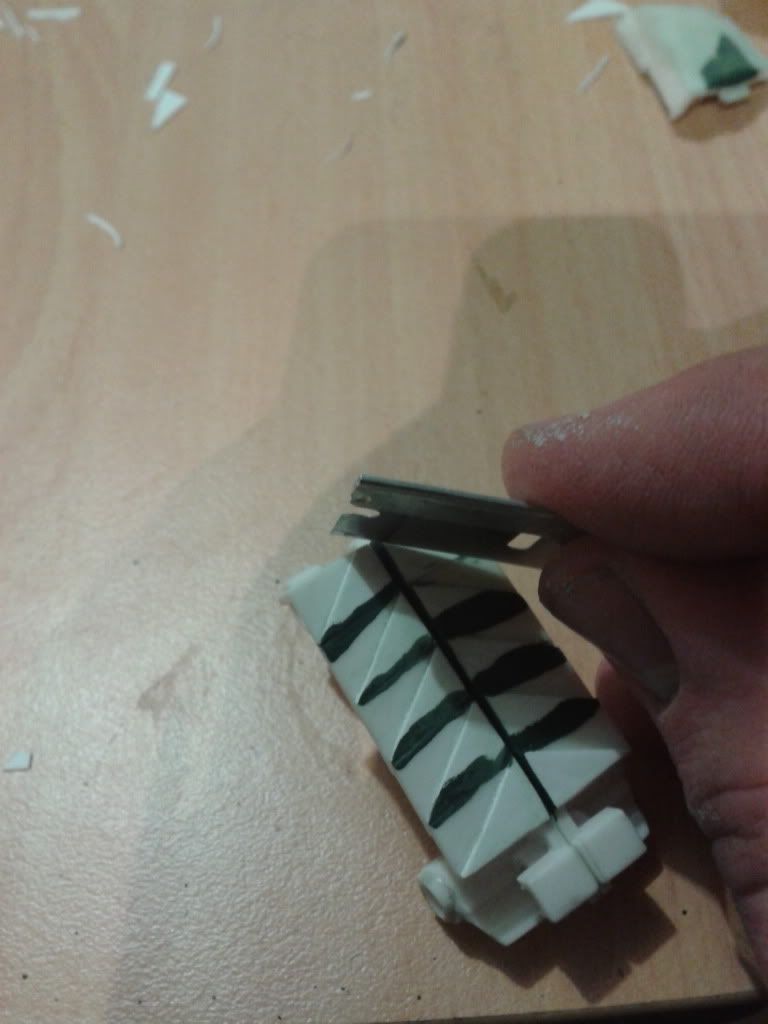
I use these razorblades for cutting most of the time but i nick them from work so i dunno where to get them from but i think any hardware store would.
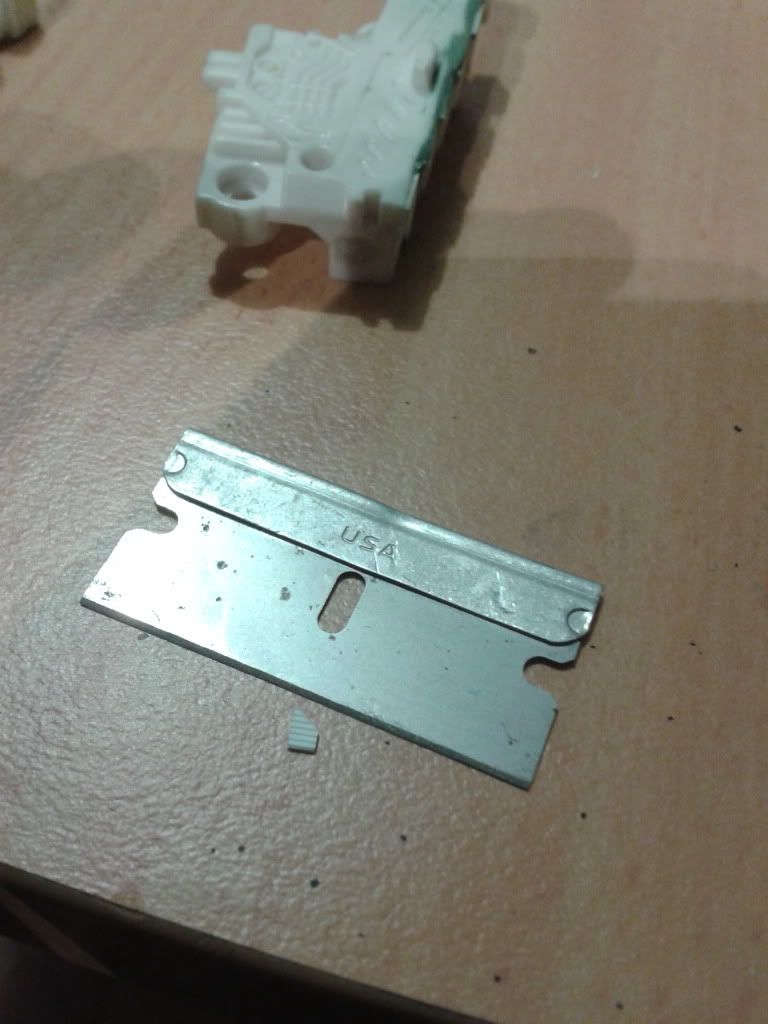
Onto breakdown I didnt like the bottom angled line as it stop short and wasnt consisntant like the others so i chopped it and changed the angle so it wouldnt stop short all i did was use the razorblade and cut it in a straight line to where i wanted it and then did the rest accordingly.
-
21st December 2011, 08:42 PM
#12
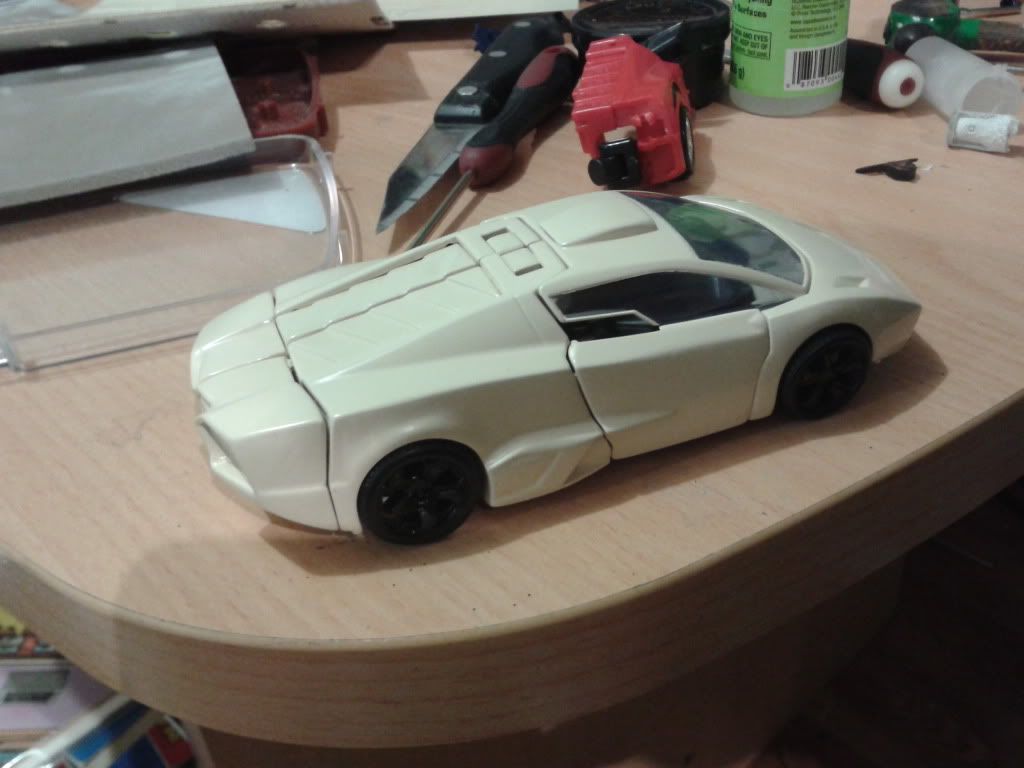
been cutting and grinding a die cast lambo model so i can do this
-
2nd January 2012, 09:33 PM
#13
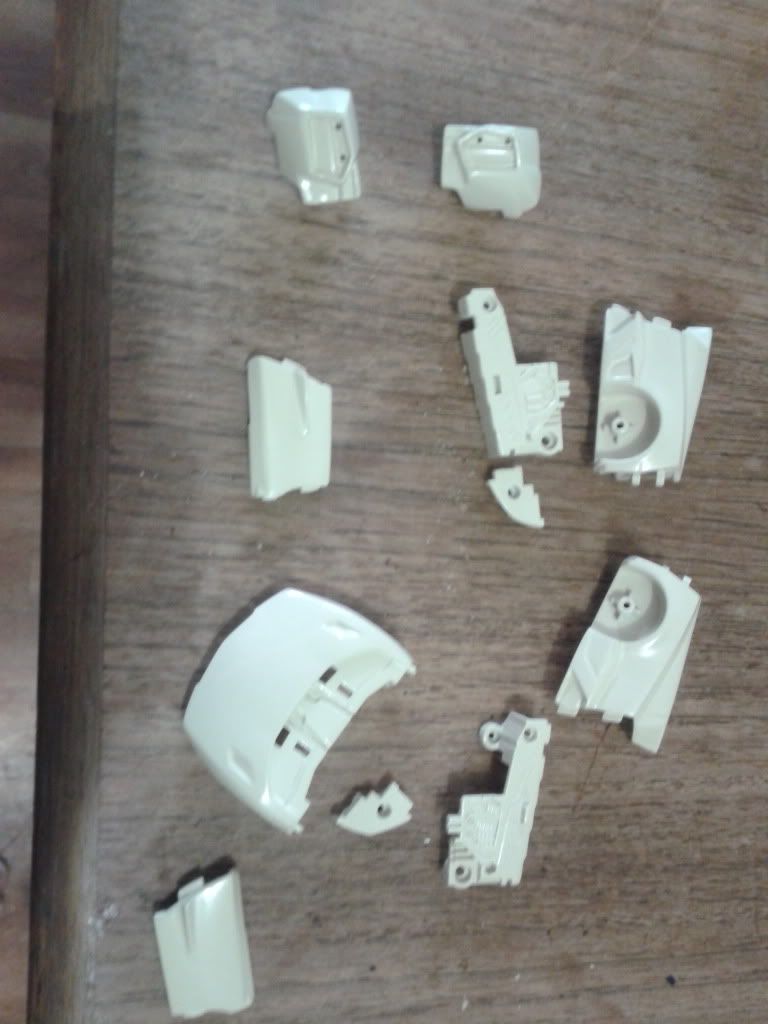
ive done some more bits and pieces and actually got some priming up done!!
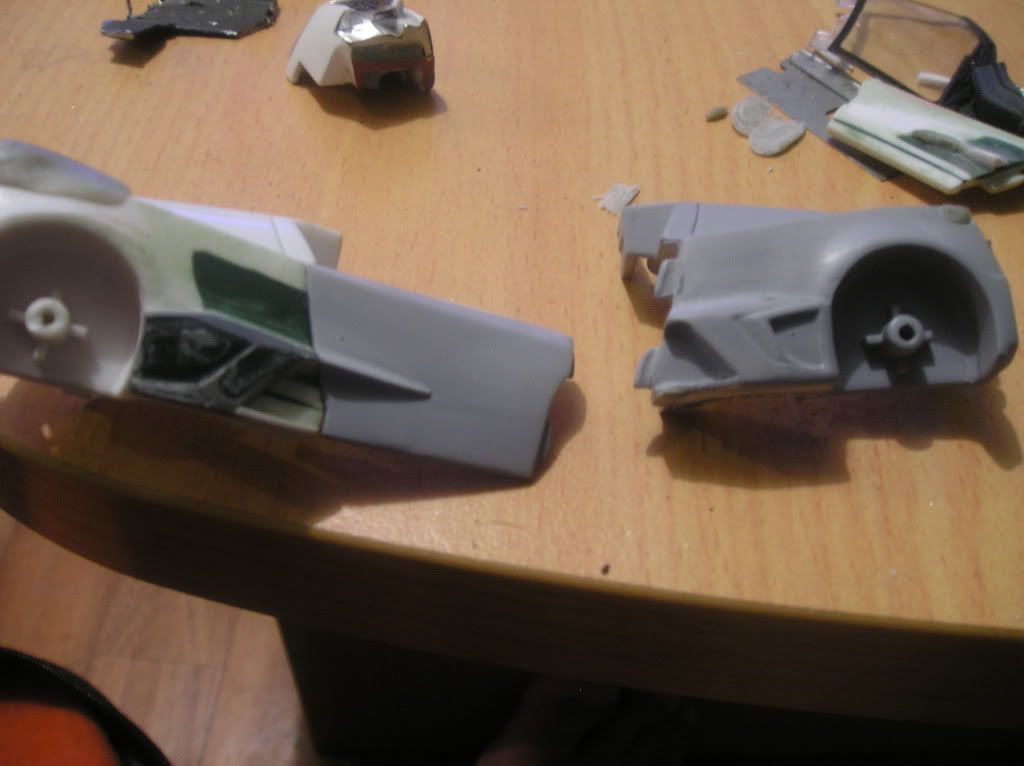
sorry about the pics, my good camera doesnt wanna work atm
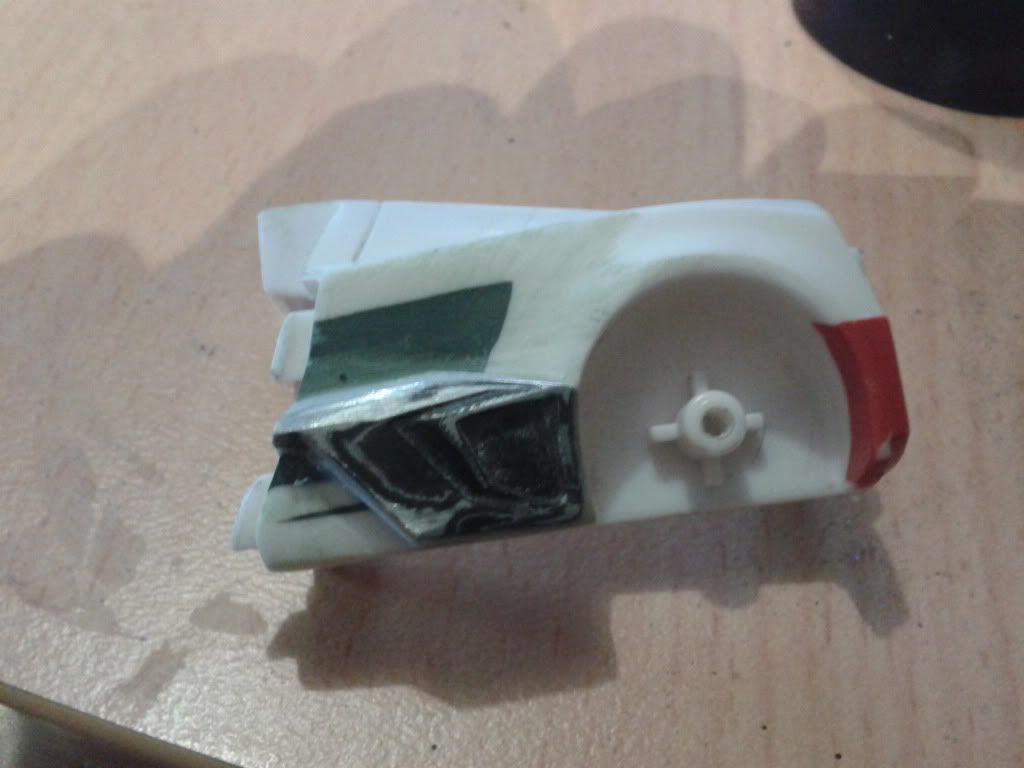
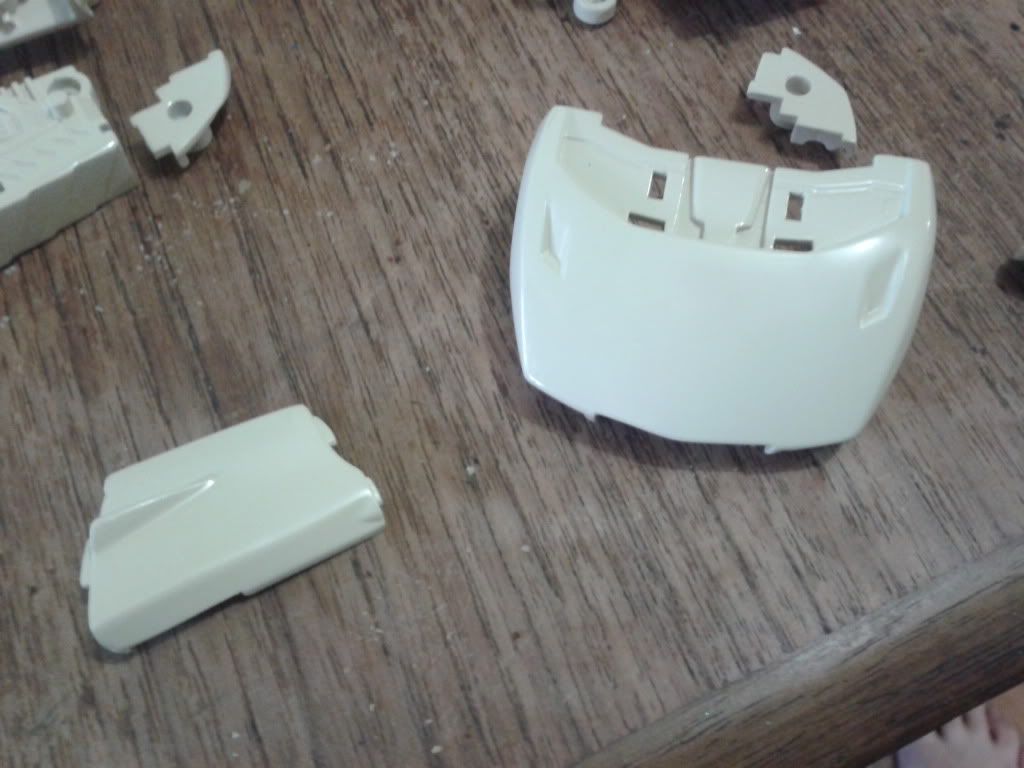
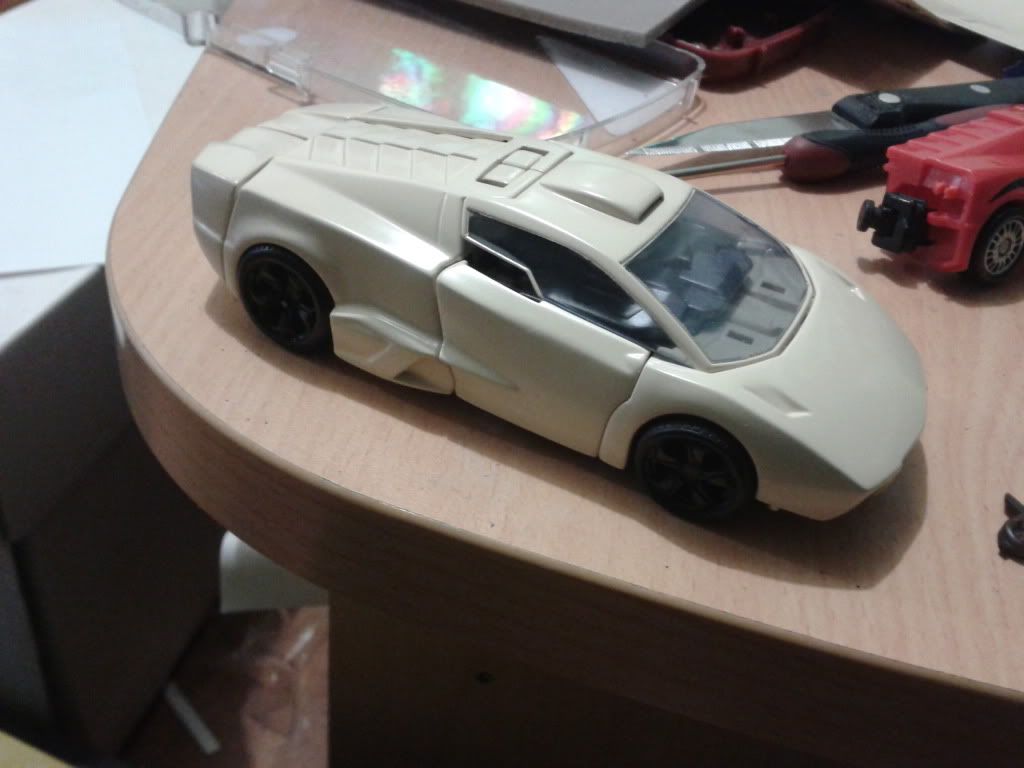
dunno if you can see but ive changed the headlight to the angular style of the reventon
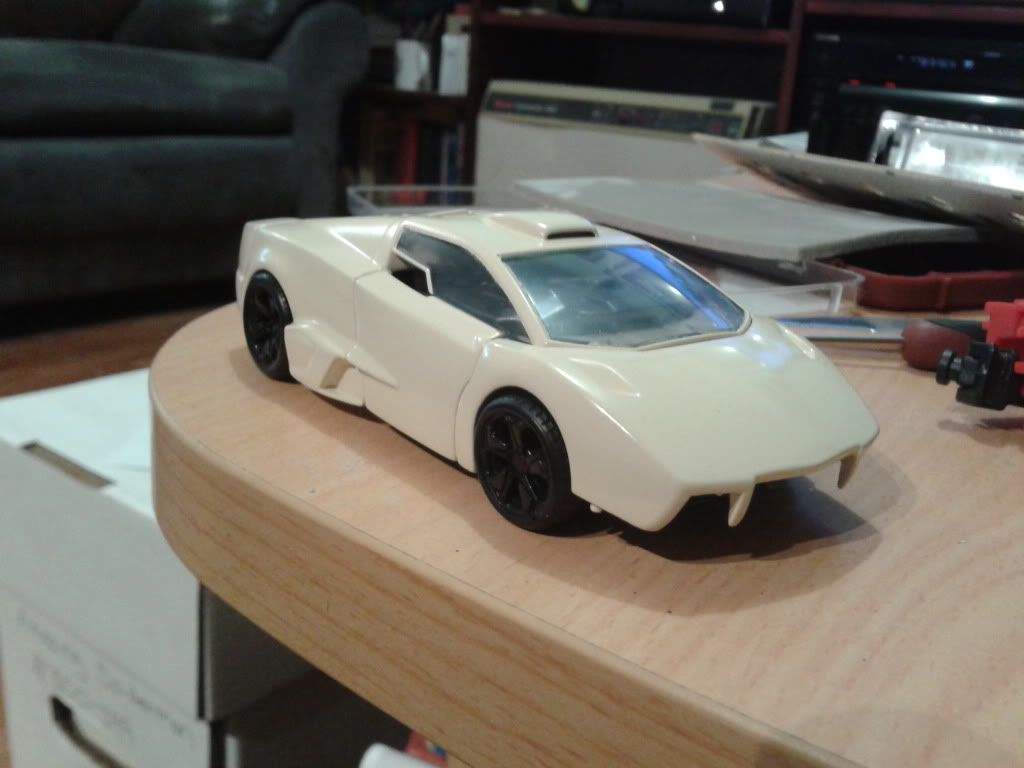
and here i have added a recessed scoop for the front bumper
-
10th January 2012, 10:22 PM
#14
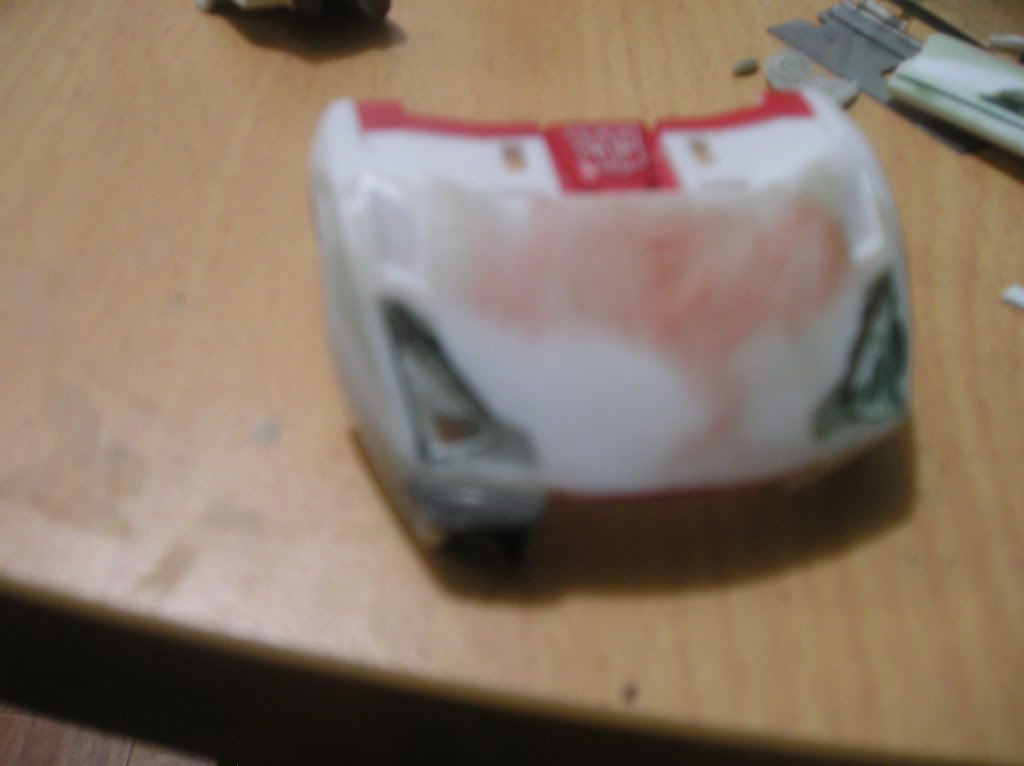
painted most of the car bits with 2k car paint as the spray can stuff absolutely pissed me off
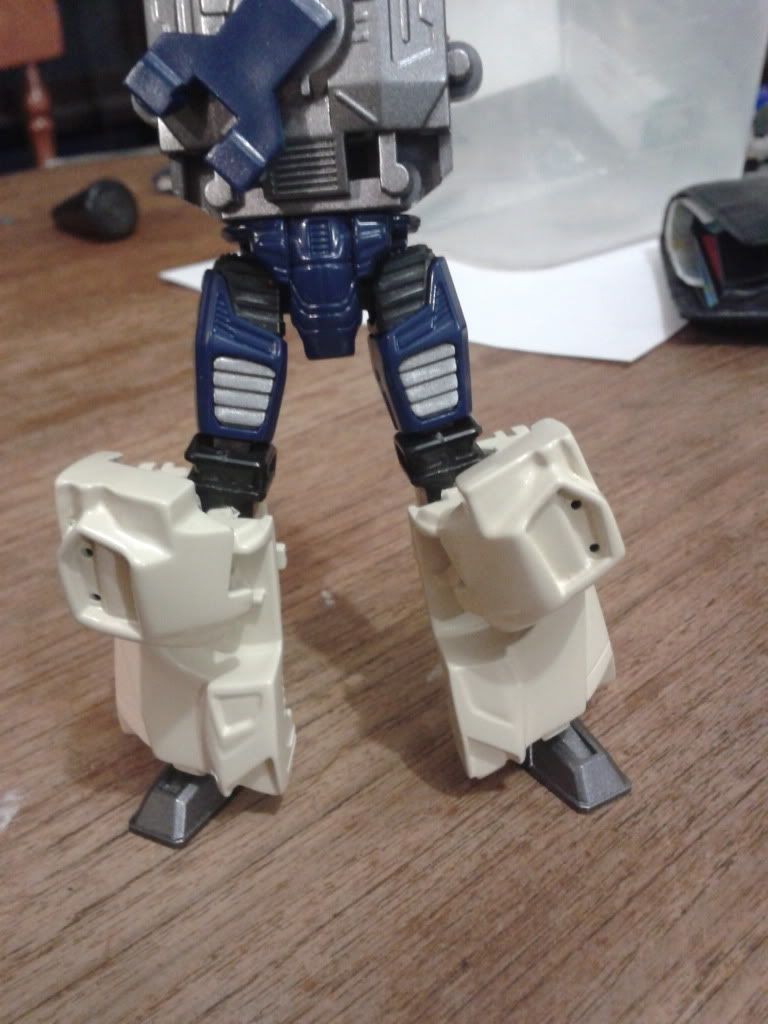
you cant really see the colour in the next couple of pictures, also slightly modded the bonnet by filling in the indicators mainly because they were frustrating me so i cheated. And just gave the bonnet a slight angular look by sanding it to point.
after some assembly, also in this picture you can see the colour alot better
-
11th January 2012, 09:48 PM
#15
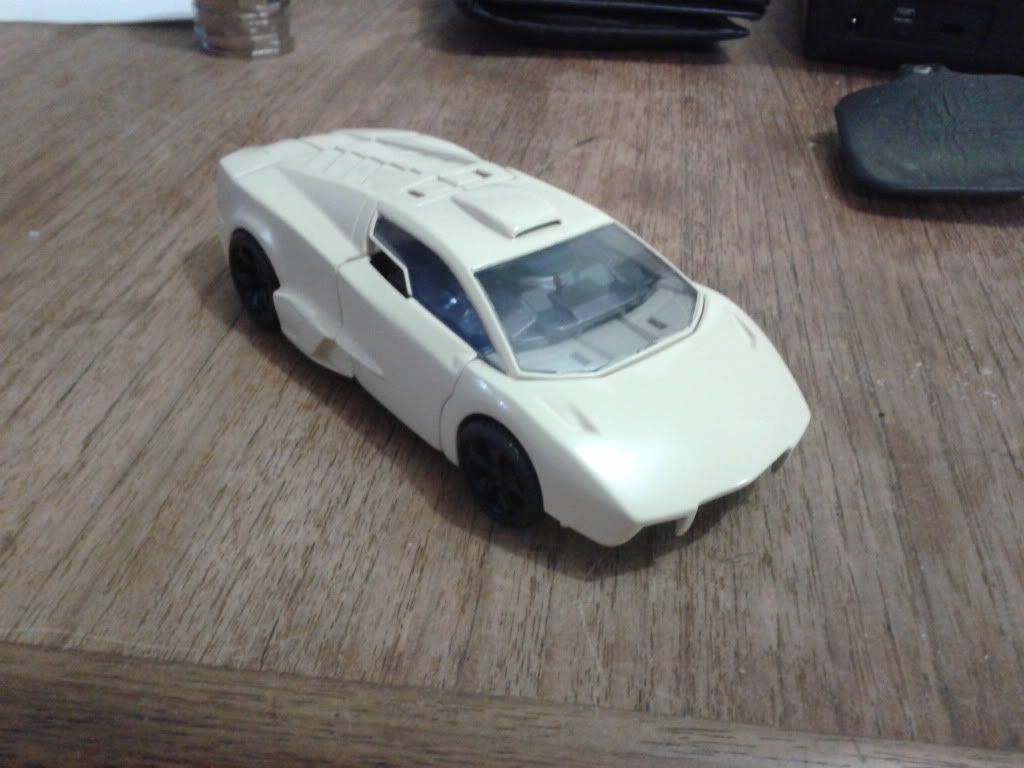
car mode almost done just a few little things to do now and then i shall use a decent camera instead of my crappy phone
-
11th January 2012, 09:57 PM
#16
Nice custom! Can't wait to see how it comes together.
-
11th January 2012, 11:16 PM
#17
That is a mad looking job you've done there Loopy, especially dicing up a Diecast model; but that is going to add so much to the custom at the end of the day - well done mate. 

-
12th January 2012, 01:56 PM
#18
Love that you cut up a diecast model for this. The way youve changed the shape of the car is just gorgeous. (:
Looking forward to final product bro


Current Wants: Shadow Scyther
-
20th January 2012, 11:26 PM
#19
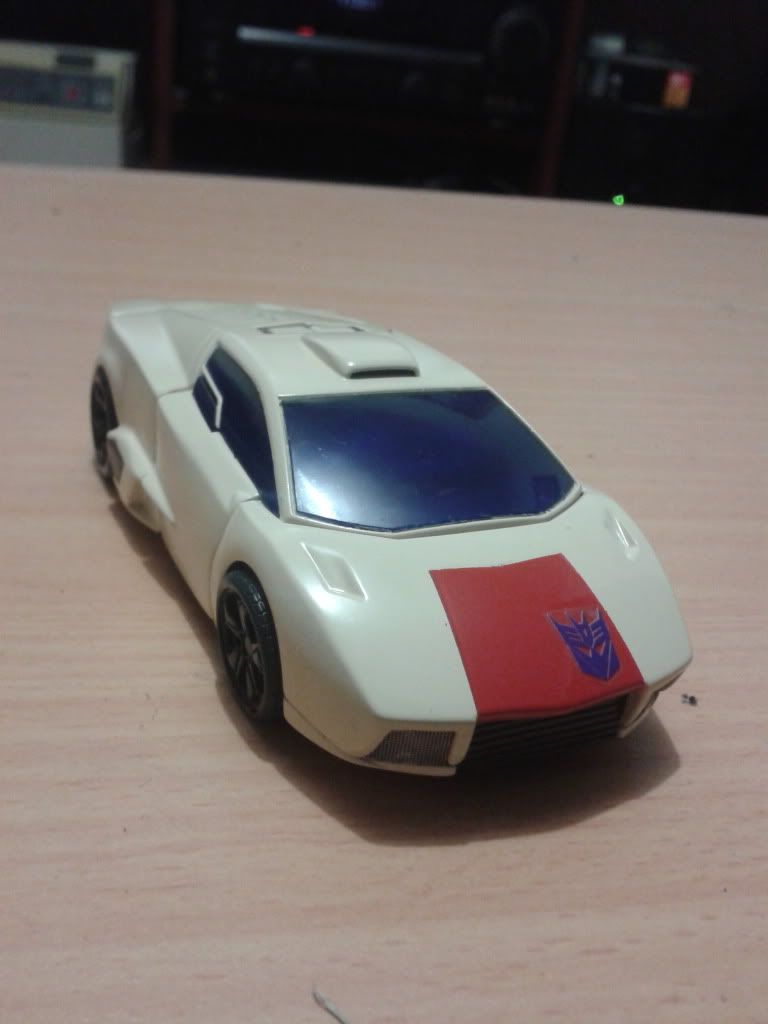
I know i missed a few steps but the final run on this custom gave me the absolute shits.
Now the car mode is done and here is a teaser pic before I get the decent camera out.
-
21st January 2012, 02:44 PM
#20
 Posting Permissions
- You may not post new threads
- You may not post replies
- You may not post attachments
- You may not edit your posts
-
Forum Rules


 Reply With Quote