ok.... this my work flow....
prepare the figure for painting.... this is done by rubbing alcohol mixture on a towel and rub the figure completely...be careful of the join as if the alco get in there it can weaken the join and make it crack...i found out the hard way !! then it very hard to superglue a moving joint back..

...
U must wipe it because every toy has a layer of film ..the gloss that protect it and make it water proof ...and paint wouldn't stay on ...
find all the rub points ... but this figure didn't really have any ...thanks to the simple transformation

...
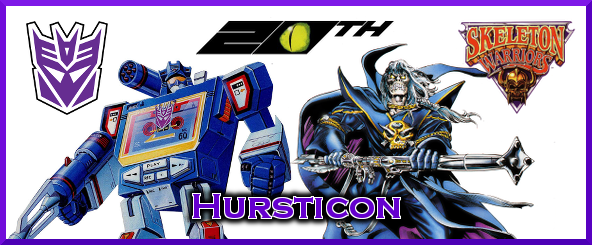
Dissasemble the figure , as he pretty simple to do so i just got arms, legs body and wings
base coat....as this figure already had the right colours to begin with i just needed to paint white where all the detail and highlights going to be as the highlight colour are transparent .....
Then painting with the light colour first building it up.....
so white...bright orange ...red...burgundy...pearl/blue red
The hardest part is to actually know what colour your going to use and where it is going to be painted! So lots of reference picture ...
Also Know how the paint going to look like when painted...it actually different from the bottle it came from as you have to thin it down for airbrushing and also the transparent of the colour ...like the orange i use...needed the white under or you not going to see it at all....
The thinning of the paint is also important as every colour has a different consistency, i just eye ball it to be a little thinker than water ...With Airbrushing is too never stay in one spot but just keep moving ,
thin coats ..little burst at a time and never build it up too much or it will run like little drop ! When you actually see the wet (gloss) paint
stop! that too much already! let it dry .... it very tempting to keep on goiing but that where you can stuff it up... clean the brush up (i use to hate doing this ...but im getting fast at it now
dissembling the needle and i use water based paint so under a tap )while drying then paint again untill the color right...
Waiting inbetween each colour/coats to dry ... and around 2-3 light coats of each colour ...orange took a few more as it very transparent ...
Panel lining and detail done in red and florescent yellow..around 2 coats.
then a clear matte coat


Originally Posted by KalEl


 Reply With Quote


 - Absolutely friggin' Wow!