...I must be some kind of masochist after doing the mammoth Metroplex custom last year that I'm ready to go back for seconds, but here we are...
I'm too time poor to hurry, and there's a lot more to repainting something in a different colour to the base model. Unlike Metroplex, I'm not going to all the painstaking trouble of filling all the gaps in the mould.
I'll post up WIP shots as I'm going.
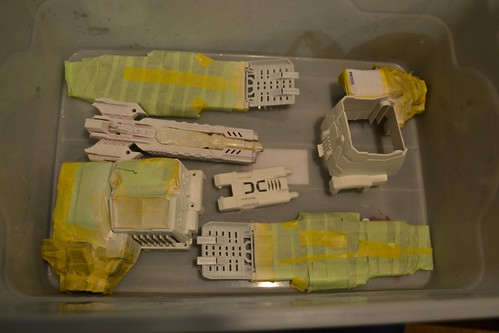
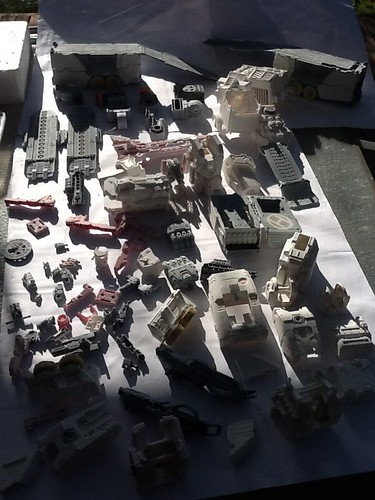
The disassembled pieces primed, using Alclad II primer.
Metrotitan WIP by M-bot2011
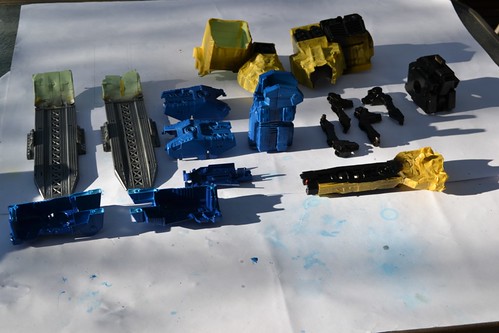
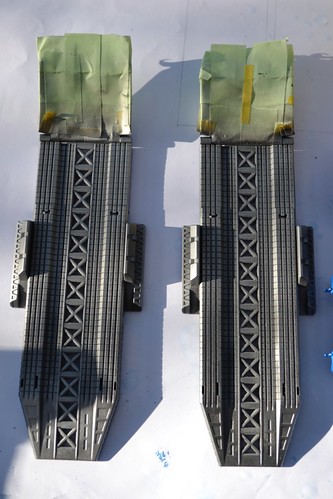
Some of the pieces masked and at least partially painted, using the airbrush to lay down multiple thin layers.
DSC_0609 by M-bot2011
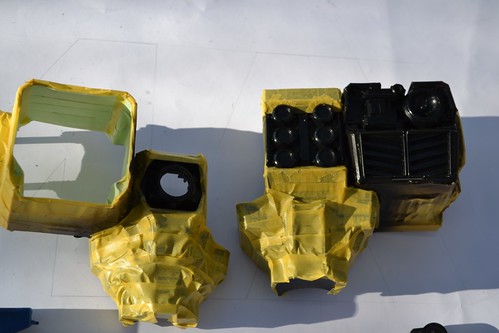
The gun is going to be black and white. I decided to do the dark colours first, because I figure if the lighter colours bleed onto the dark, that will be easier to fix than the other way around. The yellow tape is Tamiya masking tape. Great stuff.
DSC_0611 by M-bot2011
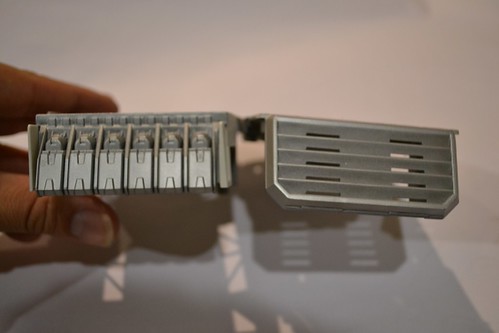
Some other bits. I looked at Metrotitan customs that others have done and find myself making slightly different creative decisions in some places. Case in point, the bits pictured here that attach to the kneecaps, which do not exist in the original toy (despite the mark similarities between the G1 toy and the Generations one, in terms of transformation).
DSC_0612 by M-bot2011
Said kneecaps, about half finished in terms of paint layers.
DSC_0614 by M-bot2011
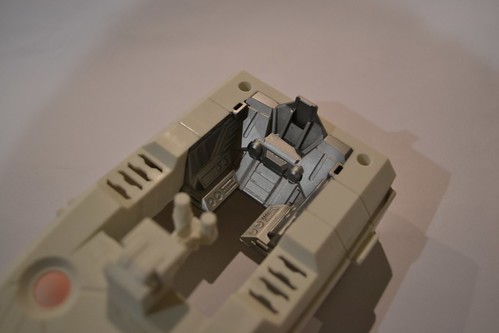
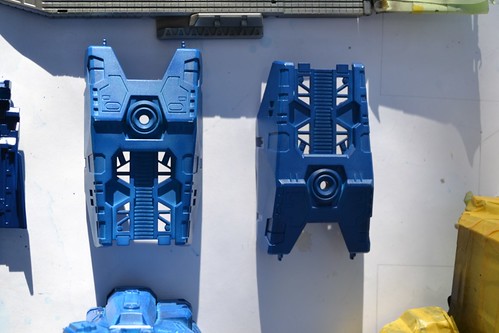
The central pieces of the body are painted gloss black. That's also needed as the base coat for the Alclad II metallic lacquers, so after a couple of coats and some curing time, most of the body pieces are masked, leaving only the pieces to paint up metallic.
DSC_0613 by M-bot2011
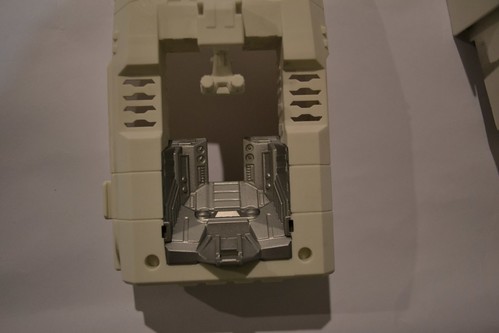
Here's some of the metallics done on the front part of the legs. Here, I've used Alclad II White Aluminium. Looks grey in the pics, but in RL it's quite a nice colour. A layer of gloss later will bring it out nicely.
DSC_0610 by M-bot2011
More pics when I take 'em. I will leave you with a final little piece of info: When he's done, he will be for sale. Probably not cheap. No expressions of interest yet please!






 Reply With Quote


